❏
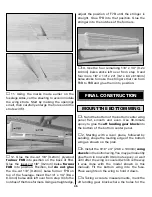
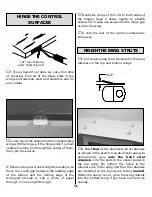
3. Glue strips of leftover balsa inside the
exhaust pipes as shown. Sand the balsa strips
even with the bottom edges of the exhaust
pipes so they will lie flat again.
❏
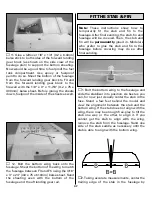
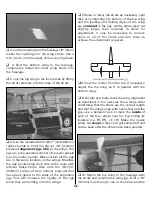
4. Sand all of the plastic parts (head rest,
exhaust pipes, top and bottom cowl) with 400-
grit sandpaper. Paint the parts as required. On
the model featured on the kit box cover and in
this manual, only one coat of Top Flite
LustreKote olive drab was required for the front
and bottom cowl and the headrest, and one coat
of flat black was required for the exhaust pipes.
❏
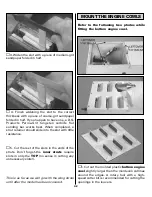
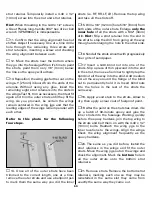
5. After the paint on the exhaust pipes has
fully dried, strip the covering from the fuselage
where necessary so the balsa strips inside the
exhaust pipes will contact bare balsa. (The wing
struts are installed in the photo, but should not
yet be installed on your model.)
❏
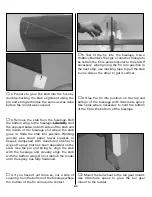
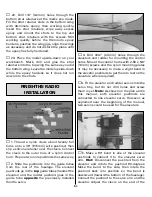
6. Glue the exhaust pipes into position. The
head rest will be glued on after finishing the
cockpit later.
❏
7. While geared-up for painting, sand the tail
wheel mount and apply a light coat of wood
stain. Minwax Special Walnut 224 stain was
used on this model. Allow to dry, then spray on
two coats of clear LustreKote, allowing it to dry
and sanding between coats.
❏
1. Cut the covering from the hinge slots in the
tail surfaces and from the pushrod exits in the
rear of the fuselage. Also cut the covering from
the slots in the fuselage for the stab and fin.
GLUE IN THE STAB & FIN
FINAL ASSEMBLY
46
Summary of Contents for Dynaflite S.E.5a
Page 9: ...9 Die Drawing...
Page 10: ...10 Die Drawing...


