❏
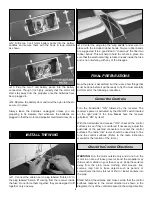
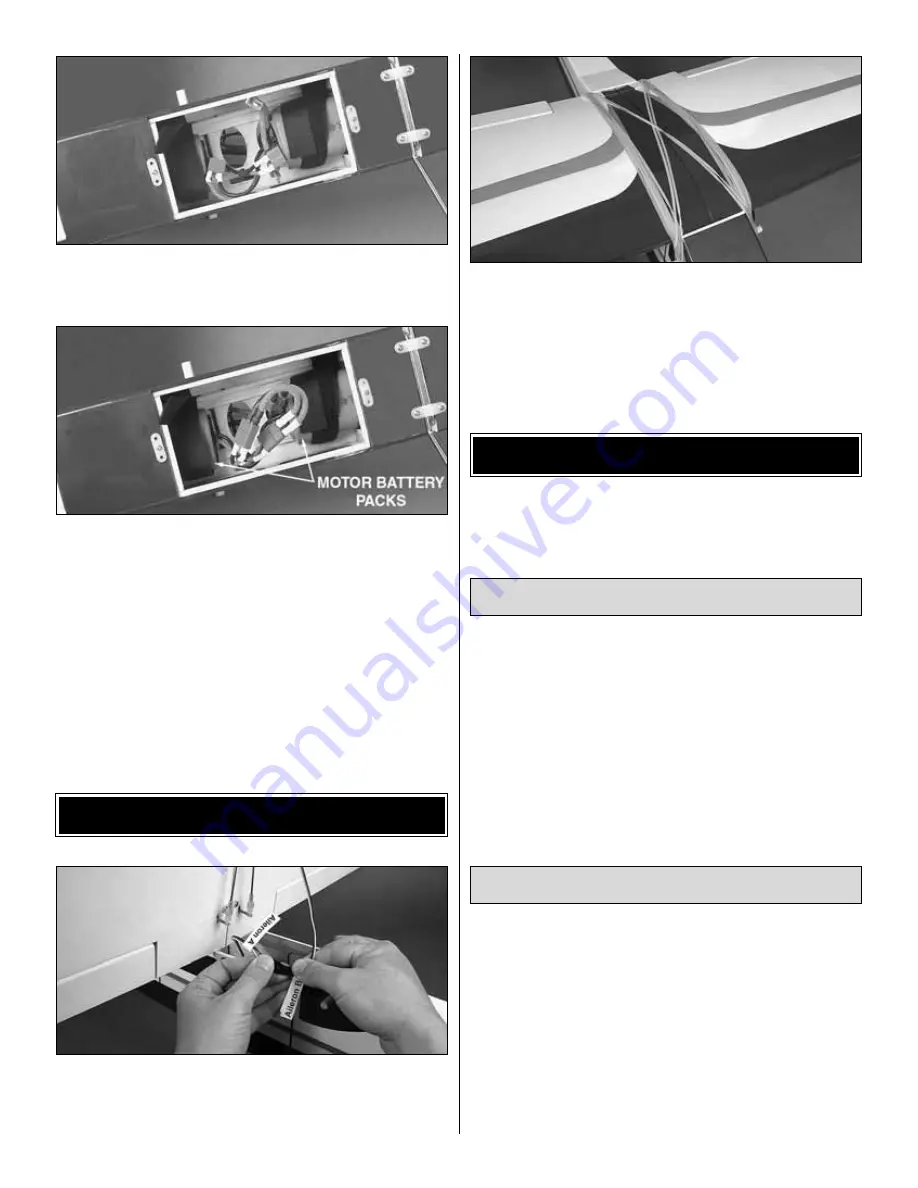
2. Slide two 7-cell motor battery packs into the battery
saddles and secure them with the hook & loop material
as shown.
❏
3. Plug the two 7-cell battery packs into the battery
connectors. Though it is highly unlikely that the motor will
start, stay away from the propeller once the batteries have
been plugged in.
❏
4. Replace the battery door and twist the nylon latches to
secure it in place.
Always leave the batteries unplugged unless you are
preparing to fly. Assume that whenever the batteries are
plugged in that the motor and propeller could start at any time.
❏
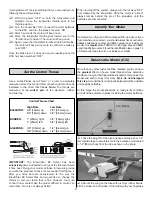
1. Connect the aileron servo plug labeled “Aileron A” to
the plug labeled “Aileron B” coming from the receiver inside
the fuse. Do not force them together; they are designed to fit
together only one way.
❏
2. Center the wing atop the “wing saddle” and secure it in
place with the included rubber bands. Twelve rubber bands
are suggested. It is a good idea to “crisscross” the final two
rubber bands. This will help to hold the others in place. Be
sure that the electrical wiring is tucked neatly inside the fuse
and is not interfering with any of the linkages.
Now the plane is assembled, but there are a few things that
must be done before it will be ready to fly. You must carefully
perform all of the following procedures.
Turn the transmitter “ON,” followed by the receiver. The
receiver’s power is activated by the ON/OFF switch located
on the right side of the fuse. Never have the receiver
(airplane) “ON” by itself.
With the transmitter and receiver “ON,” check all the control
surfaces to see if they are centered. If necessary, adjust the
pushrods at the pushrod connectors to center the control
surfaces. The radio “trim” levers should be used only to fine
tune the control surfaces. (Refer to the radio instruction
manual for the location of the trims.)
WARNING: Run the motor outside only and do not run the
motor in an area of loose gravel or sand; the propeller may
throw such material in your face or eyes. Keep these items
away from the prop: loose clothing, shirt sleeves, ties,
scarves, long hair or loose objects such as pencils, or
screwdrivers that may fall out of shirt or jacket pockets into
the prop.
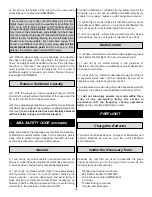
Stand behind the airplane and make certain that the control
surfaces respond in the correct direction as shown in the
diagrams. If any of the controls respond in the wrong direction,
Check the Control Directions
Center the Controls
FINAL PREPARATIONS
INSTALL THE WING
9


