the wing. Press the large propeller onto the motor at the
front of the fuselage. To prevent the prop from hitting, be
sure to leave a space, approximately 1/16", between the
propellers and the front of the motor covers and
fuselage.
❏
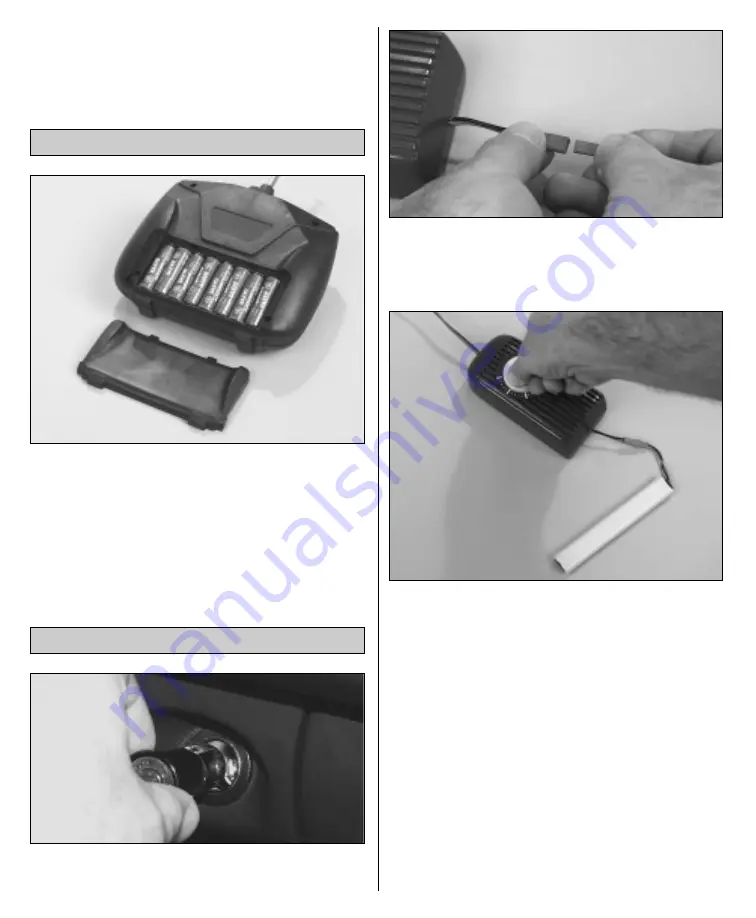
The transmitter that controls your airplane requires
power, in the form of eight “AA” batteries. To install the
batteries, just turn over the transmitter, remove the
battery hatch and install the batteries following the
diagram inside the battery compartment. Reinstall the
battery hatch, switch on the transmitter and check the
LED’s on the front of the transmitter. If both the red and
green lights are on, it is safe to fly. If only the red light is
on, you need to install fresh batteries.
❏
1. Plug the battery charger into a 12 volt power
outlet in a vehicle.
❏
2. Remove the battery pack from the box. Plug the
battery pack into the charger connector. Be careful - the
battery pack will plug in only one way.
❏
3. Rotate the timer knob on the charger to 20 minutes.
❏
❏
4. IMPORTANT! NEVER LEAVE A CHARGING BATTERY
UNATTENDED.
❏
5. During charging, feel the battery to see if it is
starting to warm up. A warmed up (but not hot) battery
pack is a sign that it is fully charged. Once the pack is
warm, disconnect it from the charger. Depending on
how much charge was already in the pack, you may
have to disconnect the battery early.
❏
6. After each flight, remove the battery pack from the
airplane and allow it to cool completely before
recharging.
CHARGE THE MOTOR BATTERY
INSTALL THE TRANSMITTER BATTERIES
6


