If however, the tail drops, the model is tail heavy and
the model will require weight on the nose to balance.
Determine how much weight will be required by
temporarily
placing varying amounts of Great Planes
“stick-on” lead weight (GPMQ4485) over the nose or
tail until the correct amount is determined. Our
prototypes required about 2-1/2 oz. [70g] of lead on
the tail to balance so it is likely that your model will
require some amount of tail weight as well. Don't be
alarmed if your model requires more or less tail
weight than ours did. There are several factors that
can determine the amount of weight required such as
the exact position and weight of the engine, density
of wood the model was constructed from, etc.
❏
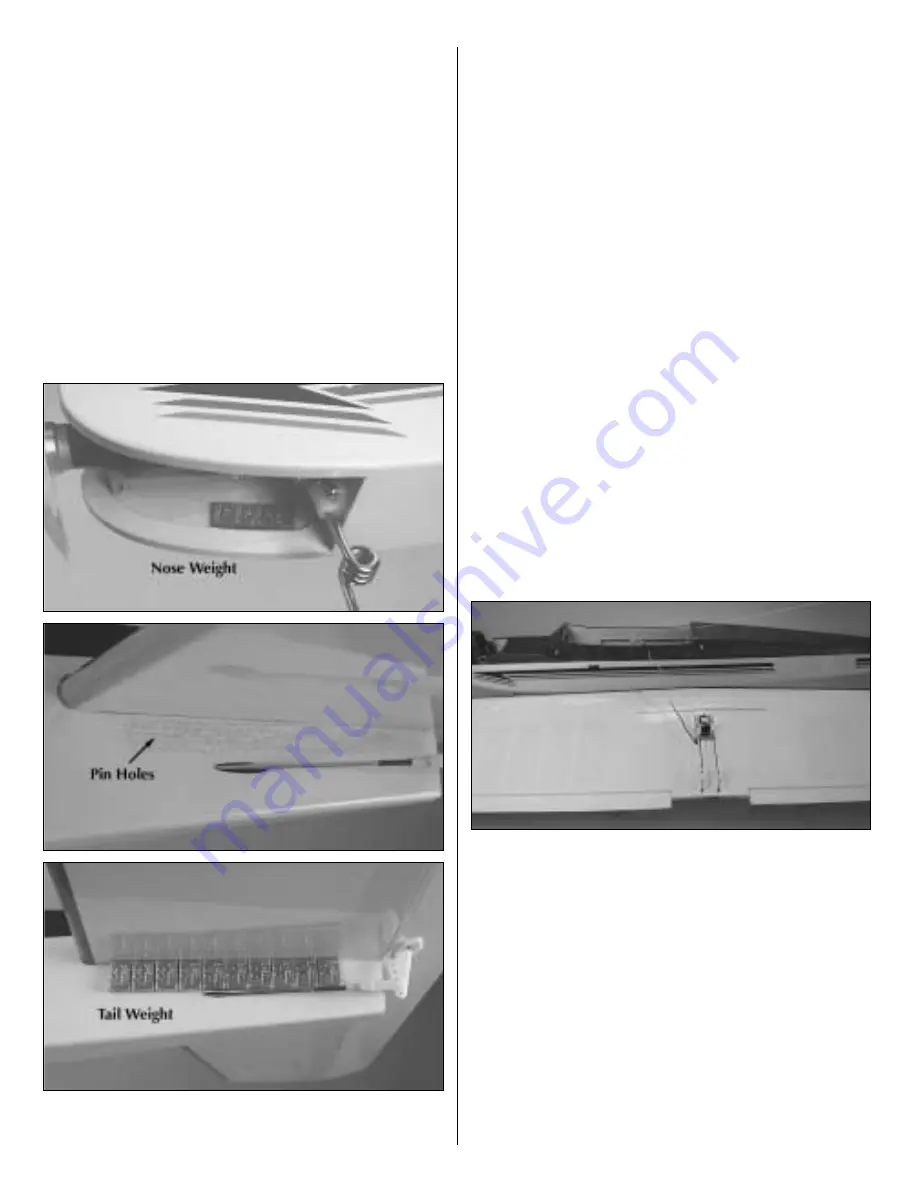
4. Attach weight to the model where required. If nose
weight is required it should be adhered to the firewall or
the inside of one of the fuselage sides in front of the
firewall. Due to the likelihood of fuel coming into
contact with the double-sided foam tape that holds the
lead in place, the best way to secure nose weight is to
scrape off the foam tape and permanently glue the lead
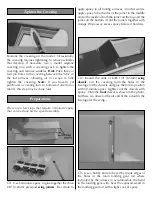
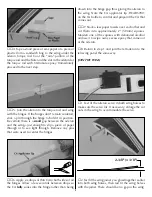
into place with epoxy. If tail weight is required, do not
simply adhere the lead to the covering. Instead, use a
pin to poke several holes in the covering over the left
side of the fuselage (opposite the engine exhaust) under
the stabilizer. Add several drops of thin CA to the area
to thoroughly bond the covering to the wood. Now the
lead may be stuck to the fuselage. Be certain any weight
stuck to the tail does not interfere with the pushrods.
Note:
An optional way to add nose weight, if required,
is to use a “spinner weight” (GPMQ4645 for 1 oz.
[29g] weight, or GPMQ4646 for 2 oz. [57g] weight).
Spinner weights are used in place of the prop washer.
❏
5.
IMPORTANT:
If you found it necessary to add
any weight, recheck the C.G. after the weight has
been added.
CENTER THE SERVOS
❏
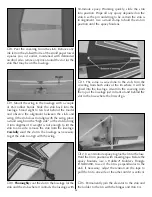
1. Set the wing upside-down on a small cardboard
box or a stand and place it next to the fuselage.
Connect the aileron servo wire from the wing to the
servo extension coming from the receiver.
❏
2. Take the servo arms off all the servos.
❏
3. Center all the trim levers on the transmitter.
Turn on the transmitter, then the receiver. (The idea
is to never have the receiver on by itself. When
turning off the system, turn off the receiver first, then
the transmitter.) This will “center” the servos.
Reinstall the servo arms on all the servos followed
by the screws that hold on the arms.
21


