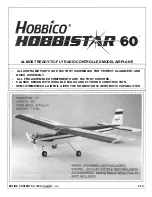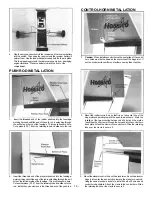
7. Using the same procedure for epoxying the hinges that was used in
Step 6, epoxy the three hinges into the horizontal stabilizer. Epoxy
two hinges into the vertical stabilizer.
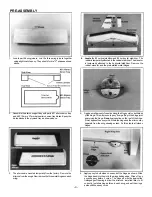
10. Remove the aileron and apply epoxy to the hinges and the part of the
torque rod that is inserted into the aileron. Also force a small amount
of epoxy into the torque rod hole that is in the aileron. Carefully install
the aileron onto the hinges and torque rod. Install the ailerons
onto both wings carefully. Make sure that no epoxy gets into the
torque rod hinge. Also be sure that there are no gaps.
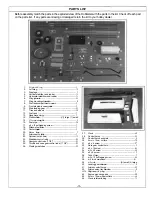
8. After the epoxy holding the hinges has cured, locate the ailerons that
were removed from the wing in Step 3. Test fit the aileron on the
wing. Be sure the torque rod fits in the hole in the edge of the aileron.
The torque rod is what will transmit motion from the servo to
the aileron.
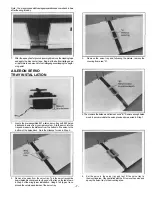
11. Install the rudder on the vertical stabilizer and elevator on the
horizontal stabilizer using the same procedure used for the aileron.
Be careful not to leave a gap at the hinge.
9. With aileron temporarily installed, there should be no gap. If the
plane is flown with a hinge gap of more than 1/16", flutter (a rapid
vibration) may be created. This flutter may cause the ailerons to
come loose or in severe cases, break the wing.
12. Coat the fuel tank compartment with an even thin coat of epoxy.
Coverall exposed balsa and plywood parts. Be careful not to fill any
holes. Also at this time coat the bottom of the #8 fuel tank
compartment cover. This will prevent the fuel from destroying the
- 5 - wood.

