❏
1. Disconnect the aileron servo pushrods from the aileron
horns and remove the original aileron servo.
❏
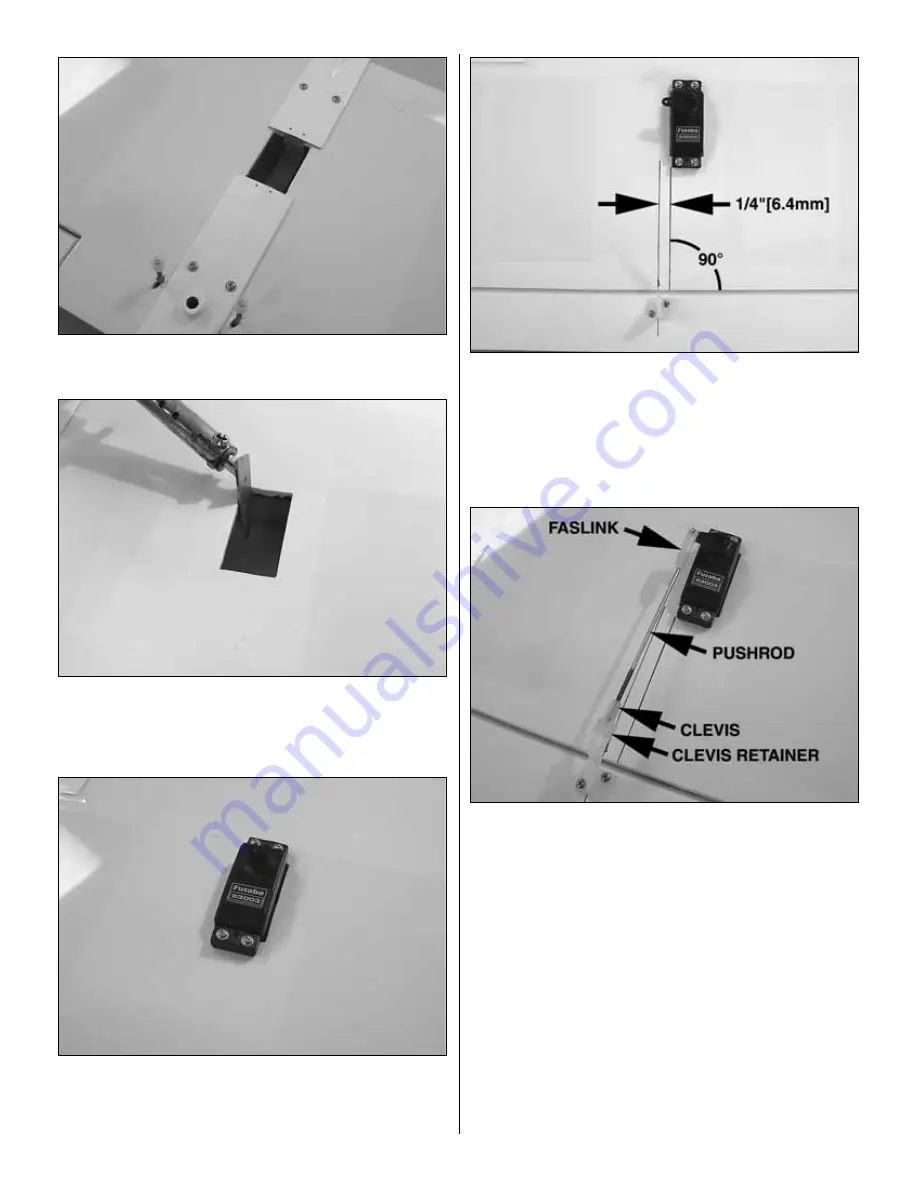
2. Locate the dual aileron servo trays in the wing. They
are located on the underside of the wing at the 6th bay in
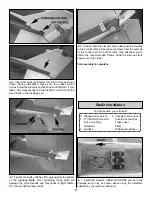
from the wing tip. Trim the covering over the opening and
use a sealing iron to seal the covering to the tray.
❏
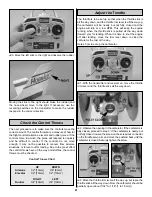
3. Connect both servos to the “Y” harness. Make sure the
“Y” harness exits through the hole in the center of the wing.
Use the strings pre-installed inside the wings to pull the
servo leads. Install the aileron servos into the trays.
❏
4. Install the aileron control horn (not included) on the
aileron as shown above. Make sure you use thin CA to
reinforce the holes in the aileron.
❏
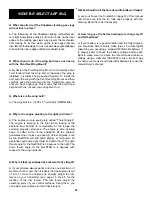
5. Cut the servo arm as shown above. Use a 6"[152mm]
pushrod, a clevis, clevis retainer and Faslink to make the
necessary aileron pushrod.
❏
6. Set up your new dual servos on your radio to have the
same aileron throw as the original airplane. Center the
servo arms and install the servo arm screws on them.
Your dual aileron servo installation is now finished.
Note: To install flaperons, you will need to upgrade to a radio
capable of flaperon mixing. In this case, the two aileron servo
leads will connect to two different channels in your receiver.
Follow your radio manufacturer's instructions to setup the
flaperon mixing in your Hobbico NexSTAR ARF.
28
Summary of Contents for NexStar ARF
Page 31: ...31 Correct Angle Rods Fin...
Page 32: ...32...


