7
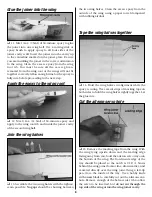
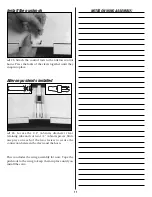
Mark the centerline on the joiner
❏
5. After the epoxy has cured and the clothespins
have been removed, draw a centerline on both sides
of the plywood
wing
joiners and the two balsa 5/16” x
1-7/16" (8mm x 36mm)
aileron
servo tray mounting
blocks. Use the plywood joiner as a template to mark
the wing
dihedral
angle on both of the balsa aileron
servo tray mounting blocks. Put these mounting
blocks aside for use in later steps.
Even the edges
❏
6. Using a flat sanding block or similar tool, sand
the wing roots so they will seat together with no gaps.
Do not sand off too much or the dihedral angle
could change.
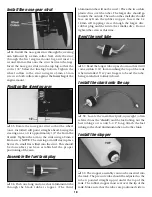
Mark the wing cavity
❏
7. Lay the wing halves on the work surface with the
white, flat side facing up. Place a mark at the trailing
edge of the wing joiner cavity, aft of the plywood
brace on each wing half. This wing joiner locator line
will serve as a guide when cutting out the aileron
servo hole.
Trial fit the wing joiner
❏
8. Trial fit the wing joiner in
both
wings by sliding
the joiner into the joiner cavity in the wing. The joiner
should slide in with little resistance up to
the centerline.Trial fit the wing halves together. The
two panels should fit flush with no gaps.
Sand the joiner
❏
9. If the wing joiner will not fit in the cavity, lightly
sand any excess epoxy and uneven surfaces from the
joiner edges, sides and ends.
Caution: A snug fit is
desirable between the joiner and the wing cavity. Do
not sand excessively.
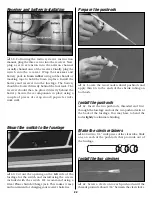
Viewing the wing dihedral
❏
10. Pay close attention to the orientation of the
wing joiner in relation to the dihedral of the wings
as shown.
Note: When performing the following steps 11 and 12,
be sure to use a sufficient amount of epoxy to form a
complete and solid bond between the plywood wing
joiner and the two wing halves. This is the most
important glue joint in the entire airplane.
Actual Size
Balsa Aileron Servo Tray Block (2)

