NOTE:
The DroneView camera’s maximum video length is 5 minutes. If video
is recorded for longer than 5 minutes the DroneView camera will automatically
close the video file and start a new file. There may be a short loss of video footage
during this switch to a new file. The DroneView will continue to create new video
files every 5 minutes of continuous recording until the memory card becomes
full or the battery is disconnected or the battery voltage drops below the abilty
for the camera to operate. Corrupt or missing files may result in video recording
being stopped in this way. When the battery voltage is low indicated by flashing
LEDs the camera will stop recording and save the video file. Videos and pictures
cannot be taken until the battery is recharged.
6. After you have retrieved your files from the memory card (copy the files you
wish to keep to a safe location) you can delete the files on the memory card.
The DroneView camera will create the sub folders it needs if they are deleted
from the card.
USING THE DRONEVIEW APP
The DroneView app is software for your WiFi-capable Apple or Android device
that allows you to connect to the DroneView camera to use the FPV (First Person
View) function as well as to take videos and pictures and upload and view them
directly to your device.
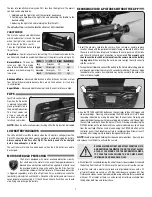
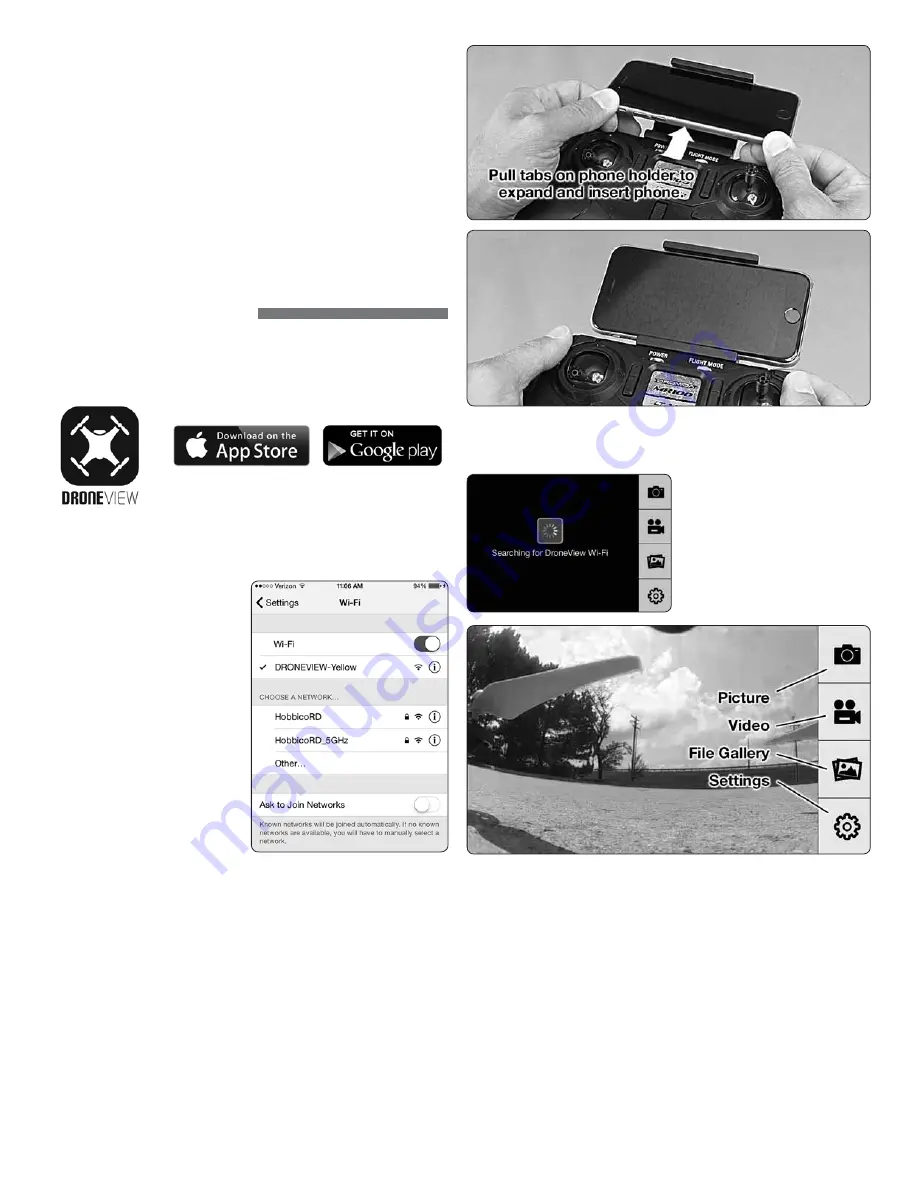
1. Install the “DroneView” app from Google Play (Android) or the App Store (Apple).
2. Insert the memory card into the camera and connect a charged LiPo battery
to the Vista.
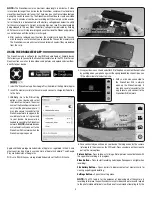
3.
iOS Only
- Go to the WiFi setting
options in your device and select
the DroneView network. The actual
name of the DroneView network will
vary from the photo shown here. It
may take several seconds for the
DroneView network to appear in the
available network list in proximity
to your device. No password is
needed to connect to the DroneView
network.
NOTE:
Android devices
will automatically connect to the
DroneView WiFi network when the
DroneView app is opened.
Apple and the Apple logo are trademarks of Apple Inc., registered in the U.S. and
other countries. App Store is a service mark of Apple Inc. Android™ and Google
Play are trademarks of Google Inc.
Wi-Fi
®
are Wi-Fi Alliance
®
are registered trademarks of the Wi-Fi Alliance.
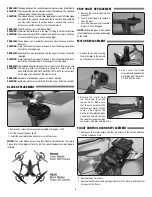
4. Grasp your device as shown and attach it to the phone mount on the controller
by pushing up on your phone against the spring loaded top clip until you can
fit the other side into the bottom clip.
5. With your device connected to
the DroneView WiFi network,
open up the DroneView app. It
may take several seconds for the
app to locate and connect to the
DroneView WiFi network.
6. Once connected you will see on your device the image seen by the camera
(referred to in this manual as the FPV feed). Press anywhere on the screen to
pull up the main options.
Picture Button -
Press to take a still image. Note: pictures cannot be taken with
the app while recording is in progress.
Video Button –
Press to start recording (red stop button appears on right when
recording).
File Gallery Button –
Opens gallery to display contents of memory card for
viewing, exporting and deleting.
Settings Button –
Opens the setting menu.
NOTE:
The FPV feed is for the purposes of displaying what the camera is
recording to improve the quality and accuracy of videos and pictures with respect
to the pilot’s intended field of view. We do not recommend attempting to fly the
4


