background image

HOBIE CAT 16 

Part description 

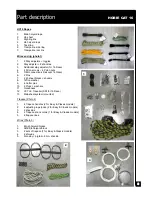
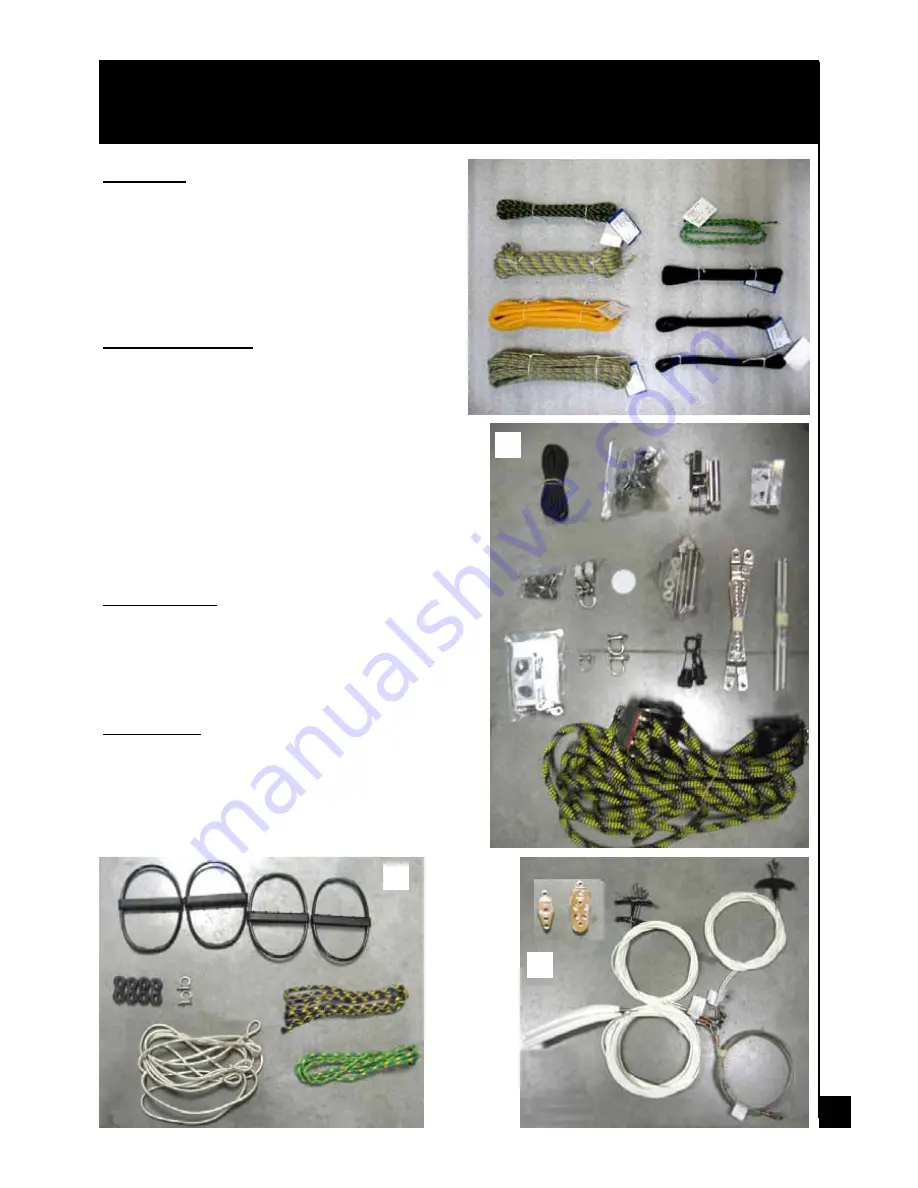
HC16 Ropes 

 
1. 

Main halyard rope 

2. Jib 

sheet 

3. Righting 

line 

4. Jib 

halyard 

rope 

5. Tack 

line 

6. 

Trampoline side line 

7. Trampoline 

rear 

line 

Wires and rig (photo1) 

 
1. 

2 Stay adj toggles  

2. 

Stay ad 2 shackles 

3. 

Additional stay adjuster (for 16 Race) 

4. 

4 Pylon  4 Pylon nuts  

5. 

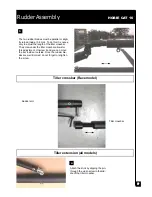
Tiller connection kit (except 16 Race) 

6. 2 

Pins 

7. 

2 jib sheet  shackle 

8. Teflon 

washer 

9. 

4 Cutter pins 

10. 

2 Plugs + washers  

11. Gooseneck 
12. 

CCT LE Traveller (SSI for 16 Race) 

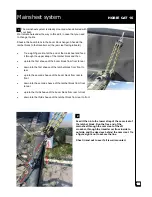
13. Mainsheet 

system 

(mounted) 

 
Trapeze (Photo 2) 
 
1. 

4 Trapeze handles (2 for Easy & Classic models) 

2. 

4 adjusting rope locks (2 for Easy & Classic models) 

3. 2 

shackles 

4. 

2 Trapeze shock cords (1 for Easy & Classic models) 

5. 

2 trapeze lines 

 
Wires (Photo 3) 
 
1. 

Big jib halyard blocks  

2. 

Small jib halyard block 

3. 

2 sets of trapeze (1 for Easy & Classic models) 

4. 2 

shrouds 

5. 

Fo p 8 mm shackle 

Summary of Contents for 16 Classic

Page 1: ...oulon Est BP 250 83078 Toulon cedex 9 France Tel 33 0 494 08 78 78 Fax 33 0 494 08 13 99 Email info hobie cat net http www hobie cat net Photo Pierrick Contin Last Update January 2008 ASSEMBLY MANUAL...

Page 2: ...classic 20 Spinnaker kit trumpet soft 21 Before sailing 22 Safety advices 23 Tools required One pair of pliers One rubber mallet 1 flat screwdriver 2 wrenches 17 and 10 1 driller with a 10 auger It is...

Page 3: ...except 16 Race 6 2 Pins 7 2 jib sheet blocks shackle 8 Teflon washer 9 4 Cutter pins 10 2 Plugs washers 11 Gooseneck 12 CCT LE Traveller SSI for 16 Race 13 Mainsheet system mounted Trapeze Photo 2 1 4...

Page 4: ...Use the soft mallet 1 2 Once the frame is assembled and fitted onto the hulls drive each corner casting down onto the pylon until the bolt holes line up Strike the casting directly over the pylon only...

Page 5: ...dge even with the forward crossbar Insert the forward edge of the trampoline into the front cross bar track adjacent to the cor ner casting and slide it all the way to the center Repeat this operation...

Page 6: ...he hole of the rudder pin so that it prevents it from falling down Do the same thing on the opposite side Make sure that the plastic cam has the nose up as indicated on the drawing TILLER SYSTEM Attac...

Page 7: ...tly turned inside 3 4 mm To do this it is neces sary to adjust the length of the tiller crossbar The screw under the tiller crossbar allows for this adjustment Unscrew it and you can move the bar insi...

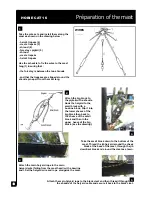
Page 8: ...around the shackle pin apart from the mast tang Attach the main halyard rope to the main halyard wire falling from the mast head with a bowline knot Set the halyard wire and rope alongside the mast P...

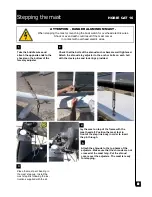
Page 9: ...ach the opposite ends to the shackle on the bottom of the forestay adjuster 1 2 3 4 Check that the bolts of the shroud anchor bars are well tightened Attach the shroud stay adjuster to the anchor bolt...

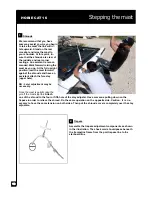
Page 10: ...e an assistant attach the forestay upper hole NB Later adjustment may be necessary Once the mast is upright take the pin off the mast step link Attach one of the shroud to the four or fifth hole of th...

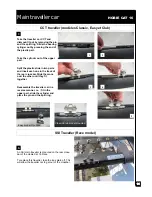
Page 11: ...crossbar Slide them one over the other until they fit together Reassemble the traveller car in a reverse manner i e fit in the upper part slide the cylinder and place the pin and the split ring 1 CCT...

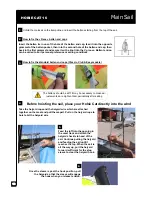
Page 12: ...ens should be stiff It may be necessary to make ad justements an re tighten them periodically after sailing Before hoisting the sail place your Hobie Cat directly into the wind Take the halyard rope a...

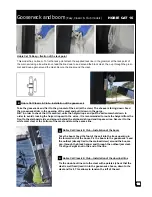
Page 13: ...he cleat Secure the line around the cleat 1 Hobie Cat Classic Club installation of the gooseneck Take the gooseneck and fix it to the groomet of the sail at the clew The sheave is facing down Feed the...

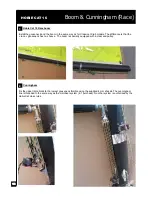
Page 14: ...rence is that the race gooseneck has no sheave The boom is specially equipped with a cleat and pulley Cunningham Fix the upper triple block to the lowest gooseneck thimble using the supplied 4 mm shac...

Page 15: ...rom front to rear down into the first sheave of the ratchet block from front to rear up into the second sheave of the boom block from rear to front down into the second sheave of the ratchet block fro...

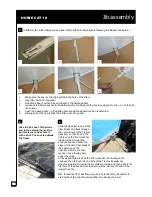
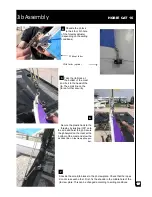
Page 16: ...NB to lead the jib sheet from one jib block to the other be careful to stay inside of the boat Never lead the rope behind the mast Jib assembly Unfold the jib on the trampoline and inser t the batten...

Page 17: ...rity Secure the plastic hank to the forestay by twisting it 90 onto the wire and hoist the jib Secure the jib halyard on the cleat at the bottom of the mast and stow the excess line on the trampoline...

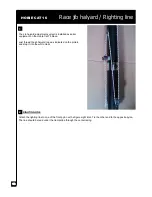
Page 18: ...the jib halyard rope as indicated on the picture and stop it into the white cleat Race jib halyard Righting line RIGHTING LINE Attach the righting line to one of the front pylon with a figure eight k...

Page 19: ...19 HOBIE CAT 16 Classic spinnaker kit option...

Page 20: ...20 HOBIE CAT 16 Trumpet spinnaker kit option...

Page 21: ...to transport your Hobie on the beach even if it is sand beach and for launching Step into the water with the dolley and once the cata is afloat take out the dolley DO NOT BEACH Beaching even smoothly...

Page 22: ...wim Never sail without a righting line Wear appropriate clothes Wear a wet suit or dry suit in cold weather or cold water conditions Learn the right of way rules and when in doubt give way to others W...

Reviews: