8
AerocrAft cAm quAd user’s Guide
prepArinG to fly the AerocrAft cAmquAd quAd-copter
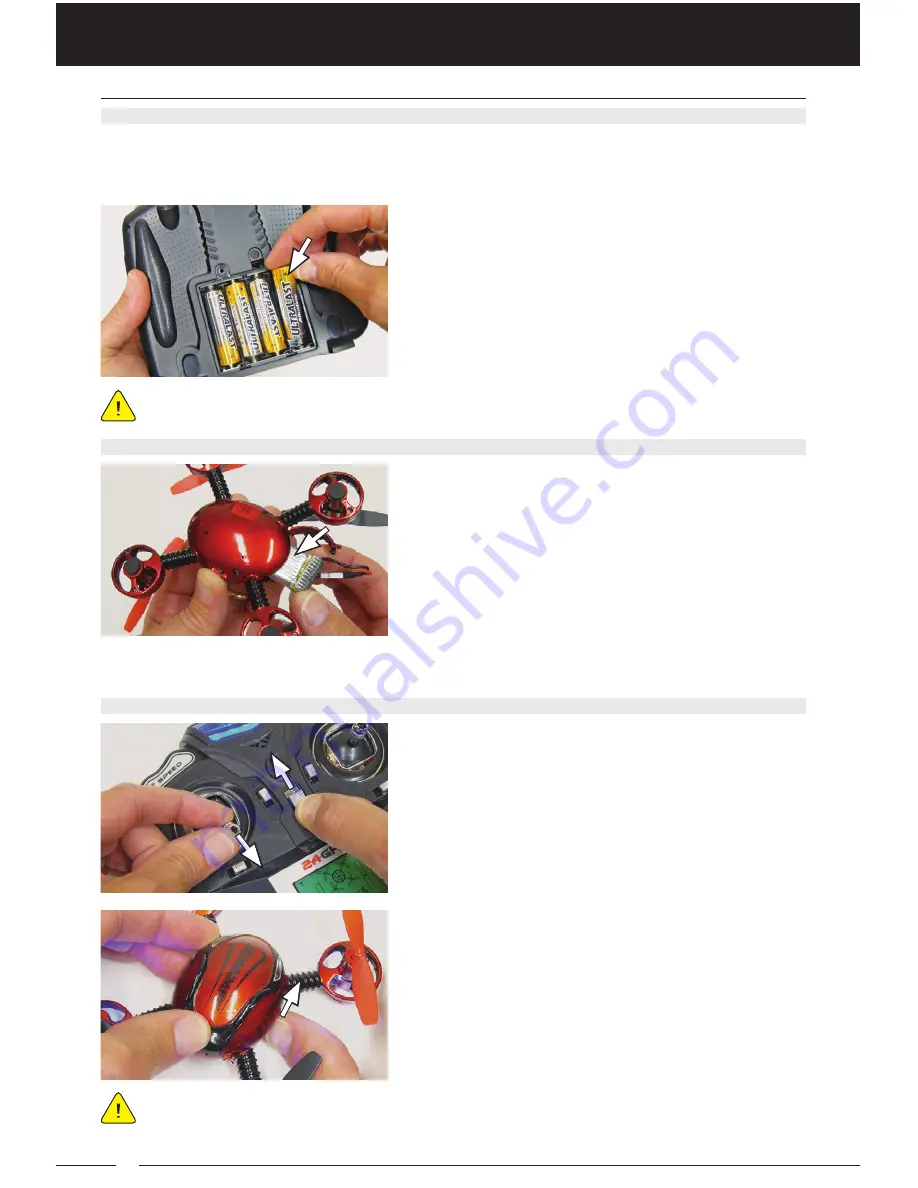
1) Verify that the transmitter On/Off switch is in the OFF position.
2) Using a small Phillips head screwdriver, remove the screw that secures the battery cover
on the back of the transmitter, then remove the battery cover by lifting up on the small tab.
3) Install four new ‘AA’ alkaline batteries into the battery
holder, double-checking to make sure that the
polarity (+/-) is correct. Reinstall the battery cover.
Use only new batteries. Do not mix new and used batteries and do not mix battery types.
instAllinG the trAnsmitter bAtteries
instAllinG the lipo bAttery
1) Verify that the Quad-Copter On/Off switch is in the
OFF position.
2) Pull open the battery cover on the back of the
Quad-Copter.
3) Plug the LiPo battery into the matching connector in
the Quad-Copter, then carefully slide the LiPo battery
all the way inside the body.
4) Push the excess battery wires into the body, then close the battery cover, making sure that it
snaps closed. Be careful not to pinch or otherwise damage the battery wires.
cAlibrAtinG the Gyro And ArminG the esc
1) Make sure that the left control stick (throttle) is pulled
all the way back.
2) Turn the transmitter ON. The transmitter will make an
audible tone and the Power Indicator will flash.
To ensure that the gyro calibrates correctly, the Quad-Copter must be sitting on a flat, level
surface when you turn it ON. Do not move the Quad-Copter until after the calibration
process is complete. If the calibration process fails, turn the Quad-Copter OFF, then repeat step 3.
3) Set the Quad-Copter on a flat, level surface, then turn
the Quad-Copter ON. The two Power Indicators and
the LED lights will flash rapidly for approximately 5
seconds, indicating the gyro is calibrating, then they
will begin to flash slowly, indicating the calibration
process is complete and the Quad-Copter is ready
to be armed.


