Page 12
pREpARING TO DRIvE YOUR OUTLAW RTR BUGGY
Continued On Next Page
q
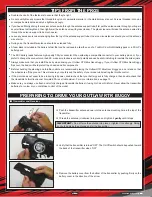
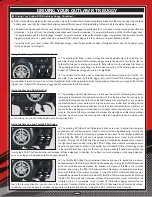
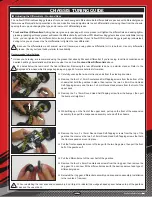
With the ESC On/Off switch in the 'OFF' position, plug your battery connector into
the ESC battery connector, making sure that the polarity is correct. Positive (red) to
positive (red) and negative (black) to negative (black).
q
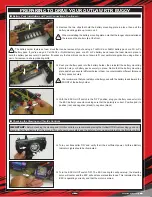
Push your battery pack into the battery holder, then reinstall the battery mounting
plate to hold your battery pack securely in place. Notice that the battery mounting
plate posts have several different holes in them to accommodate different thickness
battery packs securely.
We recommend that you install your battery pack with the battery leads toward the
FRONT of the battery holder.
n
Battery Pack Installation and Power Connections, Continued....
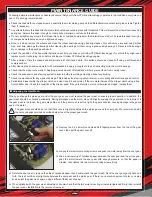
The battery holder features a foam block that can be removed if you're using a 7 cell Ni-Cd or Ni-MH battery pack or a 3S Li-Po
battery pack. If you're using a 6 Cell Ni-Cd or Ni-MH battery pack, or a 2S Li-Po battery pack, leave the foam block in place to
hold the battery pack securely in position. If necessary, the foam block can be cut down to fit your particular application, using either a
pair of scissors or a sharp modeling knife.
2S 5000mAH Li-Po Shown
n
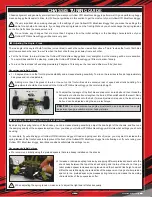
Checking the Steering and Throttle Controls
IMPORTANT:
Before checking the steering and throttle controls, we recommend placing the
Outlaw RTR Brushless Buggy
on a car
stand so that the wheels are off the ground. This will ensure your safety and the safety of your model while testing the throttle control.
q
Turn the ESC On/Off switch 'ON'. The ESC cooling fan will power up, the steering
servo will center and the ESC will emit several audible tones. This indicates that the
ESC is operating correctly and that the motor is armed.
q
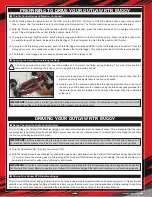
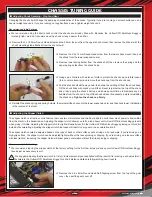
Turn your transmitter 'ON' and verify that it has sufficient power. All three Battery
Indicator Lights should be illuminated.
q
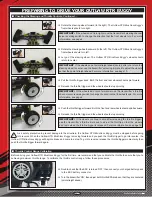
Remove the two clips that hold the battery mounting plate in place, then pull the
battery mounting plate up to remove it.
When reinstalling the battery mounting plate, note that the longer clip is installed at
the rear and the shorter clip at the front.
Summary of Contents for Outlaw 4WD
Page 1: ...Page 1 Kit Product 143400...
Page 37: ...Page 37 NOTES Continued On Next Page...
Page 38: ...Page 38 NOTES...

