Page 21
ChASSIS TUNING GUIDE
The
Outlaw RTR Brushless Buggy
features front and rear bevel gear differentials. Both differentials are packed with differential grease
that works well for most driving conditions. You can make fine-tuned adjustments to each differential by removing them from the chassis,
opening them up and changing the type and/or amount of differential grease.
l
Front and Rear Differentials:
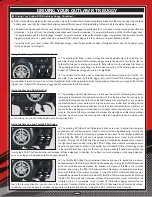
Adding heavier grease (or packing with more grease) will tighten the differentials and adding lighter
grease (or packing with less grease) will loosen the differentials. If your
Outlaw RTR Brushless Buggy
feels loose (uncontrollable) during
turns, you can tighten the front differential or loosen the rear differential. If your
Outlaw RTR Brushless Buggy
is pushing (understeer)
during turns, you can loosen the front differential or tighten the rear differential.
n
Adjusting the Differentials - Front and Rear
recommended initial settings
l
Unless you're racing, we recommend using the grease that already fills each differential. If you're racing, local track conditions and
desired handling characteristics will determine what to use. See
Front and Rear Differentials
above.
Because the differentials are not sealed, we don't recommend using silicone differential oil to tune them. Use only differential
grease. Check your local hobby retailer for availability.
q
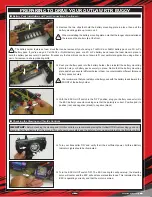
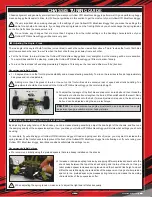
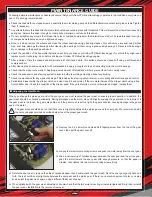
Carefully unsnap the two outer tie-rod ends from the steering knuckles.
q
Remove the four 3 x 12mm Countersunk Self-Tapping screws from the bottom of the
chassis that hold the gearbox in place, then remove the two 3 x 8mm Round Head
Self-Tapping screws and the two 3 x 8mm Round Head screws from the front of the
upper deck.
q
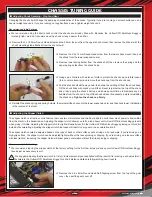
Remove the 3 x 12mm Round Head Self-Tapping screw from the bumper, then pull
the bumper straight out.
q
While lifting up on the front of the upper deck, pull up on the front of the suspension
assembly, then pull the suspension assembly out and off the chassis.
q
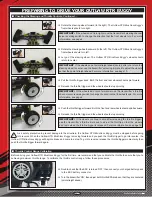
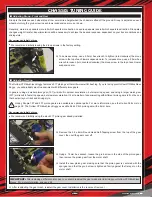
Remove the two 3 x 15mm Round Head Self-Tapping screws from the top of the
gearbox, then remove the two 3 x 38mm Round Head Self-Tapping screws that hold
the front suspension mount in place.
q
Pull the front suspension mount off, along with the two hinge pins, then pull the front
half of the gearbox off.
q
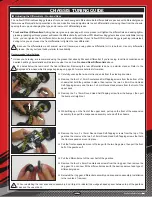
Pull the differential out of the rear half of the gearbox.
q
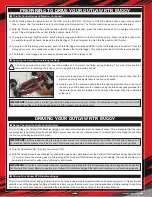
Remove the four 2 x 9mm Countersunk screws from the ring gear, then remove the
ring gear. You can now fill the differential case with the desired amount and type of
differential grease.
q
Reinstall the ring gear, differential assembly and suspension assembly. Installation
is the reverse of removal.
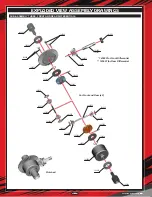
We detail below the removal of the front differential. Removing the rear differential is done in a similar manner. Refer to the
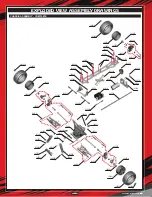
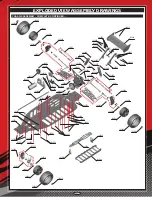
Exploded View Assembly Drawings beginning on page 25 for more detailed information.
When reinstalling the rear suspension assembly, don't forget to reinstall the wedge-shaped spacer between top of the gearbox
case and the upper deck.
Continued On Next Page
Summary of Contents for Outlaw 4WD
Page 1: ...Page 1 Kit Product 143400...
Page 37: ...Page 37 NOTES Continued On Next Page...
Page 38: ...Page 38 NOTES...

