□
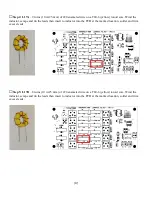
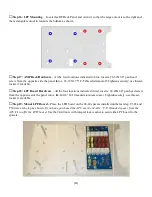
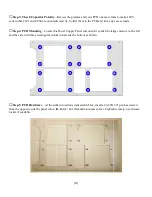
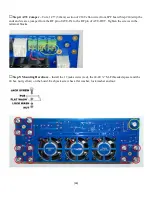
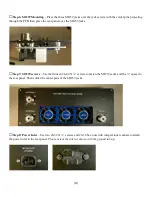
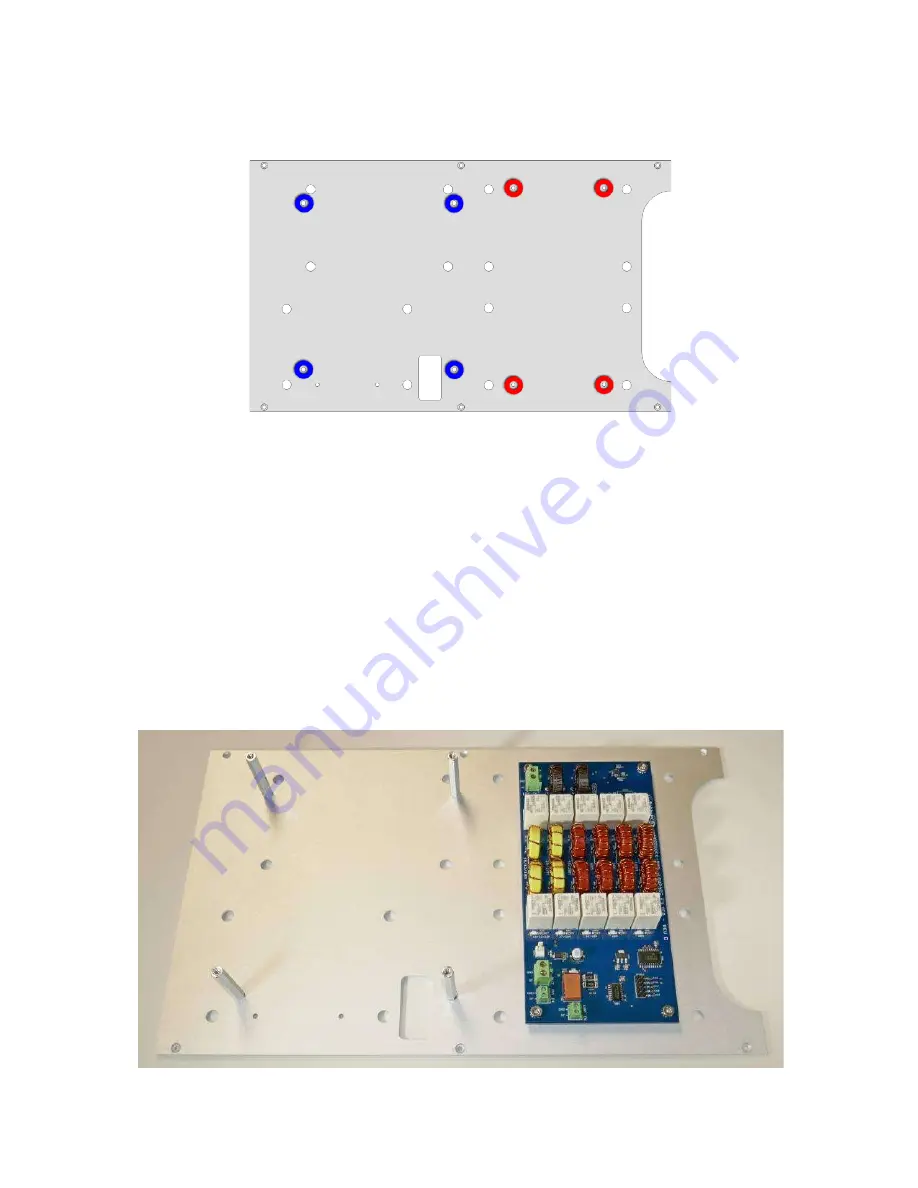
Step 16: LPF Mounting
– Locate the RF De
the rectangular cutout in towards the bottom as shown
□
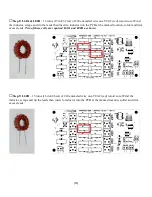
Step 17: AMP Deck Hardware
– At the
screw from the opposite side the panel into a
locker if available.
□
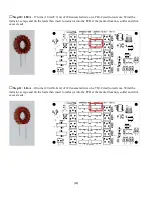
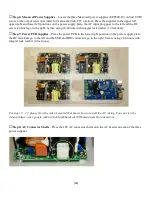
Step 18: LPF Board Hardware
– At the four locations indicated in red, insert a
from the opposite side the panel into a
#4
locker if available.
□
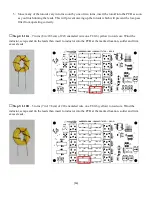
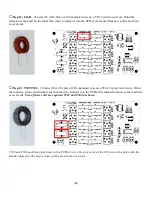
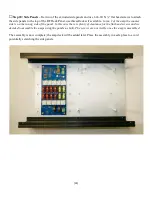
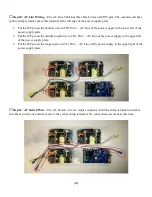
Step 19: Mount LPF Board –
Place the LPB board on the #4
T304 are at the top as shown.
If you have purchased the ATU use t
ATU kit to affix the LPD board.
Use the #4
spacers.
[23]
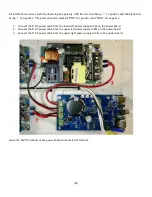
Locate the RF Deck Panel and orient it so that the large cutout is to the right and
the rectangular cutout in towards the bottom as shown
At the four locations indicated in blue, insert a #6-
he panel into a #6-32X1.75" F-F threaded stand-off. Tighten
At the four locations indicated in red, insert a #4-40X1/4"
#4-40 1/4" M-F threaded aluminum spacer
. Tighten securely, use thread
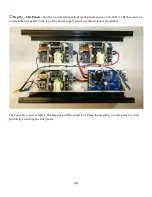
Place the LPB board on the #4-40 spacers installed in the last step. T303 and
If you have purchased the ATU use the #4-40 1” F-F threaded spacer from the
Use the #4-40 nuts with integral lock washer to secure the LPF board to the
ck Panel and orient it so that the large cutout is to the right and
-32X3/8" pan head
off. Tighten securely; use thread-
40X1/4" pan head screw
. Tighten securely, use thread-
40 spacers installed in the last step. T303 and
F threaded spacer from the
nuts with integral lock washer to secure the LPF board to the

