[52]
□
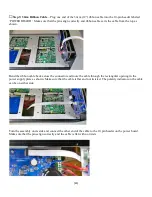
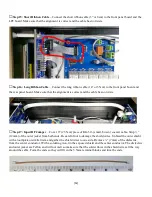
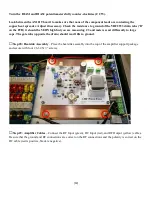
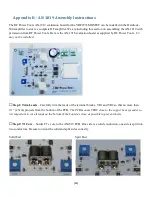
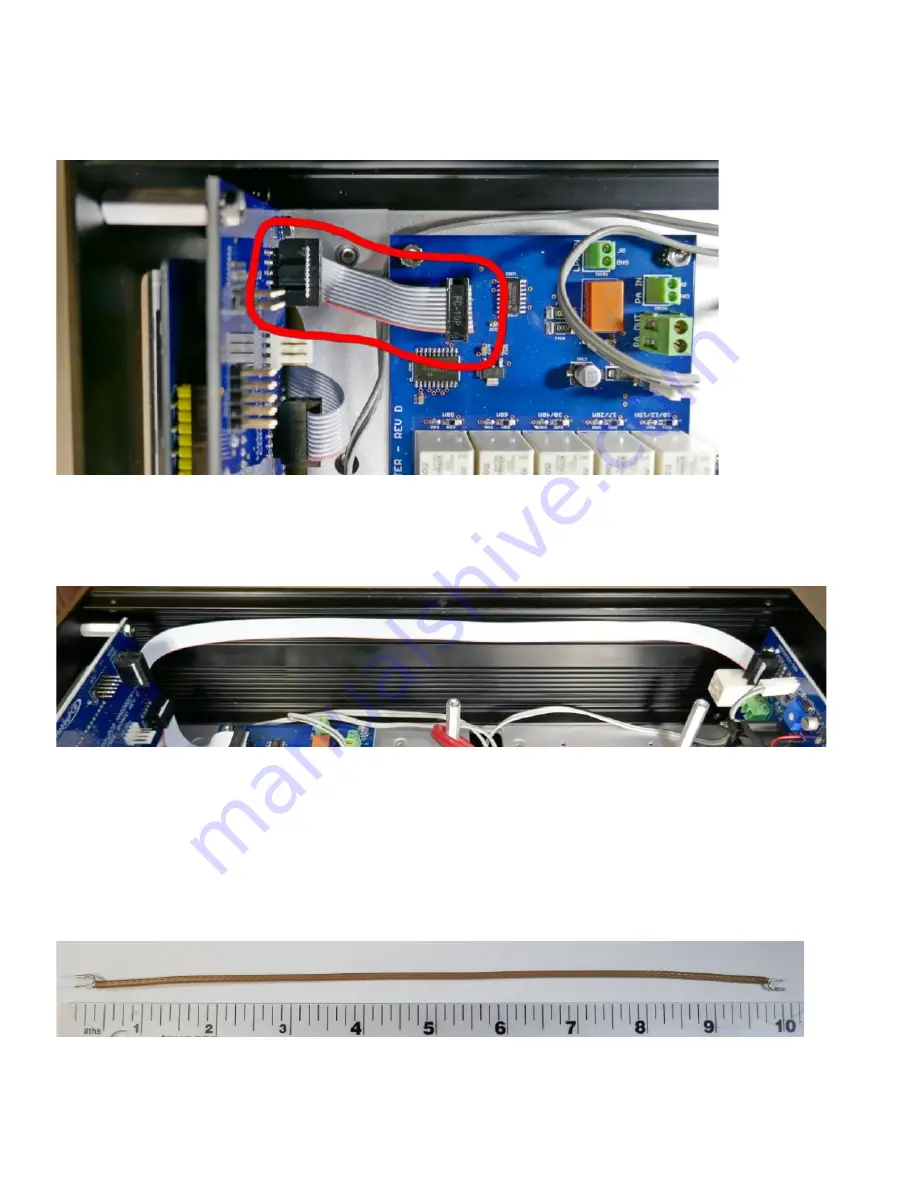
Step 15: Short Ribbon Cable
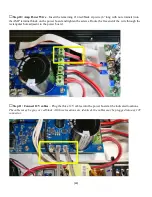
– Connect the short ribbon cable (3” or 8cm) to the front panel board and the
LPF board. Make sure that the alignment is correct and the cable has no twists.
□
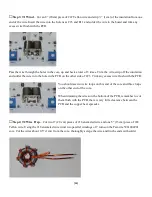
Step 16: Long Ribbon Cable
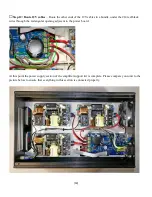
– Connect the long ribbon cable (14” or 35cm) to the front panel board and
the rear panel board. Make sure that the alignment is correct and the cable has no twists.
□
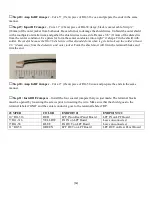
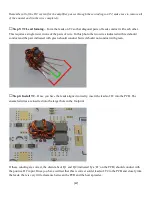
Step 17: Input RF Jumper
– Cut a 10” (25.5cm) piece of RG-316 (small, brown) coaxial cable. Strip ½”
(12mm) of the outer jacket from both ends. Be careful not to damage the shield wires. Unbraid the outer shield
with a toothpick or similar item and gather the shield wires to one side. Remove ¼” (7mm) of the dielectric
from the center conductor. With a soldering iron, tin the exposed shield and the center conductor. The dielectric
and outer jacket are Teflon and will not melt so make sure that the solder flows in the shield wires all the way
around the cable. Form the ends so they will fit in the 3.5mm terminal blocks and trim the ends.

