26
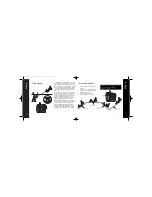
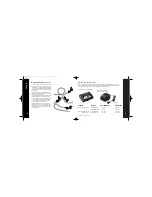
Step 16
Step 17
27
Multi Mode Flight Control System
continued
Pro Mode
Pro Mode turns off Flight-Trak™, and changes the tail controls
into a standard V-tail mixer. In this mode, steering input moves
one control surface up, and the other one down. This causes
more pure yaw control. The plane will not tend to keep its nose
up or climb when steering is input. Secondly, Pro Mode increas-
es the control throws all of the time. This allows for faster, more
aggressive control response.
Pro Mode is great for aerobatics and engaging friends in aerial
combat with the Sonic Combat Module™. It’s easier to keep the
nose down and the speed up, and you can cross over onto an
opponent’s tail much faster.
Success Tip:
We strongly recommend you spend your first few flights in Pro
Mode at higher altitudes where there is a greater margin of
safety.
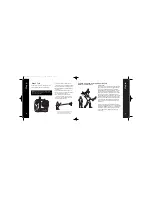
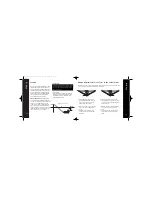
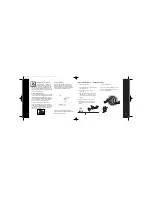
Entering Pro Mode
1. Move the throttle slider down to the Off position.
2. Make sure the flight battery has been unplugged
from the plane for several seconds and that the
transmitter is off.
3. Plug the battery into the plane (Keep head away
from propeller).
4. Push the control stick forward (DOWN elevator)
and hold it there. Turn the transmitter power on,
and after about 2 seconds, release the control
stick. You are now in Pro Mode.
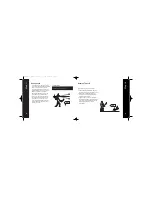
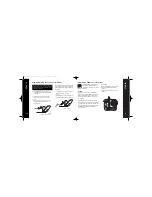
Confirm Pro Mode
1. Move the control stick directly to the right.
2. If the left surface moves up and the right surface moves down,
you are in Pro Mode. (If left surface moves up and the right
surface stays level, you are in Sport Mode. Disconnect the
battery and turn the transmitter off and try again.)
Note: The system is reset each time you disconnect the flight bat-
tery. If you do not follow the steps to enter Pro Mode, the system
defaults to Sport Mode.
Aerobatic Flight
The Aerobird Xtreme™ comes out of the box with the controls
set for beginning pilots. By adjusting the control lines to holes on
the control horns that are closer to the control surfaces, you will
give the Aerobird Xtreme more control response for aerobatic
maneuvers like loops and tail slides (good for experienced
pilots). Moving the control lines further from the control surfaces
will soften the Aerobird Xtreme responsiveness and make it
easier to fly (good for beginning pilots).
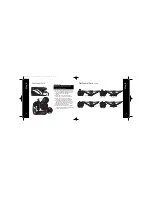
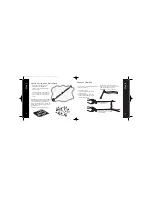
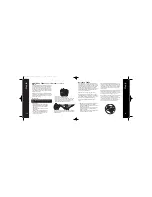
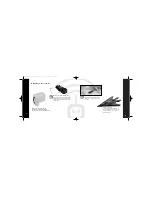
Moving the control line to adjust the control response:
Note: Only adjust one control surface at a time so you don’t
accidentally mix them up. Use your fingers or a small, straight-
blade screwdriver to turn the control horn spool. There is also a
small stainless steel tool included to help turn the spool.
Do not turn the small Phillips screw that holds the spool
in place.
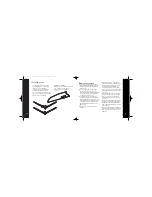
1.Remove the control line from the horn by turning the spool
to unwrap the line and pull the line out of the horn.
2. Thread the line through the desired control horn hole, then
through the hole in the spool.
3. With the elevator in the down position as shown, pull the
excess line through the horn so the control line to the
fuselage is nearly tight.
4. Turn the spool to take up slack in the line until the control
surface is even with the rest of the tail.
To mechanically adjust the trim of each individual control
surface and fine-tune handling, turn the spool in the desired
direction by either taking up line and raising the control sur-
face or letting out line and lowering the surface. Gently pull
out any slack in the control line if you let out line to lower
the control surface.
After making any adjustments, always turn on the transmitter
and center the transmitter trim levers, making sure the con-
trol surfaces are adjusted evenly, and the surfaces move in
the proper directions before you fly (see pages 10–11).
NOTE: By making the controls more responsive, the Aerobird
Xtreme will also become less forgiving, increasing your
chances of a crash. If you do not have prior experience with
a 3-channel or higher airplane, you should seek the
assistance of an experienced radio control pilot before you
fly, as crash damage is not covered by the warranty.
5723_HBZ Aerobird X manual 12/15/03 1:55 PM Page 26


