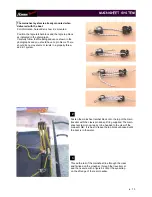
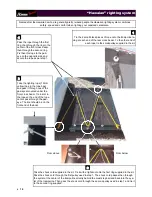
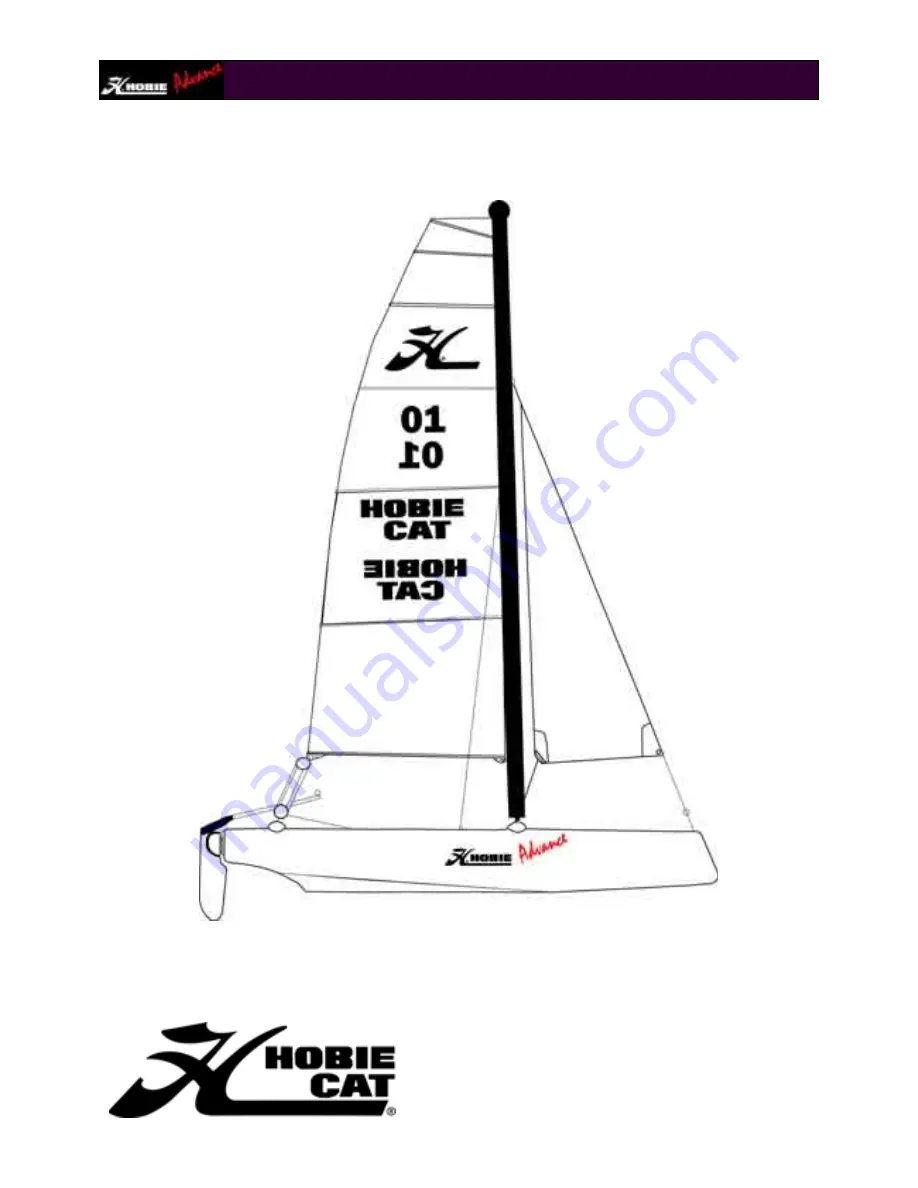
Hobie ADVANCE, Assembly Manual
Introducing the Hobie ADVANCE, an exceptional watercraft that surpasses boundaries. Dive into your adventurous spirit with our Assembly Manual, meticulously crafted to guide you through effortlessly assembling your ADVANCE. Download it for free from our website and embark on unforgettable journeys with your new companion.
Share
Download


Reviews:
No comments
Related manuals for ADVANCE
F-22
Brand: FARRIER MARINE Pages: 52

37
Brand: Tayana Pages: 85
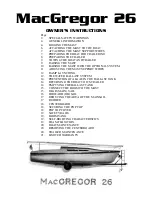
26
Brand: MACGREGOR Pages: 22
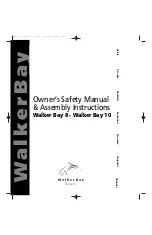
8
Brand: Walker Bay Pages: 16

110
Brand: J Pages: 30

42
Brand: Lagoon Pages: 122
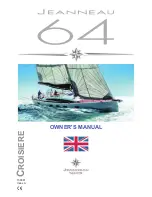
64
Brand: Jeanneau Pages: 80

380
Brand: Lagoon Pages: 114
3500
Brand: Tartan Pages: 42
Express
Brand: Malibukayaks Pages: 19
Laser Pro
Brand: Vanguard Sailboats Pages: 8

Sport
Brand: TAKACAT Pages: 12

Fun
Brand: Jeanneau Pages: 15
RX1
Brand: NEILPRYDE Pages: 4
F18
Brand: Falcon Pages: 41

Heron
Brand: Feathercraft Pages: 23

Wisper
Brand: Feathercraft Pages: 23

53
Brand: Jeanneau Pages: 58


