$VVHPEO\,QVWUXFWLRQV
7KH+RELH%UDYRZDVGHVLJQHGWRPLQLPL]HQRWRQO\WKH
DPRXQWRIULJJLQJWLPHEXWDOVRWKHFRPSOH[LW\RILQLWLDO
DVVHPEO\)ROORZWKHVHIHZEDVLFLQVWUXFWLRQVDQG\RX
DUHUHDG\WRULJ
1RWH<RXUGHDOHUPD\KDYHDOUHDG\SHUIRUPHG
VRPHRIWKHDVVHPEO\GHWDLOHGEHORZ
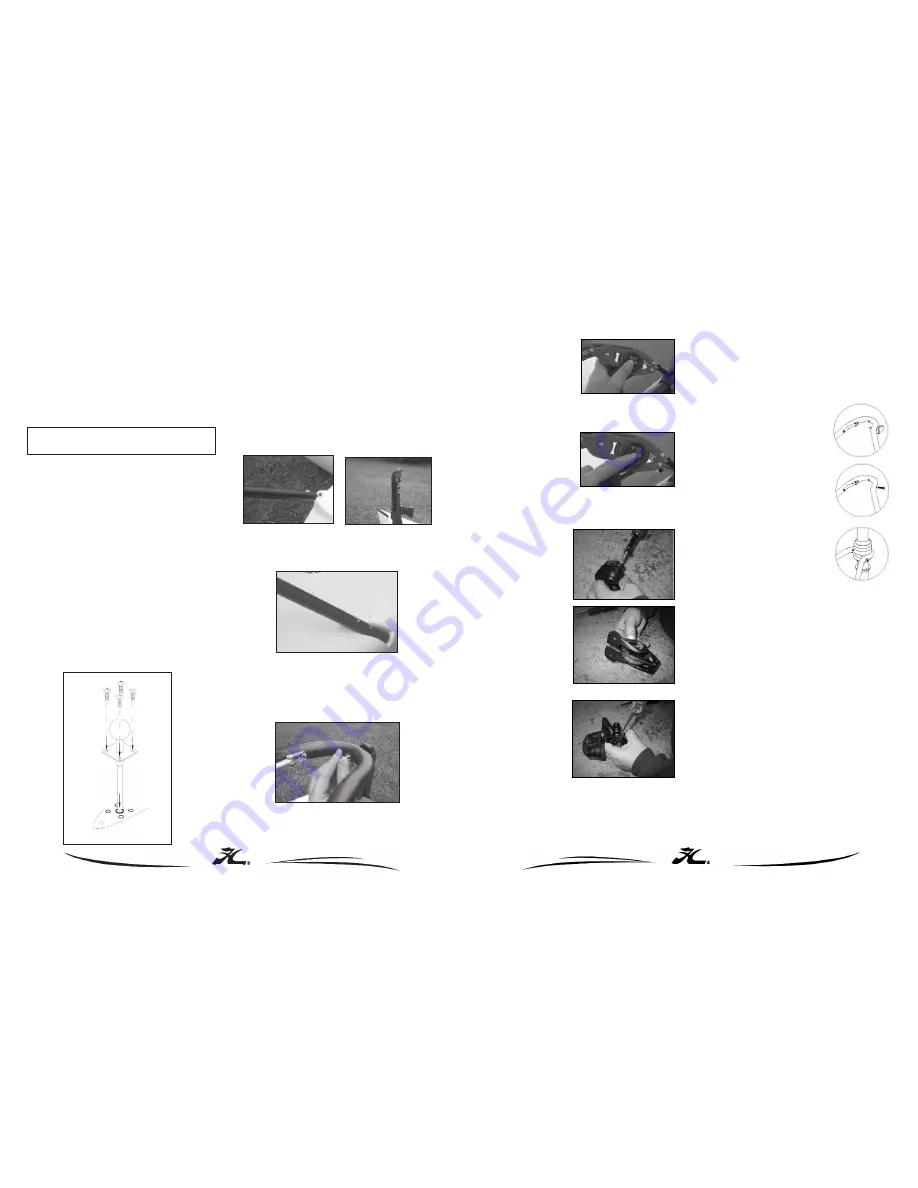
0DVW%DOO,QVWDOODWLRQ
5HPRYHSDFNDJLQJIURPWKHPDVWEDOO
,QVHUWHQGRIPDVWEDOOLQWRWKHKROHRQWKHVPDOOIODW
LQIURQW RI WKH ´ KDWFK 7XUQ VR WKDW WKH KROHV RQ WKH
PDVW EDOO SODWH DUH DOLJQHG ZLWK WKH EUDVV LQVHUWV RQ
WKHKXOO
2SHQWKHSDFNDJHRIVFUHZVLQWKHULJNLWER[
,QVHUW DQG WLJKWHQ VFUHZV LQWR HDFK RI WKH KROHV LQ
WKHSODWH3ODFHDVPDOOGURSRI/RFWLWHRQHDFKVFUHZ
EHIRUHLQVWDOOLQJ
$)UDPH$VVHPEO\
6HSDUDWHWKH$)UDPHDQGYHUWLFDOVXSSRUWWXEHIURP
HDFKRWKHU
,QVHUW WKH ERWWRP VFUHZ RI WKH YHUWLFDO VXSSRUW LQWR
WKH WKUHDGHG LQVHUW LQ IURQW RI WKH PDVW EDOO 2QFH
FRPSOHWHO\VFUHZHGLQEHVXUHWKDWWKHFRQQHFWRUDWWKH
WRS RI WKH WXEH IDFHV WRZDUG WKH EDFN RI WKH ERDW WKH
KDOIURXQG LQ WKH FRQQHFWRU IDFHV WRZDUG WKH EDFN ,I
WKH FRQQHFWRU GRHVQW IDFH WKH SURSHU GLUHFWLRQ HLWKHU
WLJKWHQRUORRVHQLWWRDGMXVWWRWKHSURSHUSRVLWLRQ
3ODFH WKH DUPV RI WKH $)UDPH LQWR HDFK RI WKH
GHVLJQDWHG VORWV LQ WKH KXOO 'R QRW ZRUU\ DERXW
WKUHDGLQJLQWKHVFUHZVLQWKLVVWHS
/RRVHO\ FRQQHFW WKH WLS RI WKH $)UDPH WR WKH
FRQQHFWRURQWKHYHUWLFDOWXEHXVLQJWKHKH[KHDGVFUHZ
IRU WKH YHUWLFDO VXSSRUW 7KLV ZLOO KHOS KROG WKH HQG XS
ZKLOH\RXDOLJQWKHRWKHUKROHV
18
SAIL POWER
Face the sail in order to pay close attention to the trim or
adjustment of the sail. When the front of the sail just
behind the mast luffs, or flutters, in the breeze, you lose
power. To start moving, pull the sail in just enough to
stop the sail from luffing.
Refer to the sail trim diagram on the next page for a
approximate sail settings for the different points of sail
or directions you will be sailing. Note the "can't sail
zone". You cannot sail in this direction as the sail will
luff constantly when pointed into the wind. If you get
stuck “in irons” (stopped pointed into the wind) you will
need to reverse the rudder and push the sail forward to
back-wind it. This will back the boat up. Reverse the
rudder and let the sail out until the boat is positioned
more across the wind (close reach). Then you can
correctly trim the sail and start moving forward.
The red switch on the side
of the mainsheet block
controls the pulley wheel.
Having the switch pointing
up prevents the pulley
from rolling backwards.
This will help you hold
onto the line if it is not
cleated.
With the switch in the
“down” position, the pulley
is free to spin in both
directions. This allows the
mainsheet to be released
quicker.
We recommend
that the switch be in the
“down” position for
beginners
.
Adjusting the angle of
the Mainsheet cleat
After removing the three
adjustment screws from
the side of the block,
unfasten one side of the
cleat by unscrewing one
of the top screws. This
will allow the cleat arms
to spread apart much
easier. Completely
removing the cleat is not
necessary. If it is
removed, be sure to
note its orientation on
the mounting arms.
Carefully place a flat
head screwdriver
between the cleat arms
and the side plate of the
pulley. Keep prying the
sides away in small
increments and testing
to see if you can move
the arm.
Once the arm is able to pivot, move it to the desired
position and push the cleat arms back in. Be sure the
arms are properly engaged by seeing that it can't move.
After installing the three screws in the side plate and
screwing the cleat back on your are ready to go.
OPTIONAL A-FRAME GATE SCREW
Inside the bag of small screws is a screw that can
replace the knob on the A-Frame. It will require a
Phillips head screwdriver to lower or raise the mast.
This will make it more difficult to inadvertently loosen the
knob and release the gate. To install...follow these
three steps.
1. Completely remove the knob from
the A-Frame by turning it
counterclockwise.
2. Insert the new screw into the hole
that the knob came out of. Continue
to thread it in with a Phillips head
screwdriver.
3. Once the mast is stepped to the
A-Frame, close the gate over the
mast bearing and thread the screw
into the gate to secure it into the
closed position.


