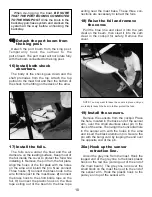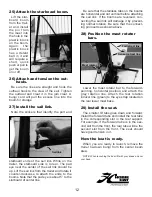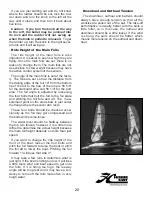
push the bolt through the casting and through the
rudder with a shim on each side of the rudder.
Now the boat is to the point where you see it in
the video owners manual and you can finish rig-
ging it with the assistance of those instructions.
and the grey line exits out of the lower hole on
the beam. After the blue lines are threaded,
put one of the black plastic hooks on the outer
end of each.
3)
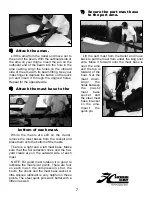
There is only one piece of grey line. It goes
from the front of one mast to the front of the
other mast. The first step with the grey line is to
feed it through the center main beam. Run it
under all the pulleys. The grey line exits out the
inner lower hole on the forward side of each
beam and then it is tied to the brass snap hooks,
one on each end. The length of this line is some-
what critical. When both masts are pointed
straight ahead, the grey line should be pulled
tight. Adjust this after the masts are stepped.
4)
The green line is already threaded
through the center beam. Connect the shackle
on the pulleys to the loop on the green lines
coming out of the end of the outer beams.
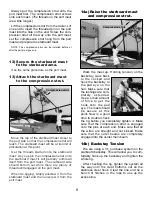
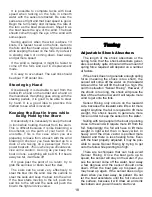
Take the king post out of the rear compart-
ment and install it into the socket in the top of
the main beam.
Install the rudder into the rudder casting.
Remove the bolt from the casting and be care-
ful not to lose the two plastic shims. Carefully
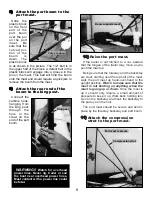
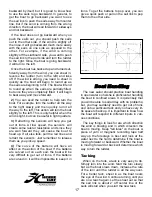
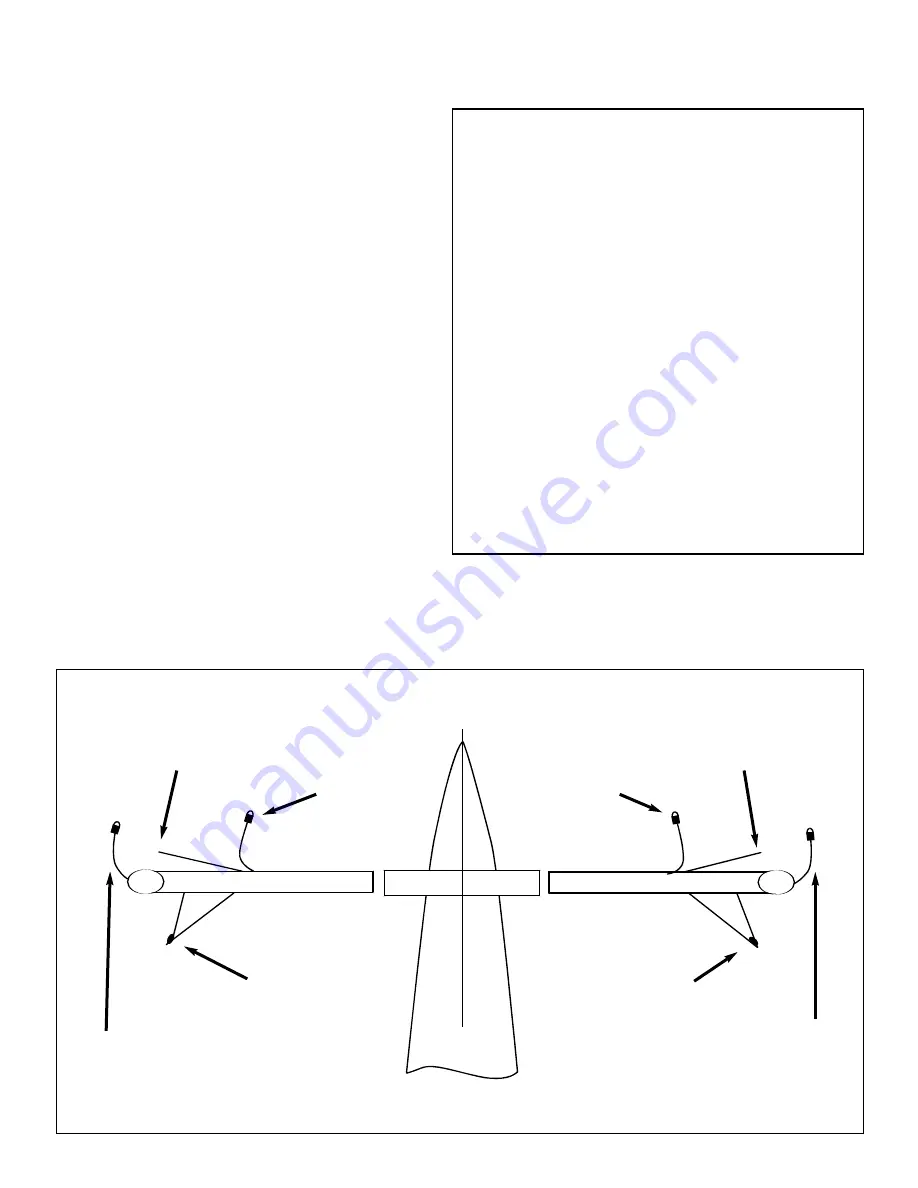
Red, Green and Blue lines lead back to the cockpit
Grey line leads thru the beam
Grey line ties to brass
hook
Blue line has
black plastic
hook on end
Green line passes
thru small block &
end inside beam
Red line exits
small block and has
black plastic hook
on end
Red line exits
small block and has
black plastic hook
on end
Green line passes
thru small block &
end inside beam
Blue line has
black plastic
hook on end
Grey line ties to brass
hook
5
The first time the boat is rigged it is very
important to adjust and fix the length of the
sensor bow line.
After the boat is completely
rigged for the first time, use the following
instructions to fix the length of the sensor bow
line.
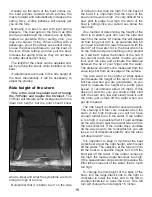
Install the sensor arm, the shock absorber and
the sensor retraction line and completely retract
the sensor with the sensor retraction line. Clip
the brass hook of the sensor bow line to the pad
eye, low on the mast, and tie a couple of hitches
in the grey line. Adjust the length of the line so
the sensor has a positive angle of attack (nose
up). When the sensor is completely retracted
there should be a little slack in the line, but the
line will be quite snug when the sensor is down.
When the length is fixed, apply a little Super
Glue to the knot (a small tube is in the pouch in
the back) to prevent the knot from coming out. If
the line stretches and becomes too long, put a
knot in the line to shorten it.
Summary of Contents for TriFoiler
Page 1: ...ASSEMBLY MANUAL...


