INSTALLATION MANUAL
15
hofflights.com
IMH-104 v.01
PASCUA
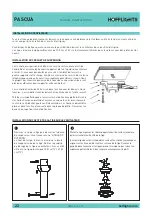
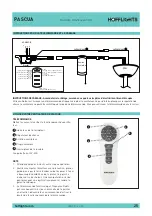
Lift the fan up to the hanger bracket, steer the ball in from the side of the
bracket and lower it into the recess of the bracket. Rotate the ball around until
the groove in the side of the ball aligns with the protrusion on the upper edge of
the recess. When aligned the fan should drop slightly as it assumes it’s correct
position. This is to prevent rotation of the rod and fan when the unit is working
After set up the code switch, put the receiver through the hanging bracket for
wiring connecting
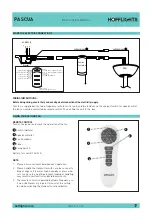
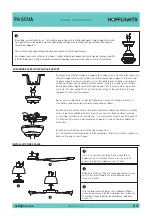
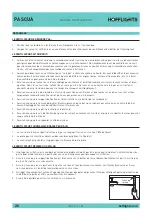
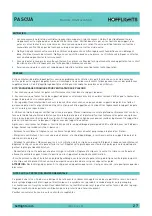
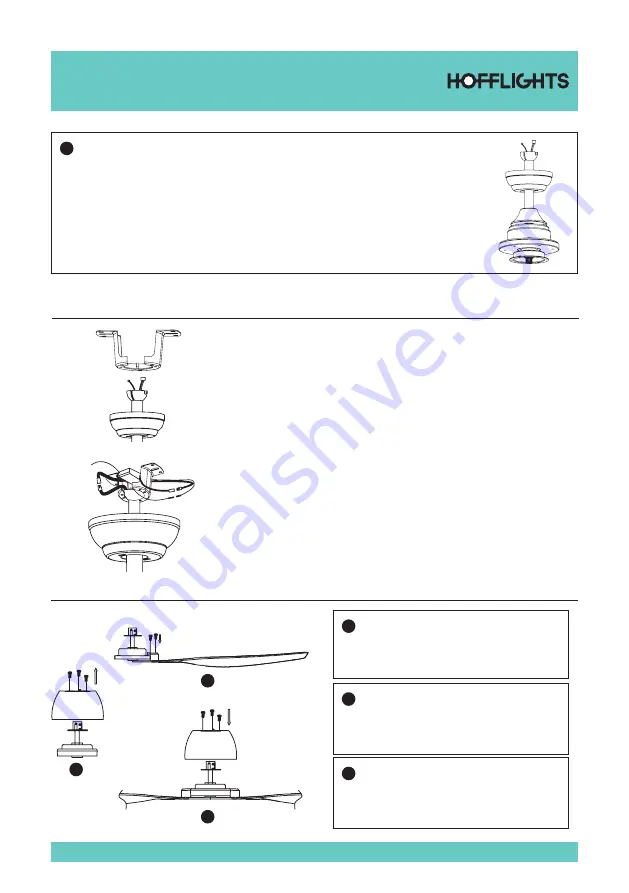
Connect the push connector of fan to remote control receiver, please be noted,
the wire position need to be “brown to brown, blue to blue, org to org, green/
yellow to green/yellow”. The push connector could not be pushed in and will
cause fan damage if the wire position iswrong.
Connect the push connector of hanging bracket to.
A.C. Input power of remote control.
“Brownto brown; blue to blue, green/yellow to green/yellow”
HANGING THE FAN TO BRACKET
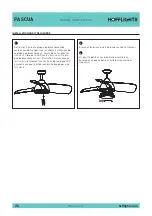
INSTALLING BLADE
3
Tighten all set screws at this point. This prevents the rod and the fan moving in relation to one and other.
It also assists in maintaining a good earth continuity through the fan, which is important to the safety
of the unit.
Failure to tighten the locking screws down may cause the motor to oscillate badly
The above steps are all finished, put the hanger ball onto the drop rod, inserted the BALL PIN into drop
rod, lift up the hanger ball. Then, screw them down firmly
1
There are 3 screw holding the top fan housing on
the motor. Loosen these 3 screws and push the top
housing upward
2
Align holes and fasten the blade to the motors with
provided screws. Repeat procedure for remaining
blades
3
After all the blades are securely fastened to the
motor , push the top housing down on the Motor
and fasten the top fan housing with 3 screws.
1
2
3


