Intake Shutter Vent Installation for RIGA XL, RIGA 4 & RIGA 5
You will want your intake shutter vent to be
opposite from your exhaust fan (i.e. opposite wall
and lower part of the greenhouse) to get the best
cross-breeze. They should both be plugged into
the thermostat with a plug splitter to engage them
simultaneously.
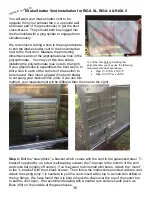
We recommend cutting a hole in the polycarbonate
to bolt the intake shutter vent to the horizontal bar
next to the front door. Measure the protruding
dimensions and cut the appropriate size hole in the
polycarbonate. You may cut this hole before
installing the polycarbonate (see note to the right).
If your greenhouse is assembled, the best way is to
drill a hole in each of the corners of the section to
be removed, then insert a jigsaw (fine tooth blade)
to cut along your marked lines (note: if you use this
method, your measurement will be different than the ones to the right).
Step 2:
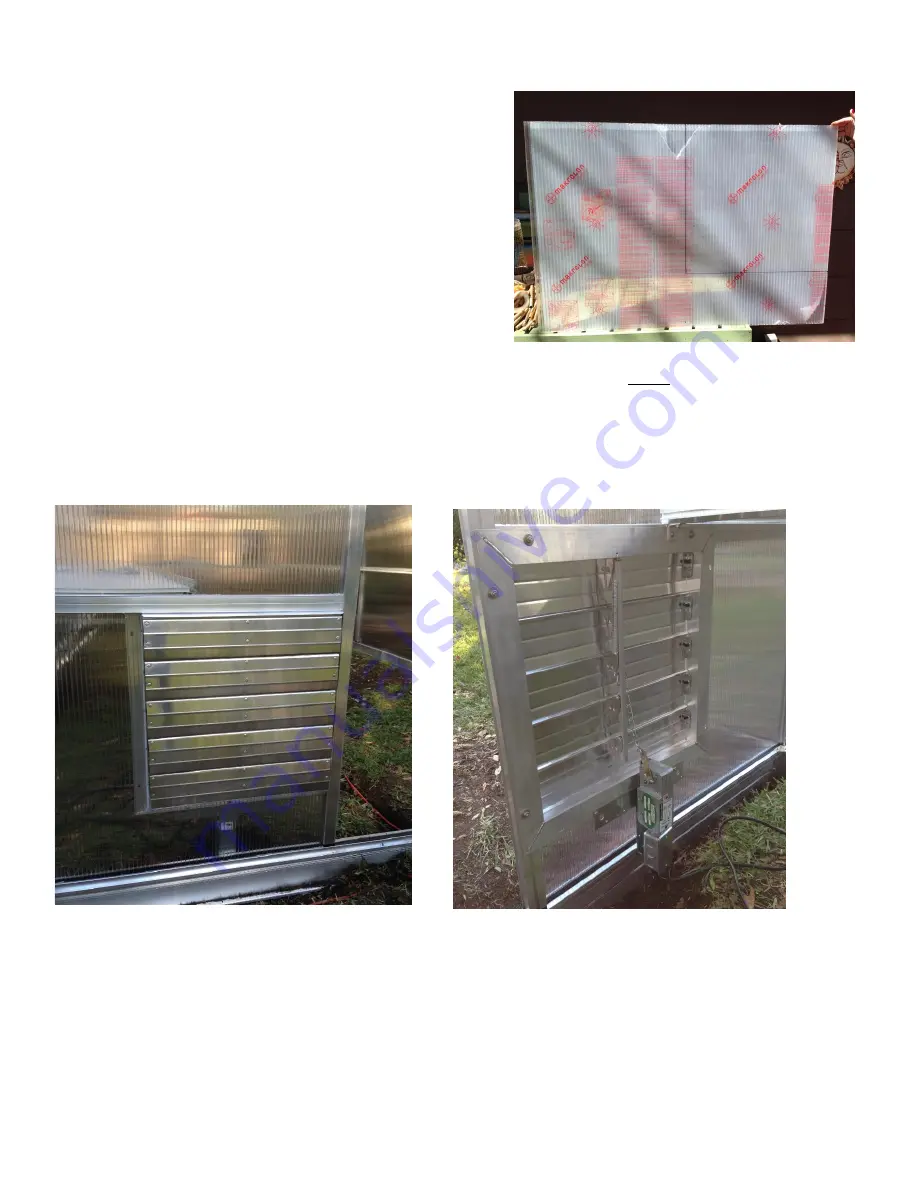
Bolt the “heavy/thick” L-bracket which comes with the vent to the galvanized steel “T-
br
acket” supplied by us, screw (self-tapping screws) the T-bracket to the bottom of the vent
and cross bar (slightly off center). You may want to drill small pilot holes. A
ttach the “motor”
to the “L-bracket” with the 4 black screws. Then follow the instructions provided with the vent.
Attach the spring (only 1 is needed) to pull the vent closed at the top in a small hole drilled in
the top flange. We have found that it is best to hook the chain over the top of the center bar
to pull the vent open. We recommend sealing with a neutral cure silicone caulk (such as
Boss 399) on the outside of the greenhouse.
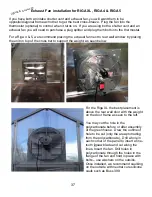
To cut the hole before installing the
polycarbonate, you may use the following
measurements as shown above:
Riga 4: 16.75"w x 16.5" h
Riga 5: 20.75" w x 20.5"h
Optional Accessory!
3
8

