background image


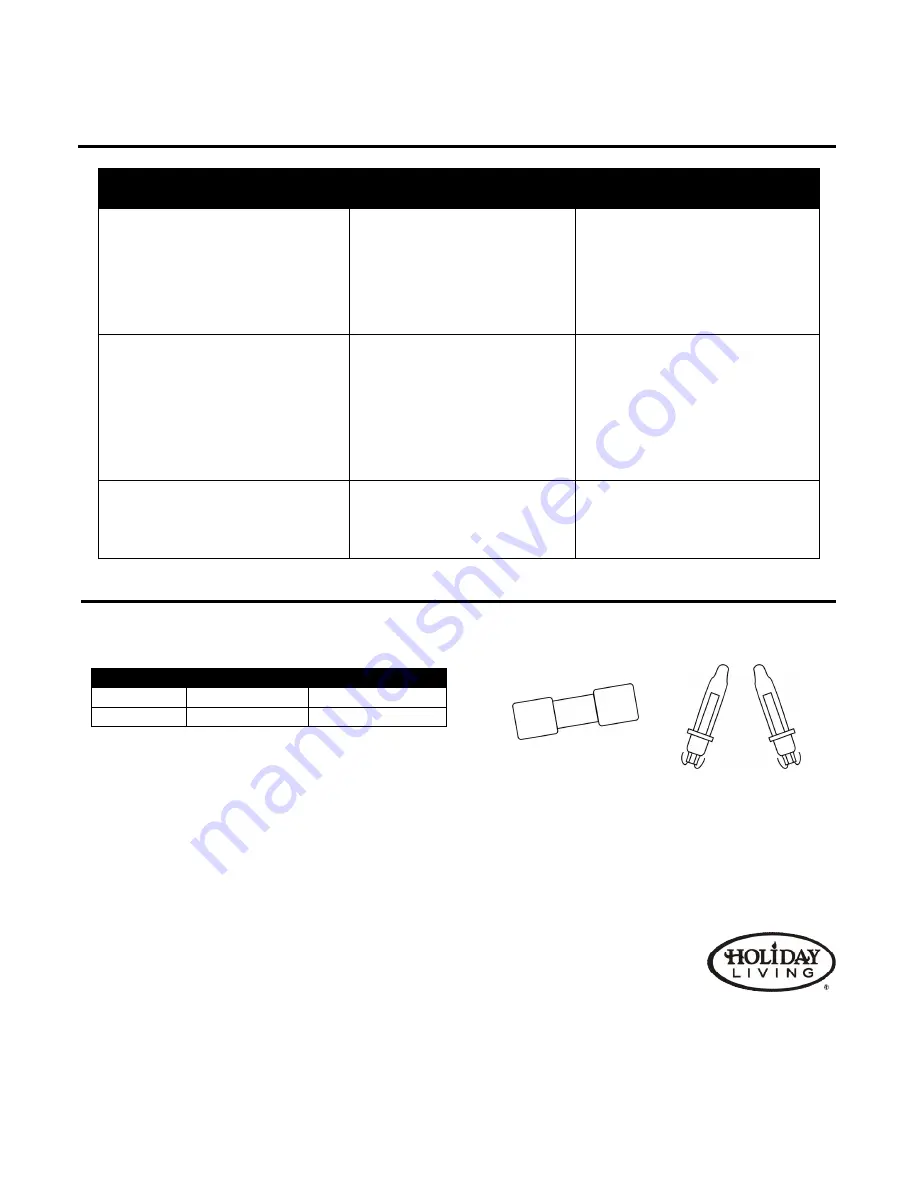
TROUBLESHOOTING  


REPLACEMENT PARTS LIST


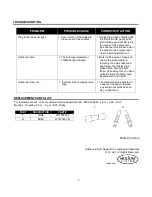
For replacement parts, call our customer service department at 1-800-643-0067, 8 a.m. - 6 p.m., EST,  
Monday - Thursday, 8 a.m. - 5 p.m., EST, Friday. 


F                                       G 


Printed in China


Holiday Living & Design® is a registered trademark 

of LF, LLC. All Rights Reserved.


Lowes.com 

PROBLEM 

POSSIBLE CAUSE 

CORRECTIVE ACTION 

The product does not light. 

1. One or more of the bulbs are 

loose or out of the sockets. 

1. Unplug the product. Starting with 

the first unlit bulb, gently push 
(don’t twist) each bulb firmly into 
the socket. At the same time, 
look and feel for a broken bulb in 
the socket or an empty socket 
where a bulb has fallen out. 

A bulb is broken. 

1. The bulb was impacted or 

shifted during transport. 

1. Mark it with a piece of tape and 

unplug the product before    
removing the bulb socket and 
any fragments. Replace the 
broken bulb. Should a light 
flicker while doing this, you have 
probably found the faulty bulb. 
Replace with a new bulb. 

A bulb is burned out. 

1. Incorrect bulb or voltage is too 

high. 


1. The remaining bulbs will stay lit;   

however, it is best to replace 
any burned out bulbs as soon 
as you find them. 

PART 

DESCRIPTION 

PART # 

FUSE 

W14F0607-F 

BULB 

W14F0607-B 


Summary of Contents for 0202618

Page 1: ...ng Design is a registered trademark of LF LLC All Rights Reserved ITEM 0202618 7 FT PRE LIT ENGLEWOOD PINE TREE MODEL W14F0607 Questions problems missing parts Before returning to your retailer call o...

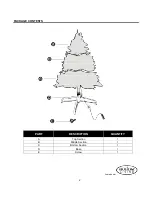
Page 2: ...2 PACKAGE CONTENTS Lowes com PART DESCRIPTION QUANTITY A Top Section 1 B Middle Section 1 C Bottom Section 1 D Base 1 E Screw 1...

Page 3: ...This is an electric product not a toy To avoid risk of fire burns personal injury and electric shock it should not be played with or placed where small children can reach it Do not use this product f...

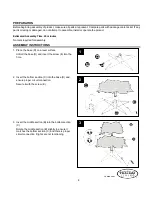
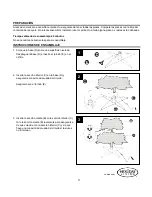
Page 4: ...sembly ASSEMBLY INSTRUCTIONS 1 Place the base D on a level surface Unfold the base D and insert the screw E into the hole 2 Insert the bottom section C into the base D and ensure proper circuit connec...

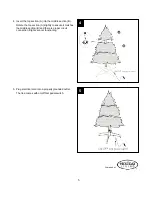
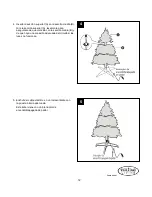
Page 5: ...tate the top section A slightly to ensure it matches the middle section B and there is proper circuit connection if lights are not functioning 5 Plug electrical cord into a properly grounded outlet Th...

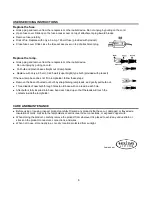
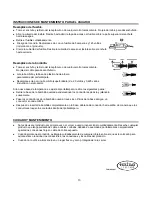
Page 6: ...ed with product If the new lamp base does not fit in lampholder follow these steps Remove the base of burned out bulb by straightening lamp leads and gently pull bulb out Thread leads of new bulb thro...

Page 7: ...twist each bulb firmly into the socket At the same time look and feel for a broken bulb in the socket or an empty socket where a bulb has fallen out A bulb is broken 1 The bulb was impacted or shifte...

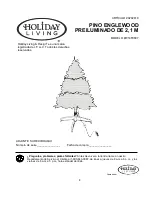
Page 8: ...rada de LF LLC Todos los derechos reservados ART CULO 0202618 PINO ENGLEWOOD PREILUMINADO DE 2 1 M MODELO W14F0607 Preguntas problemas piezas faltantes Antes de volver a la tienda llame a nuestro Depa...

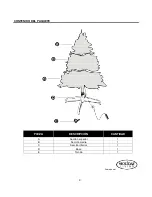
Page 9: ...9 CONTENIDO DEL PAQUETE Lowes com PIEZA DESCRIPCI N CANTIDAD A Secci n superior 1 B Secci n media 1 C Secci n inferior 1 D Base 1 E Tornillo 1...

Page 10: ...ctrico no un juguete Para evitar el riesgo de incendios quemaduras lesiones personales y descargas el ctricas no se debe jugar con este producto ni dejarlo al alcance de ni os peque os No utilice est...

Page 11: ...samblaje INSTRUCCIONES DE ENSAMBLAJE 1 Coloque la base D sobre una superficie nivelada Despliegue la base D e inserte el tornillo E en el orificio 2 Inserte la secci n inferior C en la base D y asegur...

Page 12: ...e para asegurarse de que coincida con la secci n media B y de que haya una conexi n adecuada del circuito si las luces no funcionan 5 Enchufe el cable el ctrico en un tomacorriente con la puesta a tie...

Page 13: ...luida con el producto Si la nueva base de l mpara no se ajusta al portal mpara realice los siguientes pasos Retire la base de la bombilla quemada enderezando los conductores de sta y jal ndola suaveme...

Page 14: ...n el portal mpara repita el procedimiento para las otras bombillas Al mismo tiempo busque bombillas rotas en el portal mpara o portal mparas vac os de donde se haya ca do una bombilla Una bombilla est...

Reviews: