background image

2

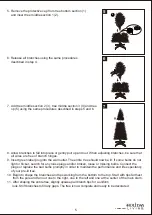
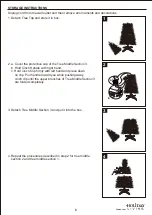
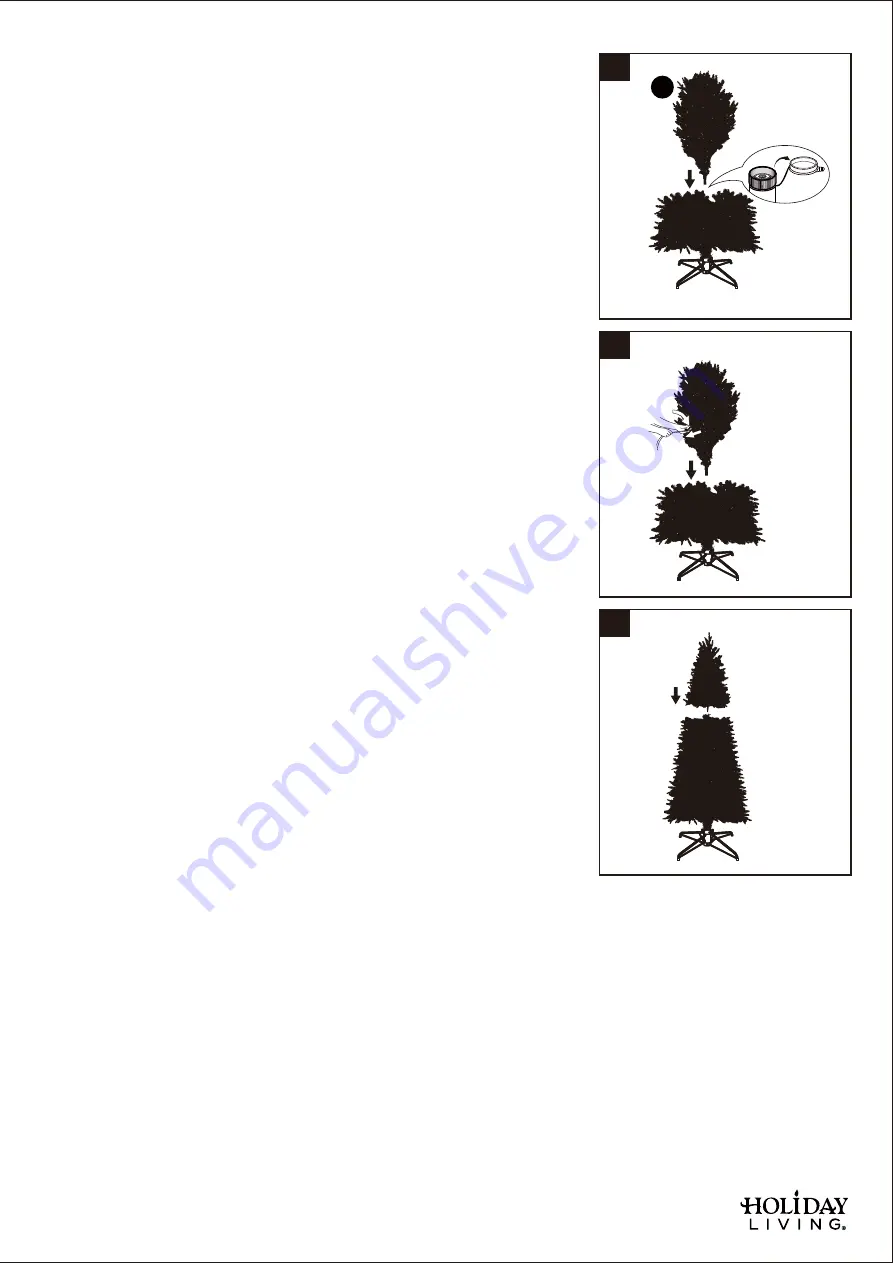
5. Remove the protective cap from tree bottom section (1) 

    and insert tree middle section 1 (2).

5

6. Release all branches using the same procedures 

    described in step 4.

5

Lowes.com

6

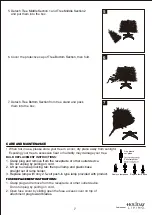
7. Add tree middle section 2 (3), tree middle section 3 (4) and tree

    op (5) using the same procedures described in steps 5 and 6.

7

8. Allow branches to fall into place or gently pull up and out. When adjusting branches, be sure that 

    all wires are free of branch hinges.

9. Insert green label plug into the wall outlet. The entire tree should now be lit. If some bulbs do not 

    light or flicker, search for any loose plugs and/or broken, loose or missing bulbs. Connect the 

    plugs or replace the bad bulbs promptly in order to maintain the performance and life expectancy

    of your pre-lit tree.

10. Begin to shape the branches and tips working from the bottom to the top. Start with tips farthest 

      from the pole and fan out one to the right, one to the left and one at the center of the main stem. 

11. After shaping the entire tree, slightly upsweep all branch tips for a uniform

      look. Shift branches to fill any gaps. The tree is now complete and ready to be decorated.

Summary of Contents for TG90P3813S02

Page 1: ...TG90P3813S02 Espa ol p 9 1 Questions problems missing parts Before returning to your retailer call our customer service department at 1 888 919 0070 8 a m 5 p m EST Monday Friday ATTACH YOUR RECEIPT...

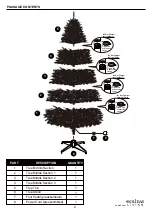
Page 2: ...ee Bottom Section 1 3 4 Tree Stand 5 6 7 8 Power Cord preassembled Foot Pedal preassembled 1 Lowes com 5 4 3 2 1 6 7 8 Do Not Tamper Internal Parts Open the protective cover Do Not Tamper Internal Par...

Page 3: ...rician for proper installation Do not mount or place near gas or electric heaters fireplaces candles or other similar sources of heat insulation products that may be attached to the product Replace th...

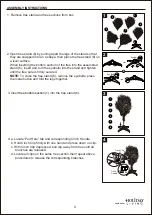
Page 4: ...the corresponding branches 4 Cinch Clip Cinch Handle A B C PULL HERE 1 5 4 3 2 1 6 3 Insert tree bottom section 1 into the tree stand 6 3 2 Eye Bolt Click Eye Bolt 2 Open tree stand 6 by pulling apart...

Page 5: ...lug into the wall outlet The entire tree should now be lit If some bulbs do not light or flicker search for any loose plugs and or broken loose or missing bulbs Connect the plugs or replace the bad bu...

Page 6: ...Section 3 b Hold Cinch Handle with right hand c Hold Cinch Clip firmly with left hand and press down on clip Pull handle toward you while pushing away cinch clip until the upper branches of Tree Middl...

Page 7: ...vided with product Grip plastic not glass Pull straight out Remove lamp base Replace lamp base FUSE REPLACEMENT INSTRUCTIONS 1 Grasp plug and remove from the receptacle or other outlet device Do not u...

Page 8: ...he lights again REPLACEMENT PARTS LIST Fuse Bulb B A For replacement parts call our customer service department at 1 888 919 0070 8 a m 5 p m EST Monday Friday A B Fuse Bulb C Fuse Lamp T N PAR DESCRI...

Reviews: