ENGLISH
- 4
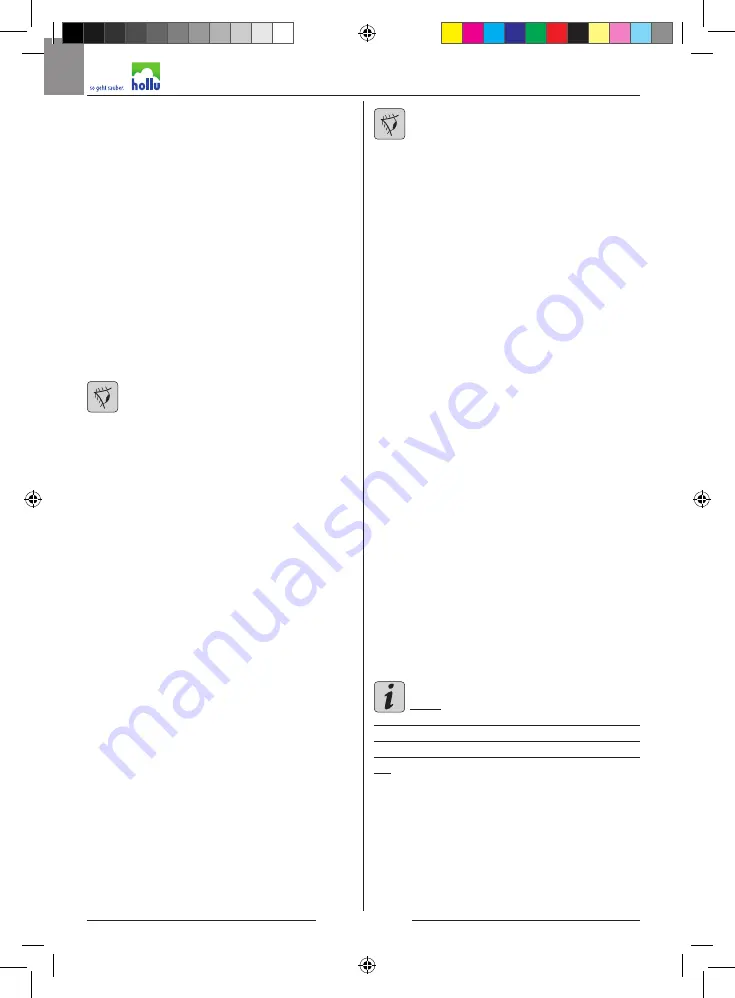
2.1.d - Assembling the brush (Fig. 6)
- Tilt the machine, pivoting, with the handle
straight, with your feet on the wheels and
place it on the handle.
- Place the brush (16) on the base of the
machine, fitting the appropriate butterfly
coupling (17).
- Make a half turn in the direction of the ar-
row (A) to fit in the brush (16).
- Put the machine back in position.
- When rotation starts, the brush will end
fitting.
To disassemble the brush, tilt machine and
turn the brush (16) in the opposite direction
to that shown by the arrow (A).
WARNING:
Use only brushes supplied by the manu-
facturer for the specific machine model.
Using other types of brushes can com-
promise the safety of the machine.
2.1.e - Assembling the pad holder
(Figs. 6-7)
- Tilt the machine, pivoting, with the handle
straight, with your feet on the wheels and
place it on the handle.
- Place the pad holder (18) on the pad (19)
being careful to centre it properly to avoid
unbalancing the rotation.
- Place the pad holder (18) complete with
pad, on the base of the machine, fitting
the appropriate butterfly coupling, as
described in the “Assembling the brush”
paragraph.
To disassemble the pad holder, tilt the ma-
chine and turn it in the opposite direction to
that shown by the arrow (A).
WARNING:
Use only pads supplied by the manufac-
turer for the specific machine model.
Using other types of pads can compro-
mise the safety of the machine.
2.1.f - Assembling the tank
(optional) (Figs. 8/14)
- Loosen the knob (21) on the upper sup-
port (22) of the handle, depending on the
machine model (Fig. 8).
-
Make sure that the lower support (27)
rests on the plate located on the handle
rod (Fig. 11).
- Screw the chain (23) onto the top of the
tank (24) (Fig. 9).
- Connect the tube (25) into the fitting (26)
at the bottom of the tank (24) (Fig. 10).
- Place the tank (24) on the lower support
(27), taking care to align the coupling tab
(28) with its slot (29) (Fig. 11).
- Lower the upper coupling (30) and attach
it to the coupling tab (31) on the top of the
tank (24) (Fig. 12).
- Tighten the knob (33) on the upper sup-
port (30) of the handle, depending on the
machine model (Fig. 12).
- Connect the tube (35) fitting (34) to the
hole on the machine body (Fig. 13).
- Attach the chain (36) to the hook (37) on
the handle (Fig. 14).
N.B.:
For some models, you must insert the chain
(36) into the hole at the bottom of the handle
before attaching it to the hook (37) (FIG. 14-
B).
Manuale HU30-923_HOLLU_EM143 EM143 DS_1ed_07-2019.indd 4
16/07/2019 08:10:52
Summary of Contents for EM 143
Page 4: ...4 Copertina HU30 923_HOLLU_EM143 EM143 DS_1ed_07 2019 indd 4 15 07 2019 17 08 04 ...
Page 5: ...5 Copertina HU30 923_HOLLU_EM143 EM143 DS_1ed_07 2019 indd 5 15 07 2019 17 08 04 ...
Page 6: ...6 Copertina HU30 923_HOLLU_EM143 EM143 DS_1ed_07 2019 indd 6 15 07 2019 17 08 04 ...
Page 7: ...7 Copertina HU30 923_HOLLU_EM143 EM143 DS_1ed_07 2019 indd 7 15 07 2019 17 08 04 ...
Page 8: ...8 Copertina HU30 923_HOLLU_EM143 EM143 DS_1ed_07 2019 indd 8 15 07 2019 17 08 04 ...
Page 10: ...10 Copertina HU30 923_HOLLU_EM143 EM143 DS_1ed_07 2019 indd 10 15 07 2019 17 08 05 ...
Page 12: ...Copertina HU30 923_HOLLU_EM143 EM143 DS_1ed_07 2019 indd 12 15 07 2019 17 08 05 ...
Page 24: ...DEUTSCH 12 Manuale HU30 923_HOLLU_EM143 EM143 DS_1ed_07 2019 indd 12 16 07 2019 08 10 18 ...
Page 36: ...ENGLISH 12 Manuale HU30 923_HOLLU_EM143 EM143 DS_1ed_07 2019 indd 12 16 07 2019 08 11 10 ...
Page 48: ...ITALIANO 12 Manuale HU30 923_HOLLU_EM143 EM143 DS_1ed_07 2019 indd 12 16 07 2019 08 12 21 ...
Page 49: ...Copertina HU30 923_HOLLU_EM143 EM143 DS_1ed_07 2019 indd 13 15 07 2019 17 08 05 ...
Page 50: ...Copertina HU30 923_HOLLU_EM143 EM143 DS_1ed_07 2019 indd 14 15 07 2019 17 08 05 ...
Page 51: ...Copertina HU30 923_HOLLU_EM143 EM143 DS_1ed_07 2019 indd 15 15 07 2019 17 08 05 ...

