background image

-2-

-3-

 Please do a thorough check of the product before each use. Check for firmness 

of the parts, any signs of cracks and wear of the propeller, battery power and 

effectiveness of the indicator, etc. If after doing a complete check any issues are 

found, please refrain from using the product until the issue has been resolved.

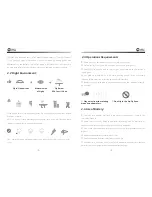
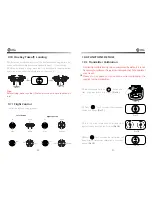
2.2 Flight Environment:

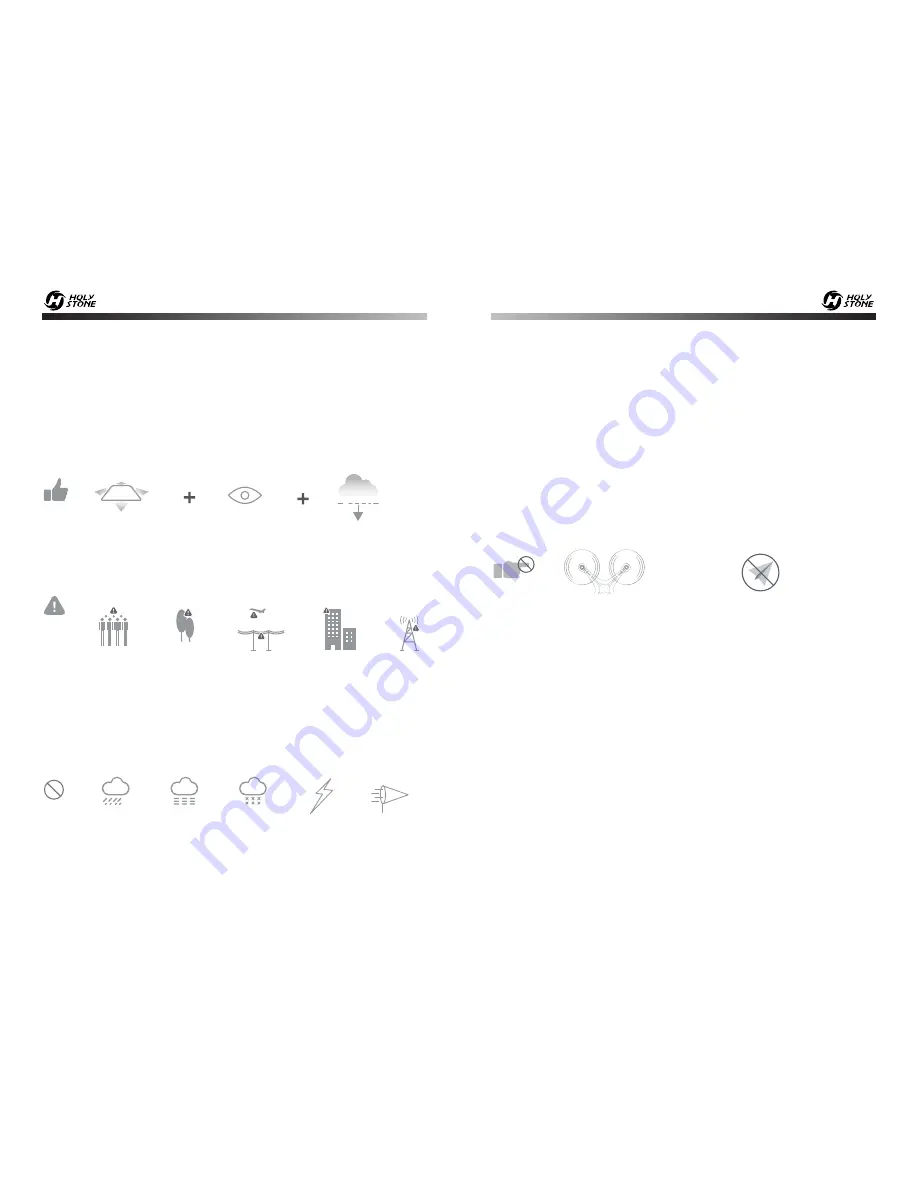
Fly in Open Areas 

Maintain Line 

of Sight

Fly Below 

390 feet (120 m)

- - - - - - - - - - - - - - - - - - - - - - - - - - - - - - - - - - - - - - - - - - - - - - - - - - - - - - - - - - -

Avoid flying over or near obstacles, crowds, high voltage power lines, trees, airport 

or bodies of water.

DO NOT fly near strong electromagnetic sources such as power lines and base 

stations as it may affect the onboard compass.  

- - - - - - - - - - - - - - - - - - - - - - - - - - - - - - - - - - - - - - - - - - - - - - - - - - - - - - - - - - -

Don’t use this drone in adverse weather conditions such as rain, snow, fog, and 

wind.

2.3 Operations Requirements

 Please don’t use this product to follow any moving vehicles . 

 During the flight, only turn off the motor in case of an emergency.

 Please flight the drone back to you as soon as possible when the battery is 

running low.

 This product should not be used while drinking alcohol, if you are feeling 

fatigued, taking medicine, or feeling any physical discomfort. 

 Beware of the noise volume the drone produces. Keep your distance to avoid 

ear damage.

2.4 Use of Battery:

 Please ensure batteries are fitted in the correct orientation as shown in the 

instruction manual.

 Avoid short circuits by fitting the batteries incorrectly, and do not crush or 

squeeze the batteries as this could carry the risk of an explosion.

 Do not mix new and old batteries as this can lead to a poor performance of the 

product.

 Dispose used batteries carefully, do not litter.

 Please keep dead batteries away from heat and fire.

 If the device is not going to be used for an extended period of time, remove 

batteries to prevent potential damage from battery leakage.

 Stay away from the rotating 

propellers and motors. 

⑦ 

Don’t fly in the No-Fly Zone.

Summary of Contents for Ophelia HS700

Page 1: ...6 www holystone com 1 855 888 6699 usa holystone com USA ca holystone com CA eu holystone com EU jp holystone com JP HS700 Instructions For Use V 1 2...

Page 2: ...This product is not a toy but it is a high precision drone that integrates various electronic stability and control mechanisms Please be sure to setup this drone carefully and correctly to ensure saf...

Page 3: ...t only turn off the motor in case of an emergency Please flight the drone back to you as soon as possible when the battery is running low This product should not be used while drinking alcohol if you...

Page 4: ...This includes wood cloth carpet or in the application s device Don t immerse the battery in water or allow it to get wet Don t solder battery terminal directly Keep battery out of reach of children o...

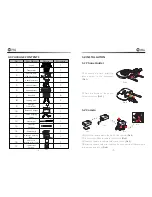
Page 5: ...1 Press the buckle on the phone holder to remove Pic 2 5 2 Camera 5 0 INSTALLATION T F 8GB TF Card installed in the camera 1 2 1 2 Pic 3 Pic 4 Pic 5 Pic 6 2 1 3 Attach the camera mat to the back of th...

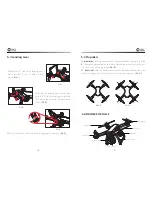
Page 6: ...drone Pic 7 5 3 Landing Gear 5 4 Propellers Installation Install the propeller on the motor shaft according to the A B corresponding position and rotate to tighten the propeller according to the Lock...

Page 7: ...anding One button take off one button landing Photo Video Click to take a photo hold the button for 2 seconds to take video GPS Mode Switch Turn on the transmitter the default state is GPS mode You ca...

Page 8: ...Fly to Left 8 0 CHARGING Connect the Battery Charge Transfer Box Balance Charger and USB Charging Cable Connect the USB Charging Cable to Power Bank or a USB Adapter 5V 2 0A for charge When the batte...

Page 9: ...y compartment the yellow LED lights of the drone will flicker quickly Make sure that you hear a click sound indicating the battery is firmly installed Press the buckle on the back of the battery while...

Page 10: ...es a signal from 7 or more satellites the indicator light of the drone will change to Red in the front and Green in the rear 7S Pic 12 Pic 13 The icon on the transmitter LCD screen is full the drone h...

Page 11: ...matically 9 9 Unlock 9 9 1 Unlock the drone After the Compass calibration is completed unlock the drone to fly Method 1 Press the Unlock button Pic 14 The motors rotate and the drone is unlocked Metho...

Page 12: ...NCTIONS DETAILS 10 1 Transmitter Calibration Transmitter calibration has been completed by default It is not necessary to calibrate the joystick unless pilot has felt abnormal stick travel Please do n...

Page 13: ...ed Home Point The Home Point is the location at which the drone takes off or during flight the GPS receives a signal from 7 or more satellites for the first time the current position of the drone will...

Page 14: ...light yellow No GPS signal or weak GPS signal Front light turns solid red rear light turns solid green Good GPS signal Front and rear lights flash green quickly Front and rear lights flash green alte...

Page 15: ...e the battery 12 0 SPECIFICATIONS DRONE Model HS700 Weight 580g 20 4oz Flight Time 20 minutes Motor Model 2204 1500KV Operating Temperature Range 32 to 104 F Dimensions 220 x 220 x 155mm CAMERA Video...

Page 16: ...t and receiver Connect the equipment into an outlet on a circuit different from that to which the receiver is connected Consult the dealer or an experienced radio TV technician for help WARNING Change...

Page 17: ...check the battery s condition before charging or using it 3 Replace the battery if it has been dropped or in case of odor overheat ing discolouration deformation or leakage 4 Never use anything other...

Page 18: ...OL MODEL RADIO CONTROLLED Model Mark HS700 HOLYSTONE 32 33 The Statement of compliance is available at the following address http www holystone com Download CE HS700_EU_DOC pdf This product can be use...

Reviews: