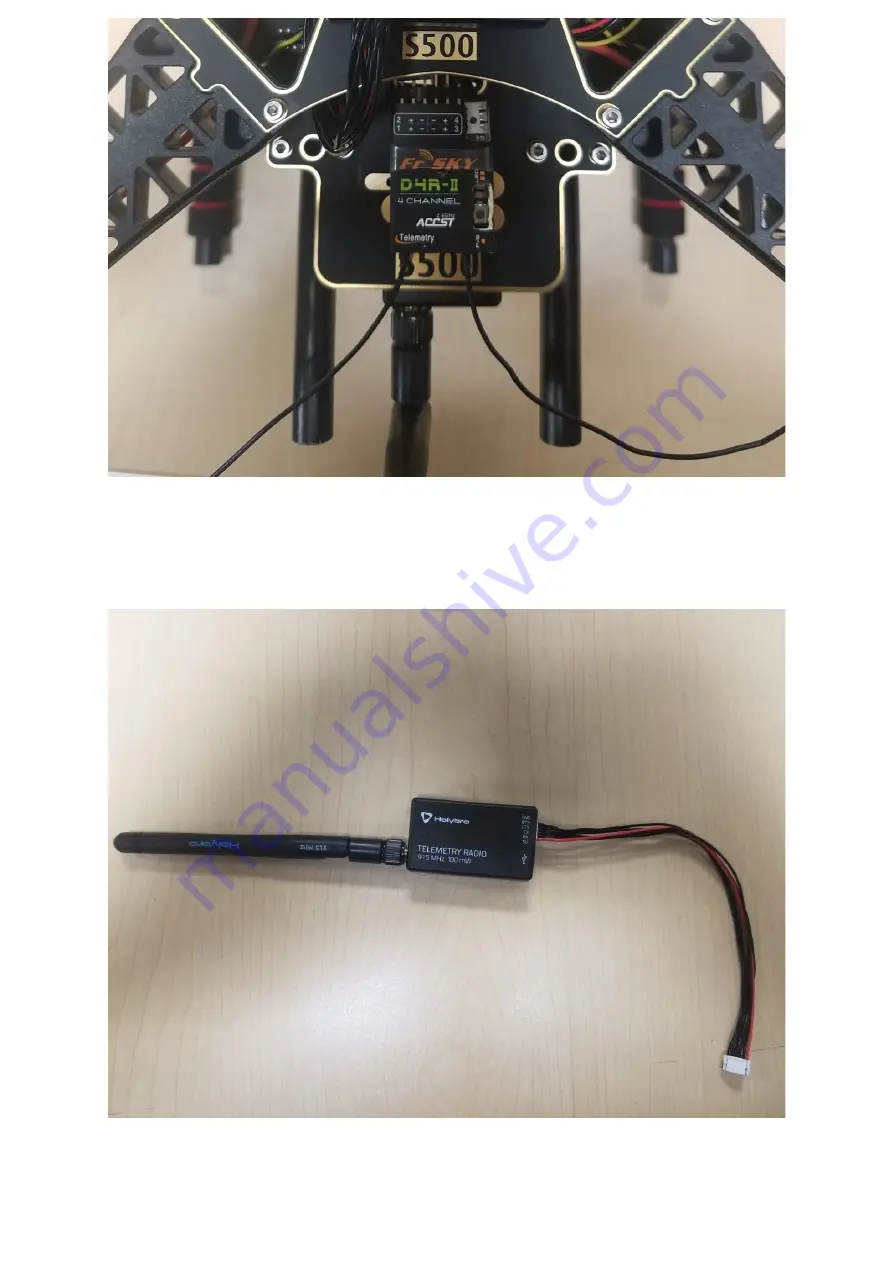
Figure 22
Step 8: Attach the Telemetry to the frame.
The next step is to take the Holybro telemetry radio and attach it onto the frame, use 3M
tape, see Figure 23 and 24 . This assembly attached it inside the frame facing outwards to
the front of the vehicle. A picture is shown below of the radio sitting inside the bottom of the
frame, see Figure 25.
Figure 23
Summary of Contents for Pixhawk 4 S500 V2 Basic Kit
Page 2: ...soldering iron The image below shows both frames and electronic components...
Page 8: ...Figure 3...
Page 10: ...Figure 6...
Page 11: ...Figure 7...
Page 12: ...Figure 8...
Page 14: ...Figure 10...
Page 15: ...Figure 11...
Page 16: ...Figure 12...
Page 18: ...Figure 14...
Page 19: ...Figure 15...
Page 20: ...Figure 16...
Page 22: ...Figure 17...
Page 23: ...Figure 18...
Page 24: ...Figure 19...
Page 25: ......
Page 28: ...Figure 24...
Page 30: ...Figure 26 Figure 27...
Page 31: ...Figure 28...
Page 32: ...Figure 29...
Page 34: ...Figure 31 Figure 32 Figure 33...
Page 35: ......
Page 36: ...Figure 34 Figure 35...
Page 38: ...Figure 37 That s it The final build is shown below...
Page 39: ...Figure 38 This is the finished setup...
Page 40: ......
Page 41: ......
Page 43: ...Step 2 Select the airframe Holybro S500 in QGC Airframe Quadrotor X Step 3 Radio calibration...
Page 46: ......


