12
ADH-Series | Version 1.05
Operation
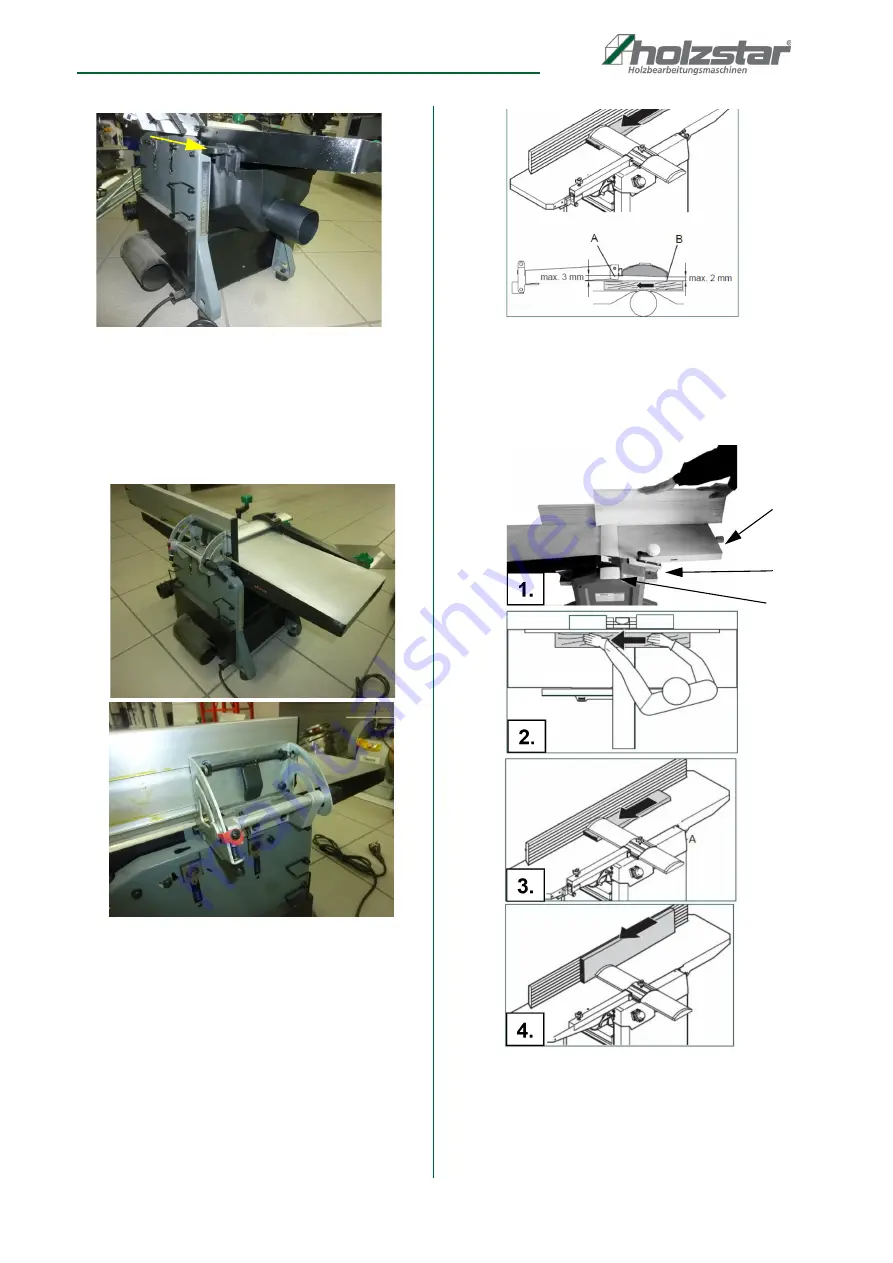
Fig. 6: Installation of the chip extraction hood
Step 2: Set the angle fence on the desired height with
handle assembly at spindle with reference to
scale. The angle fence can be released and
clamped via a clamp lever screw. A scale is
attached with the angle.
Fig. 7: Adjustment of the angle fence
Step 3: Set the desired planing depth by you adjusting
lever [Pos. N, Fig. 9] on desired depth on the
scale [Pos. O, Fig. 9].
Step 4: Adjust the cover [Pos. P, Fig. 9] so that the kniffe
shaft is covered.
Fig. 8: Adjustment of the knife shaft cover
Step 5: Power the machine on with the green ON switch.
Step 6: Press the workpiece with one hand against the
Infeed table and angle fence. After that move
the workpiece with the other hand constant..
Fig. 9: Adjustment of the material guide on the planer
Step 7: After completion of the work cycle, switch off the
machine with the red STOP button.
Step 8: During a further working action, must be
maintained wait until the planer blade stands
still.
N
O
P
Summary of Contents for ADH 200
Page 1: ...Instruction manual ADH S ERIES Planer Thicknesser ADH 200 ADH 250 ADH 305 ADH 250 ADH 200 ...
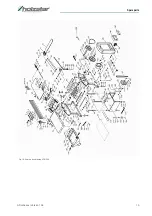
Page 19: ...Spare parts ADH Series Version 1 05 19 Fig 18 Spare parts drawing ADH 250 ...
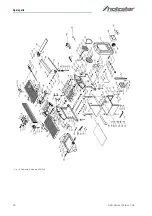
Page 20: ...20 ADH Series Version 1 05 Spare parts Fig 19 Spare parts drawing ADH 305 ...
Page 22: ...www holzstar de ...


