

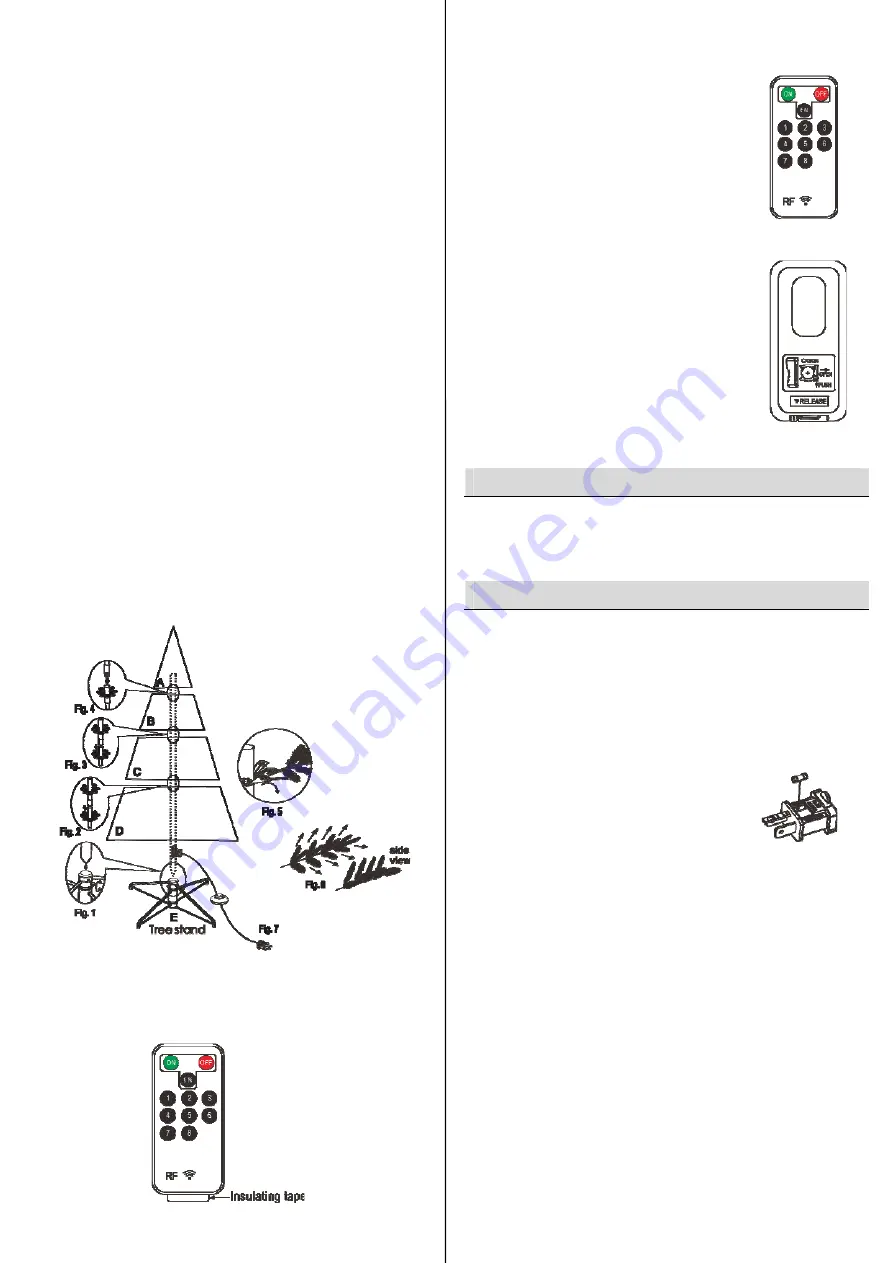
Assembling the tree
Please remove protective covers from the base of the pole for each tree
section before assembling.
Step 1. Insert tree bottom (D) into the tree stand and tighten the screw.
(See Fig. 1)
Step 2. Insert lower middle section (C) into the tree bottom (D). (See Fig. 2)
Step 3. Insert upper middle section (B) into the lower middle section (C).
(See Fig. 3)
Step 4. Insert tree top (A) into the upper middle section (B). (See Fig. 4)
Step 5. Allow branches to fall into place or gently pull branches up and out.
When adjusting branches be sure that all wires are free of branch
hinges. (See Fig. 5)
Step 6. Shape the branches. Starting with tips closest to the pole, shape
one tip to the right, one to the left and one at the center of the main
stem. Repeat pattern for each branch. (See Fig. 6)
Step 7. Plug the well-connected power cord from the tree section (D) into
a proper outlet. Please note this tree comes with a foot pedal
switch and remote control for easy illumination and changing
functions. This tree is Color Changing, the 8 lighting options
available are:
1.
Steady Warm White
2.
Flashing Warm White
3.
Fade In and Fade Out Warm White
4.
Steady Multicolor
5.
Flashing Multicolor
6.
Fade In and Fade Out Multicolor
7.
Sequential Multicolor & Warm White
8.
Color Changing
These functions can be changed by pressing the foot pedal
switch or using the remote control. Please see the instructions of
remote control below.
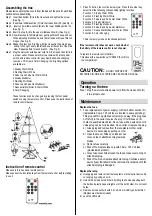
Instruction of remote control
Please note this tree has a remote control.
Please pull out the insulation tape from the remote control, before starting
to use it.
1.
Press Fn button, the function below cycle. Press the number key,
select from the following corresponding lighting functions:
Function 1: Steady Warm White
Function 2: Flashing Warm White
Function 3: Fade In and Fade Out Warm White
Function 4: Steady Multicolor
Function 5: Flashing Multicolor
Function 6: Fade In and Fade Out Multicolor
Function 7: Sequential Multicolor & Warm White
Function 8: Color Changing
There is memory mode on function adjustment.
If the remote control does not work, check whether
the battery of the remote control is out of power.
To replace the remote control battery:
1.
Replace with a new button cell “CR2025” (3 volt) into
the compartment.
CAUTION:
DO NOT DISPOSE OF
BATTERIES IN FIRE. BATTERIES MAY EXPLODE OR LEAK.
Turning on the tree
Step 1. Plug the well-connected power cord from the tree section (D)
into a proper outlet.
Replace the fuse.
1.
Fuse replacement of power supply cord from bottom section (D)
(replaceable 3 amp, 125 volt fuse is located in spare parts bag):
This plug will fit in a polarized outlet only one way. If the plug does
not fit fully in the outlet, reverse the plug. If it still does not fit,
contact a qualified electrician. Do not use with an extension cord
unless plug can be fully inserted. Do not alter or replace the plug.
a)
Grasp plug and remove from the receptacle or other outlet
device. Do not unplug by pulling on cord.
b)
Open fuse cover. Slide open fuse access
cover on top of attachment plug towards
blades.
c)
Remove fuse carefully.
d)
Risk of fire. Replace fuse only with 3 Amp, 125 Volt fuse
(provided with product).
e)
Close fuse cover. Slide closed the fuse access cover on top of
attachment plug.
f)
Risk of fire. Do not replace attachment plug. Contains a safety
device (fuse) that should not be removed. Discard product if the
attachment plug is damaged.
Replace the lamp.
a)
Grasp plug and remove from the receptacle or other outlet device. Do
not unplug by pulling on cord.
b)
Unlock the burned out LED bulb by lifting the hook and pulling both
the bulb and plastic base straight out of the bulb holder. Do not twist
bulbs.
c)
Replace burned out bulb with 3.0 volt, 20 mA LED type bulb ONLY.
(Replacement bulbs included)
d)
Lock the LED bulb.
Operation
Maintenance


