background image


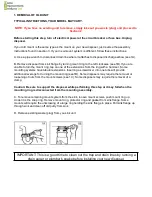
      5. DISHWASHER CONNECTION 


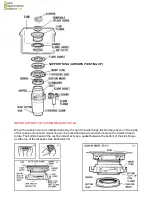
       If you are utilizing a dishwasher, complete the following procedure 
 
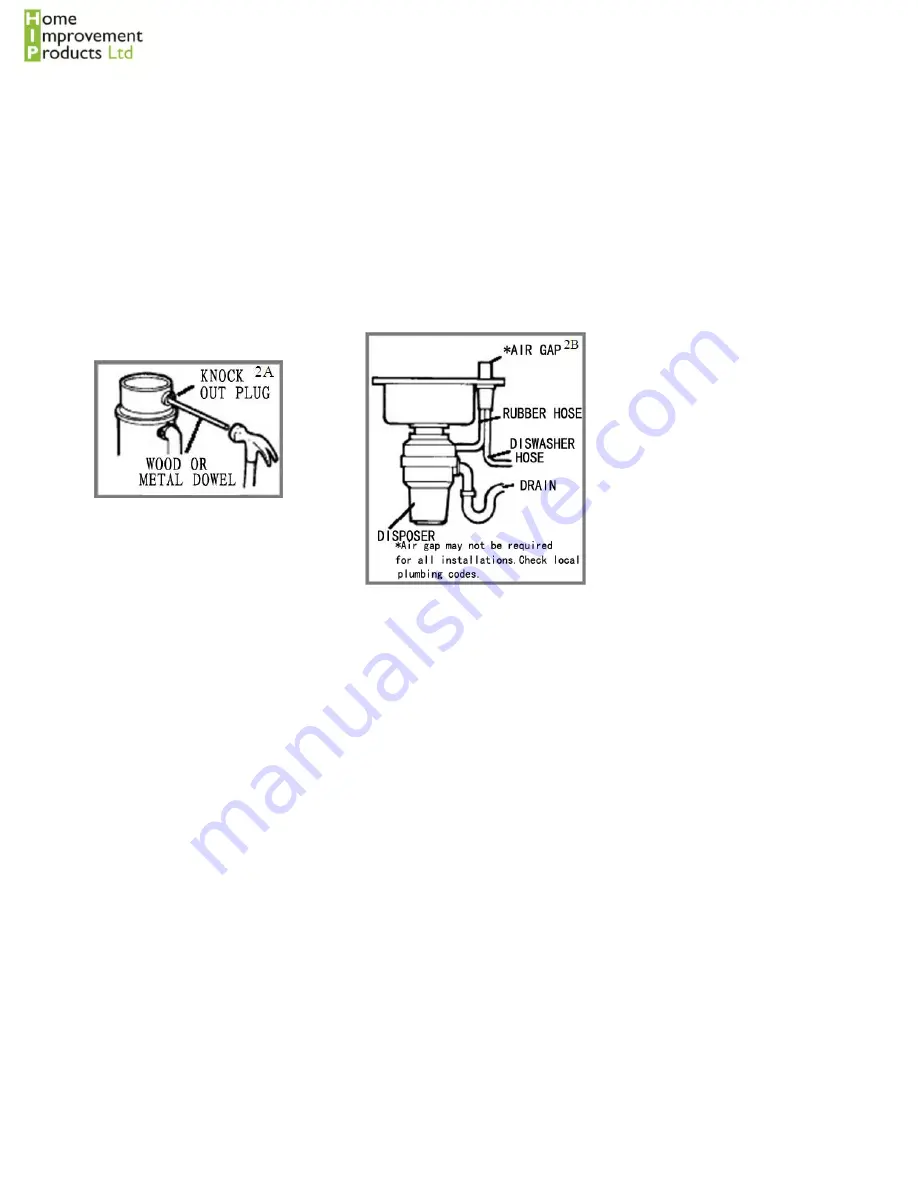
      A. Using a blunt instrument (steel punch or wooden  dowel), knock out entire plug (see 2A). Do not  
      use a screwdriver or sharp instrument. (When knockout plug falls into disposer, you may remove it or    
      grind it up when the disposer is used) 
 
      This will not damage the disposer in any way, but may take some time to grind. 
  
      B. Connect dishwasher hose (see 2B) using hose clamp. Make sure all plumbing connections are  
      tight and in accordance with all plumbing codes and ordinances. Run water and check for leaks. 


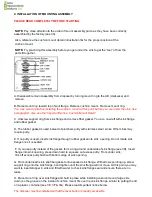
6. ELECTRICAL CONNECTION 

 
A. Connect disposer to appropriate household current only. 
 

DO NOT MODIFY THE PLUG PROVIDED WITH THE APPLIANCE IF IT WILL NOT FIT THE OUTLET 
HAVE A PROPER OUTLET INSTALLED BY A QUALIFIED ELECTRICIAN.


B. This appliance must be grounded. In the event of a malfunction or breakdown, grounding provides a 
path of least resistance for electric current to reduce the risk of electric shock. This appliance is equipped 
with a cord having an equipment-grounding conductor and a grounding plug. The plug must be plugged 
into an appropriate outlet that is properly installed and grounded in accordance with all local codes and 
ordinances. If the supply cord is damaged it must be replaced by the manufacturer, its service agent or 
similarly qualified person in order to avoid a hazard.  

Summary of Contents for ECO CRUSH 400

Page 1: ...d near children 3 Do not put fingers or hands into a waste disposer 4 Turn the power switch to the off position before attempting to clear a jam or remove an object from the disposer and pull out the plug 5 When attempting to loosen a jam in a waste disposer use a long wooden object such as a wooden spoon or the wooden handle of a broom or mop 6 When attempting to remove objects from a waste dispo...

Page 2: ...ng systems have tubular extensions Inserting a screwdriver into one tube will provide additional leverage for turning the mount ring see1B Some disposers may require the removal or loosening of nuts from the mount screws see 1C Some disposers may require the removal of a clamp Caution Be sure to support the disposer while performing this step or it may fall when the mounting ring is disconnected f...

Page 3: ...ead of plumbers putty with stainless steel sinks Other sinks may require putty E If no putty is used insert sink flange through rubber gasket into sink opening Do not rotate sink flange once it is seated F If you use putty instead of the gasket form a ring around underside of sink flange see 3D Insert flange into sink opening press down hard to squeeze out excess putty From under sink trim off exc...

Page 4: ...ectly the lip of the sink flange fits into the groove on the inside of the cushion mount and mount ring can be pulled downward over cushion mount and will be free to rotate The bottom bead of the cushion mount acts as a gasket between the bottom of the sink flange and the top of the disposer See illustration 3G ...

Page 5: ...in accordance with all plumbing codes and ordinances Run water and check for leaks 4 CONNECTING DISPOSER TO MOUNT ASSEMBLY A Line up disposer under mounting assembly Guide hopper projections into mount ring slots Turn mount ring about 1 4 to right so that disposer is temporarily supported see 6A B Turn mount ring and disposer until disposer elbow lines up with trap see 6B C Turn mount ring to the ...

Page 6: ...ECTRICAL CONNECTION A Connect disposer to appropriate household current only DO NOT MODIFY THE PLUG PROVIDED WITH THE APPLIANCE IF IT WILL NOT FIT THE OUTLET HAVE A PROPER OUTLET INSTALLED BY A QUALIFIED ELECTRICIAN B This appliance must be grounded In the event of a malfunction or breakdown grounding provides a path of least resistance for electric current to reduce the risk of electric shock Thi...

Page 7: ...y 15 seconds after shredding or grinding stops This assures that all waste is thoroughly flushed through trap and drain E It is not recommended to use hot water while running disposer Cold water will keep waste and fats solid so disposer can flush away particles 8 TIPS FOR SUCCESSFUL OPERATION A Be sure disposer is empty before using your dishwasher so it may drain properly B You may want to leave...

Page 8: ...en tripped Reset button is red and located on the front of the disposer Push button in until it clicks and remains depressed If reset button has not been tripped check for shorted or broken wire connecting to disposer Check electrical power switch fuse box or circuit breaker If wiring and electrical components are intact the unit may have internal problems that require service or replacement IF TU...

Page 9: ...e and has a tap blanking plug then the actuator can be fitted onto the sink itself Alternatively you may wish to fit the actuator to the underside of the cabinet out of sight or onto the kitchen worktop To fit it into the kitchen worktop you will need to do the following Drill a hole of 33mm to 35mm into the sink or countertop where the Actuator Button 1 is to be placed Insert from the top the Act...

Reviews: