©
Home Training Tools Ltd. 2012
Page 5 of 8
Visit www.homesciencetools.com
plenty of room to work. Plug the
microscope’s power cord into an outlet,
making sure that the excess cord is out of
the way so no one can trip over it or pull it
off of the table.
2.
Turn on your microscope's light using the
switch located at the rear of the base next to
the cord. Open the iris diaphragm all the
way by sliding the lever away from you
(when facing the stage).
3.
Rotate the nosepiece to the lowest-power
(4x) objective. You will hear a click when it is
properly in place. Always start with the
lowest power: it is easiest to scan a slide at
a low setting, as you have a larger field of
view.
4.
Turn the coarse focus knob to move the
stage down (away) from the objective lens
as far as possible.
5.
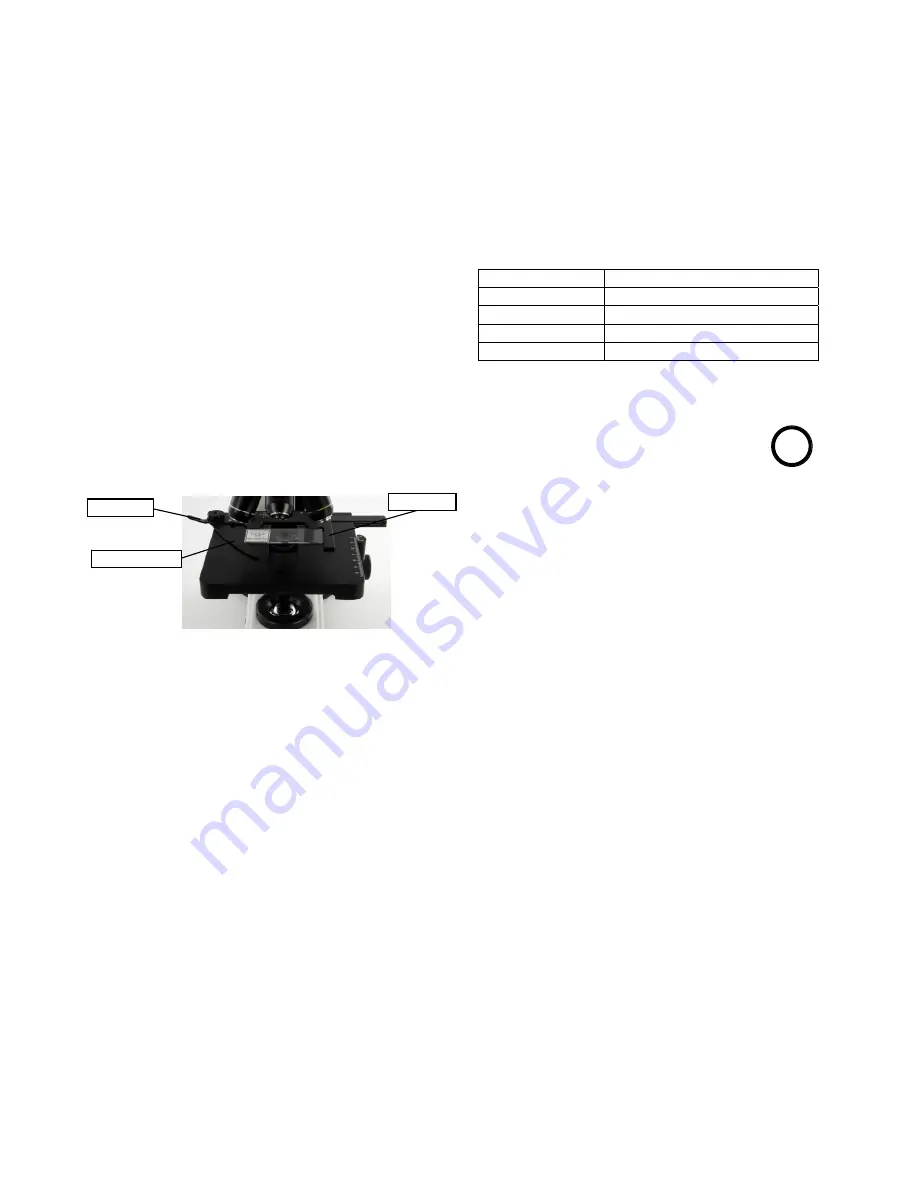
Move the small lever on top of the stage to
open the curved slide clamp arm.
6.
Carefully place a prepared slide squarely
against the fixed arm and back edge of the
mechanical stage. Make sure the slide lies
flat on the microscope stage.
7.
Gently release the small lever allowing the
slide clamp arm to securely hold the
specimen slide in place. The extra large
stage allows room for another slide and
side-by-side scanning.
8.
Move the specimen under the objective lens
by turning the stage control knobs. The
upper knob is the front/back (y) adjustment
control, which allows precise movement to
the front and back of the stage. The lower
knob is the right/left (x) adjustment control,
which allows precise movement to the right
and left of the stage. Turn these controls
without putting any pressure on the stage.
This allows you to scan a slide while
maintaining fairly good focus.
9.
Adjust the larger coarse focus knob until the
specimen is in focus. Center the slide under
the lens, if necessary, using the stage
adjustment controls. Adjust the small fine
focus knob until the specimen is clearly in
focus.
10.
Adjust the iris diaphragm to reduce light by
pulling the lever toward you (when facing the
stage) until the image has clear, sharp
contrast. You need less light on lower power
and more light on higher power. The
following table gives suggested opening
sizes for each power level:
Objective
Diaphragm Opening
4x
From fully closed to 1/8 open
10x
1/8 to 1/4 open
40x
1/4 to 1/2 open
100x
1/2 to fully open
Note: One method for finding the most suitable
iris diaphragm opening is to remove the
eyepiece, put your eye up to the eyepiece tube,
and look at the bright circle of the
aperture. Close the iris diaphragm until
you see its outline in the aperture. Adjust it
so that its silhouette takes up 10-15% of the
edge of the aperture. Replace the eyepiece. The
contrast and resolution should be nicely
balanced on your specimen. If necessary, make
minor adjustments to the diaphragm while
looking at the specimen.
Changing Magnification
1.
Use the stage controls to scan the slide
(right to left and front to back) at low power
to get an overview of the specimen. Then
center the part of the specimen you want to
view at higher power.
2.
Rotate the nosepiece to the 10x for 100x
magnification (make sure it “clicks” into
place). Refocus using the fine focus knob
and view your specimen carefully. Adjust the
iris diaphragm again until the image is most
clear. Repeat with the 40x objective for 400x
magnification.
3.
This series does not come with a stage stop,
since it’s unnecessary for experienced
users. However, be aware of slide and
objective positioning when changing
magnification levels to avoid damage.
Using the 100x Oil Immersion Objective
When using the 100x oil immersion
objective, it is important to reduce light
diffraction to enhance the image quality. This is
done by using immersion oil according to the
following steps:
Slide lever
Slide clamp arm
Fixed arm


