


Summary of Contents for MX-500
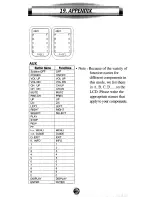
Page 1: ...HomeTheaterMaster LCDScreen Preprogrammed and Learning RemoteControl ...
Page 43: ......
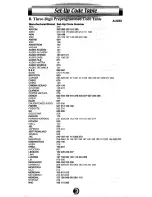
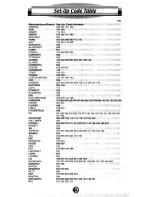
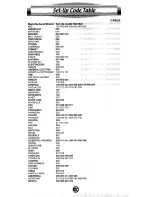
Page 45: ...TV MTC 197004062101 ...
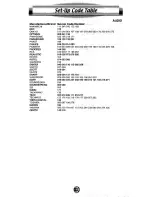
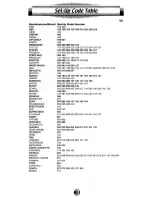
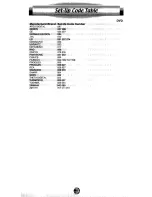
Page 46: ...TV TaprK TOSHIIM WARDS ...
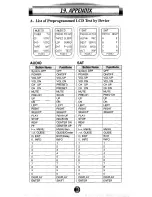
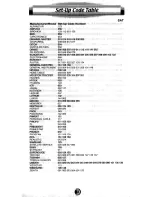
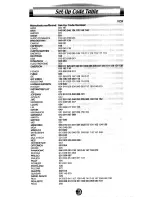
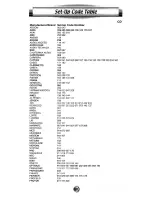
Page 47: ...d6F Y JENSEN N6 KE W D LLOYO 39 144 147 15 36 414 123 __ _ w 40180260 043os3137150150013 03 ...
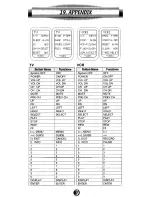
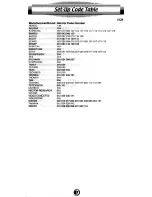
Page 48: ...SFARS RP 631 549 1 TOSHIBA 008Of3 209705907908Zfl213t ...
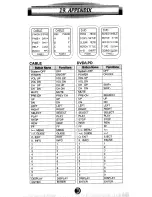
Page 50: ...DVD ...
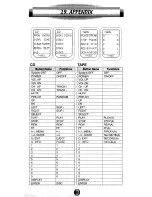
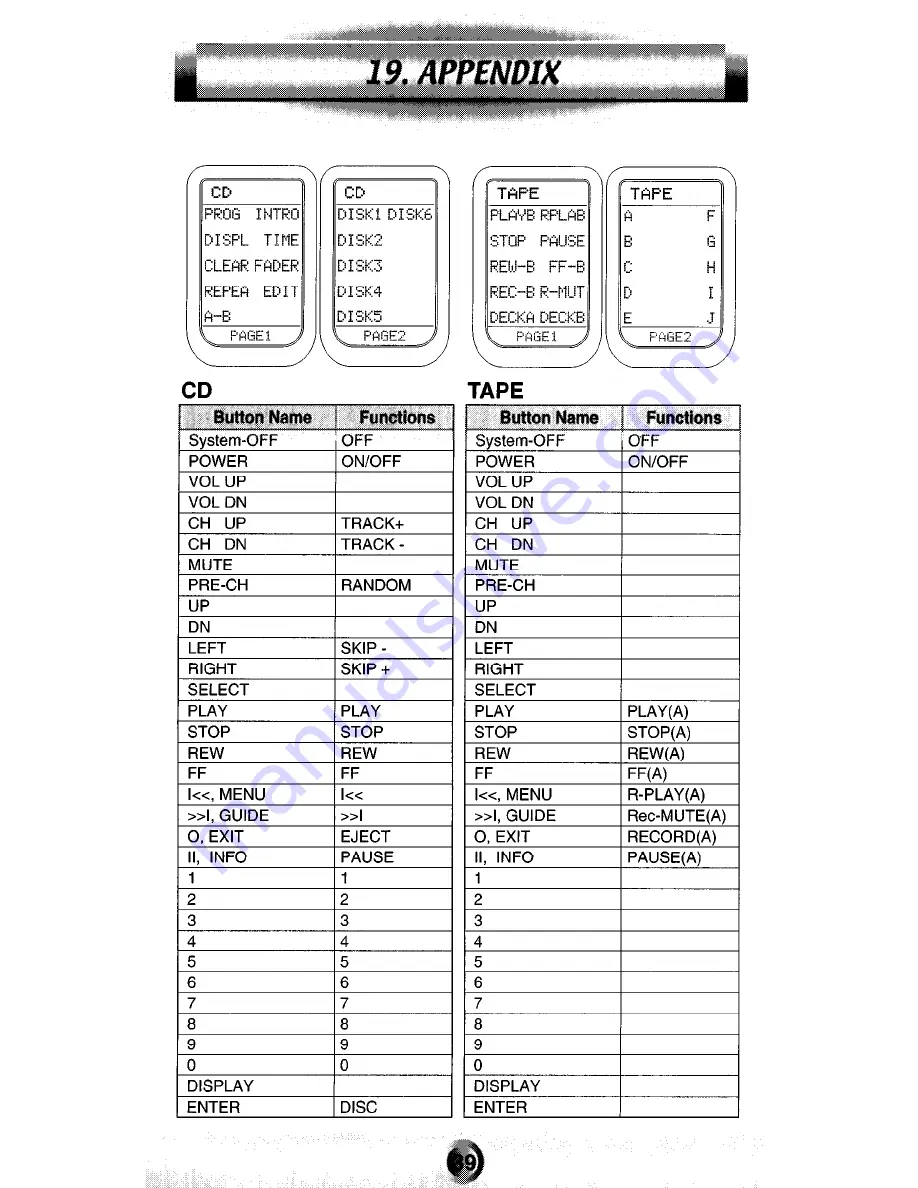
Page 51: ...CD ...


