Rear Suspension Adjustments
Rear Suspension Race Sag
Setting the proper race sag (ride height) is very
important for competition use.
Race sag refers to the amount of rear wheel travel
used by your CR at rest, ready to ride, with you
on the seat. As a general rule of thumb, the race
sag dimension should be about one-third of the
maximum travel.
On your CR, ride height is changed by adjusting
the rear suspension spring pre-load.
Spring Pre-load & Race Sag Adjustment
The following adjustment procedure establishes
the correct starting point for any suspension
tuning — the proper rear spring pre-load
adjustment for your specific needs.
Your CR should be at normal racing weight,
including fuel and transmission oil. You should
be wearing all your normal protective apparel.
You will need two helpers.
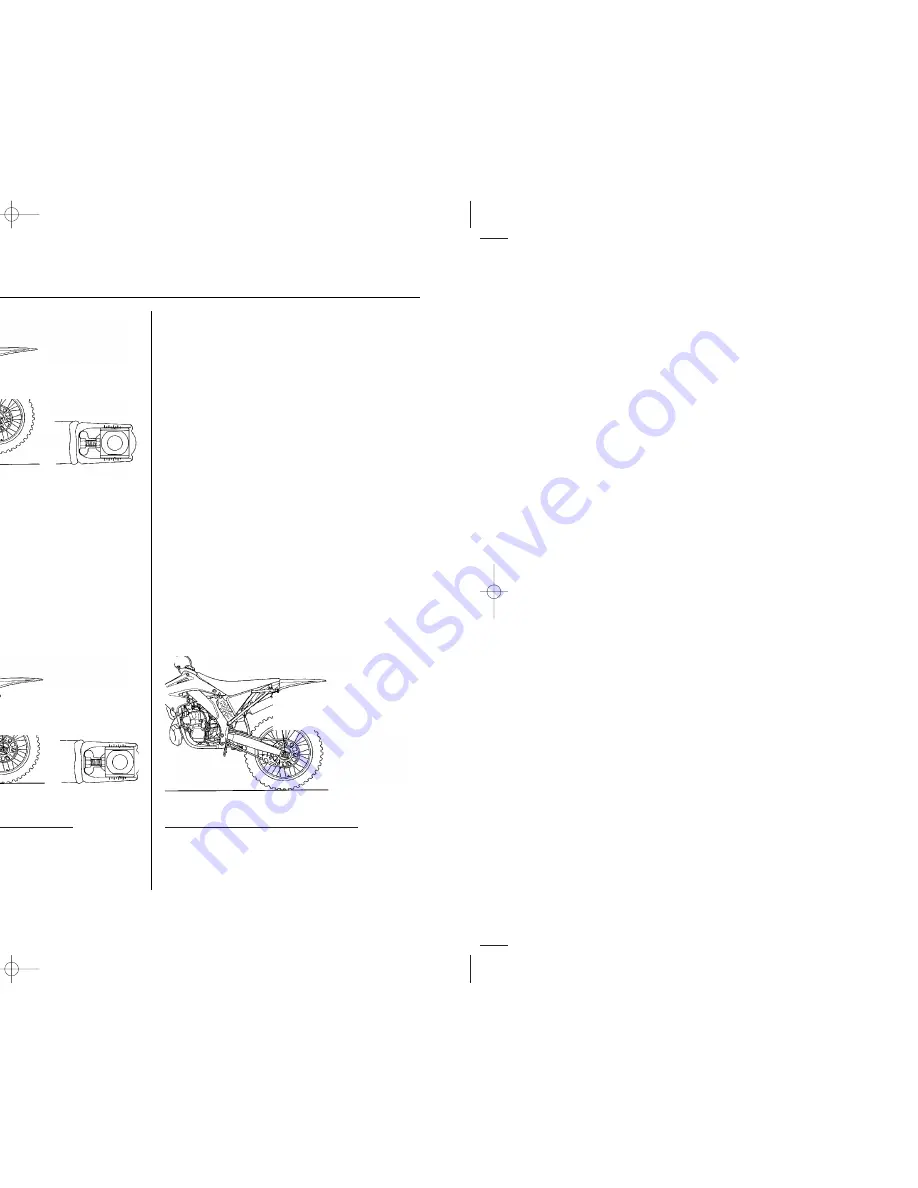
To calculate the proper adjustment, it is necessary
to measure between two fixed points — from the
top of the most rearward point of the subframe
down to the machined edge at the rear of the
swingarm, as illustrated — for three different
situations:
unloaded
: motorcycle on optional workstand with
rear suspension fully extended, no rider.
loaded with rider
: motorcycle on ground, with
rider.
loaded without rider
: motorcycle on ground,
without rider
1. Support your CR on a workstand with the rear
wheel off the ground.
2. Measure the
unloaded
dimension.
3. Measure the
loaded with rider
dimension.
Remove the workstand. With two helpers
available, sit as far forward as possible on
your CR’s seat, wearing your riding apparel.
Ask one helper to steady your CR perfectly
upright so you can put both feet on the pegs.
Bounce your weight on the seat a couple of
times to help the suspension overcome any
stiction and settle to a good reference point.
Ask the other helper to measure the
loaded
with rider
dimension.
Race Sag Calculation:
unloaded
23.6 in (600 mm)
—loaded with rider
19.7 in (500 mm)
Race Sag
3.9 in (100 mm)
4. Calculate the
race sag
dimension.
To do this, subtract the
loaded with rider
dimension (step 3) from the
unloaded
dimension (step 2).
Standard Race Sag:
3.9 in (100 mm)
Adjust spring pre-load as necessary to obtain the
desired handling results.
Decreasing the race sag dimension (example: 3.5
in, 90 mm) improves turning ability for tight
terrain at the cost of slightly reduced straight line
stability.
Increasing the race sag dimension (example: 4.3
in, 110 mm) may improve stability on faster
terrain with less turns, but will reduce turning
performance slightly and may upset the balance
between the front and rear suspension, producing
a harsher ride. This will happen if the adjustment
shifts the effective wheel travel toward the more
progressive end of its range.
5. Measure the
loaded without rider
dimension.
Do this with your CR set at the standard race
sag.
Free Sag Calculation:
unloaded
23.6 in (600 mm)
—loaded without rider 21.6 in (550 mm)
Free Sag
2.0 in (50 mm)
Adjustments for Competition
97
UNLOADED MEASUREMENT
(on workstand, without rider)
EXAMPLE: 23.6 in (600 mm)
LOADED MEASUREMENT
(on ground, with rider)
EXAMPLE: 19.7 in (500 mm)
LOADED MEASUREMENT
(on ground, without rider)
EXAMPLE: 21.6 in (550 mm)
(cont’d)
CR250R/085-103(31KSK630) 6/2/06 10:01 AM Page 97
Summary of Contents for CR250R
Page 2: ......
Page 6: ...Motorcycle Safety 1 Motorcycle Safety mation 2 recautions 2 cations 3 4 ...
Page 8: ...Accessories Modifications Motorcycle Safety 3 ...
Page 9: ...replacement ...
Page 10: ...Operating Controls 5 Operating Controls Locations 6 ...
Page 11: ...kickstarter rear brake pedal throttle grip front brake lever ...
Page 12: ...Before Riding 7 Before Riding e 8 ady to Ride 9 9 ...
Page 13: ...RNING met increases the injury or death in a ys wear a helmet eye er protective apparel ...
Page 15: ......
Page 17: ......
Page 19: ......
Page 20: ...Basic Operating Instructions 15 Break in Guidelines ...
Page 21: ......
Page 23: ......
Page 27: ......
Page 36: ...Servicing Your Honda 31 7 and shroud B bolts A bolts collars 9 s e 29 Fuel Tank Removal 9 8 ...
Page 48: ...Servicing Your Honda 43 Throttle ...
Page 69: ......
Page 82: ...Servicing Your Honda 77 6 RC cover bolt olt t Additional Maintenance Procedures 1 3 2 5 ...
Page 85: ......
Page 119: ......
Page 120: ...Tips 115 torcycle 116 117 nt 118 119 Tips 115 Tips ...
Page 123: ...drained fluids is harmful to ...
Page 125: ......
Page 127: ... is stamped on the left 2 ...
Page 132: ...Technical Information 127 High Altitude Carburetor Adjustment ...
Page 135: ...ng Suspension Settings Gearing Chassis Adjustments Maintenance ...
Page 138: ...Technical Information 133 Wiring Diagram ...
Page 139: ......
Page 140: ...Consumer Information 135 136 137 138 ub USA only 139 Consumer Information ...
Page 142: ...Contacting Honda Consumer Information 137 ...
Page 144: ...Consumer Information 139 The Honda Rider s Club USA only ealer for more information on to ...
Page 148: ...Index 143 Index ...


