104
Servicing Your Honda
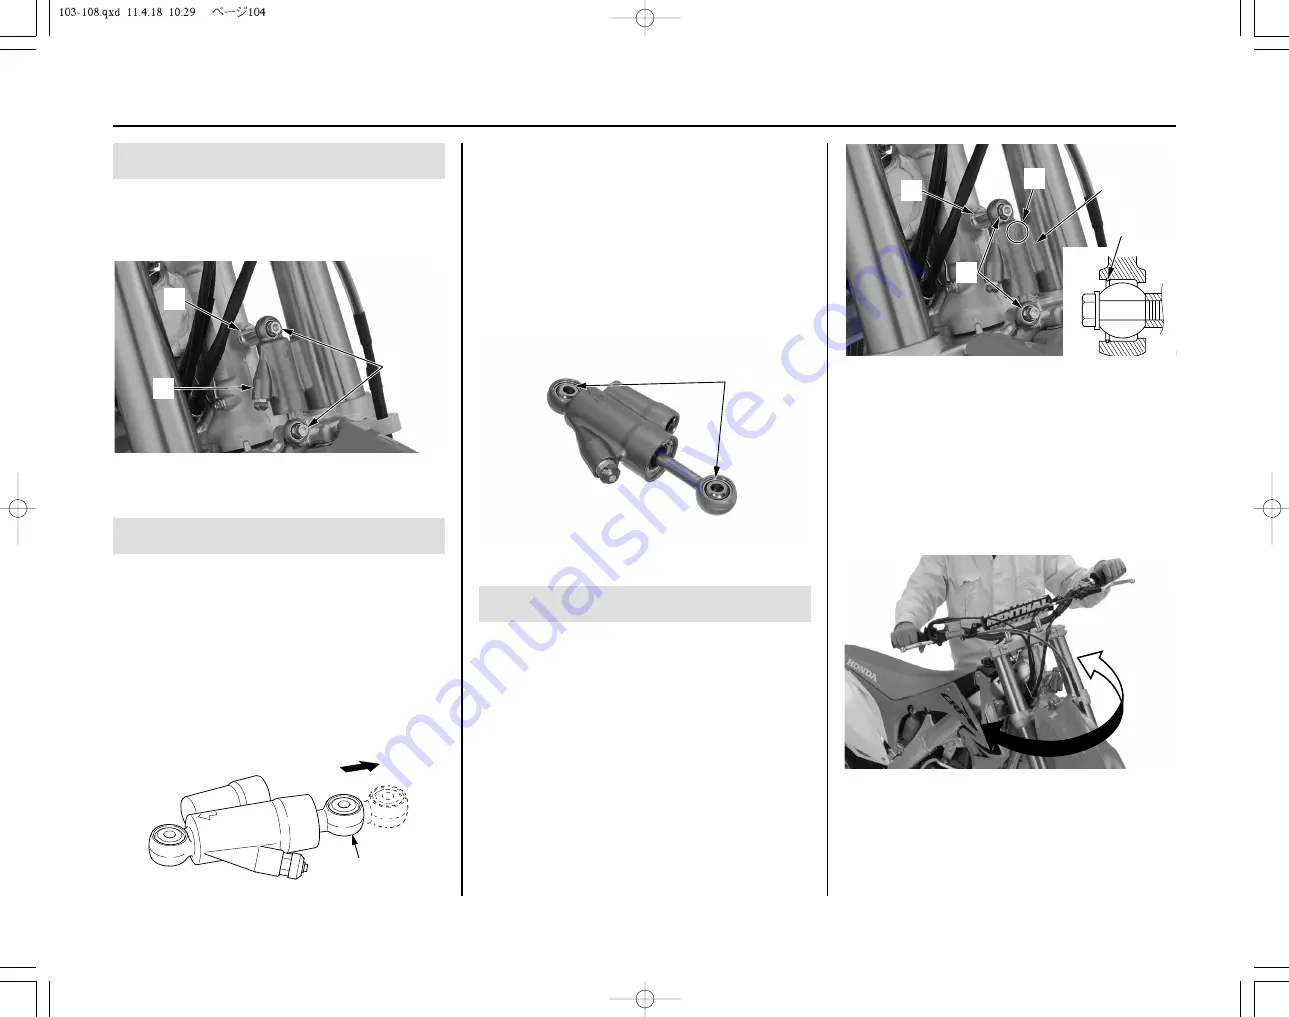
(2) spherical bearings
Installation
1. Clean and apply a locking agent to the
steering damper mounting bolt threads.
2. Install the steering damper (1) with its “UP”
mark (2) facing up and forward. Turn the
damper rod and its stopper ring (3) facing
toward the front side.
3. Install the collar (4) and steering damper
mounting bolts (5).
Be sure to install the collar with its wide
flange side facing toward the steering head
pipe side.
4. Tighten the steering damper mounting bolts to
the specified torque:
15 lbf·ft (20 N·m, 2.0 kgf·m)
(1) steering damper
(2) “UP” mark
(3) stopper ring
(4) collar
(5) steering damper mounting bolts
5. Place your CRF on the workstand or
equivalent support with the front wheel off the
ground.
Check that the steering moves smoothly from
side-to-side.
Steering Damper
(3)
(2)
(1)
(1)
(2)
(3)
(4)
(5)
(2)
(1)
Removal
1. Remove the number plate (page 103).
2. Remove the steering damper mounting bolts
(1), collar (2) and steering damper (3).
(1) steering damper mounting bolts
(2) collar
(3) steering damper
Inspection
1. Check the damper rod (1) operation.
The damper rod is fully extended and
compressed by hand. Release the damper rod,
then check that it extends to its maximum length.
If the damper rod does not extend its
maximum length, disassemble and inspect for
steering damper.
Refer to the Honda Service Manual or see
your dealer.
2. Check the condition of the spherical bearings
(2).
Move the spherical bearing with your finger.
The spherical bearing should move smoothly
and quietly.
Replace the spherical bearing if it does not
move smoothly and quietly.
Refer to the Honda Service Manual or see
your dealer.
6. Install the number plate (page 103).
(1) damper rod
Summary of Contents for crf250r 2012
Page 1: ......
Page 2: ...2012 Honda CRF250R OWNER S MANUAL COMPETITION HANDBOOK ...
Page 7: ......
Page 17: ...10 Instruments Controls ...
Page 21: ...14 Before Riding ...
Page 27: ...20 Basic Operating Instructions ...
Page 147: ...140 Adjustments for Competition ...
Page 165: ...158 Technical Information Wiring Diagram ...
Page 174: ...MEMO ...
Page 175: ...MEMO ...
Page 176: ...MEMO ...


