Adjustments for Competition
113
Front Suspension Adjustments
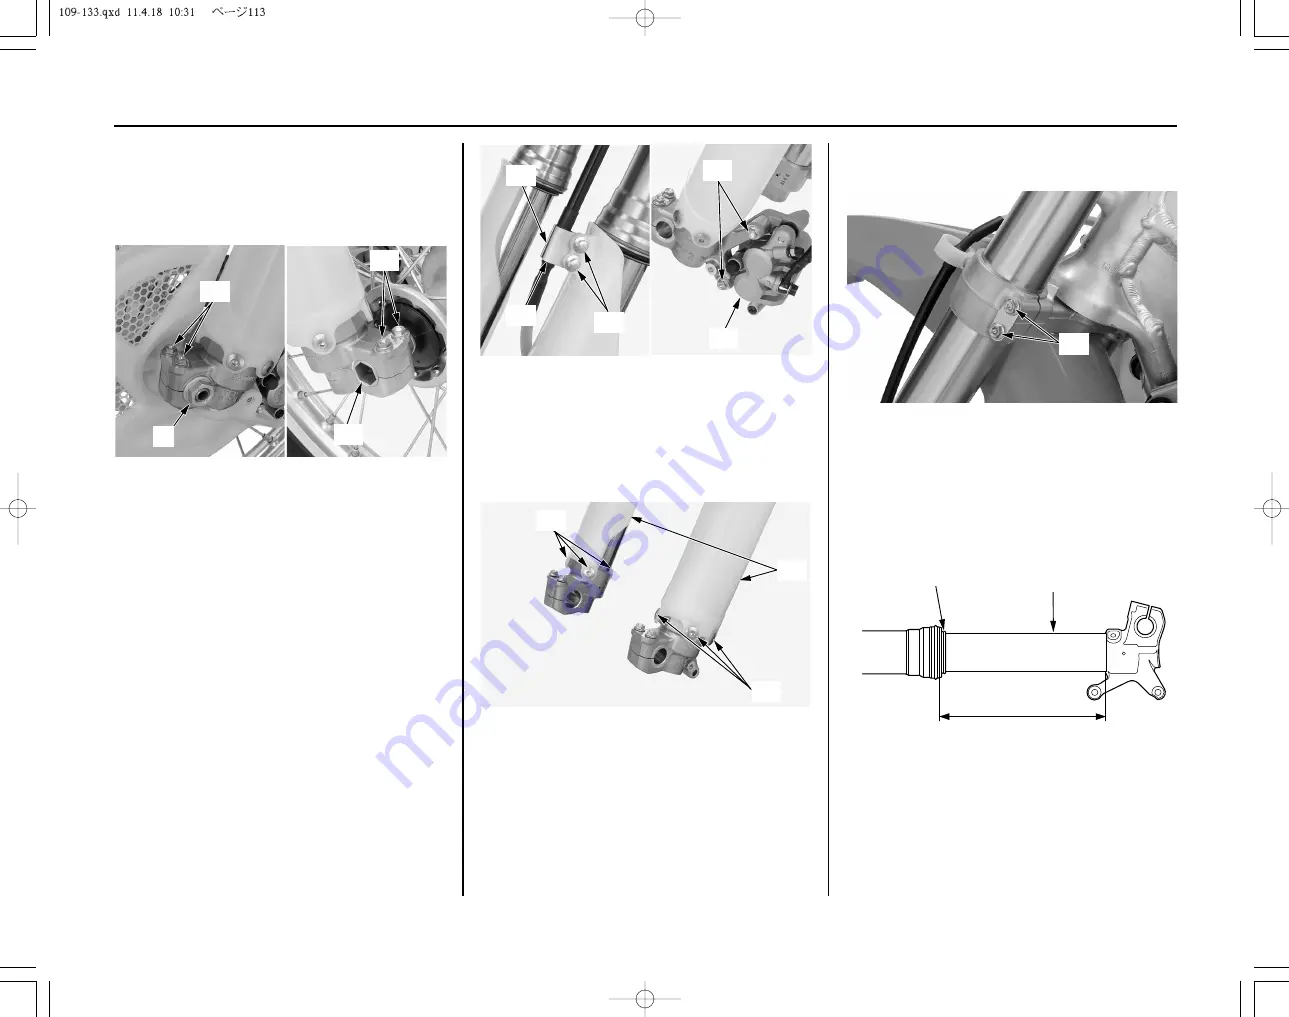
(9) front axle nut
(11) front axle shaft
(10) axle pinch bolts
8. Remove the brake hose clamp bolts (12), stay A
(13) and stay B (14).
9. Remove the brake caliper mounting bolts (15)
and brake caliper (16).
• Do not support the brake caliper by the brake
hose.
• Do not operate the brake lever after the front
wheel is removed. To do so will cause
difficulty in fitting the brake disc between the
brake pads.
(12) brake hose clamp bolts
(13) stay A
(14) stay B
(15) brake caliper mounting bolts
(16) brake caliper
10. Remove the fork protector socket bolts (17)
and fork protectors (18).
(11)
(9)
(10)
(10)
(16)
(14)
(13)
(12)
(15)
7. Remove the front axle nut (9) and loosen the
axle pinch bolts (10) on both forks.
Pull the front axle shaft (11) out of the wheel
hub and remove the front wheel with disc
cover/collar.
(17) fork protector socket bolts
(18) fork protectors
(18)
(17)
(17)
(22)
(21)
(20)
(19) fork bridge lower pinch bolts
12. Clean the fork assembly, especially the sliding
surface (20) of the slider and fork dust seal
(21).
13. Measure the length (22) between the axle
holder and outer tube and record it before
disassembling the fork.
(19)
11. Loosen the fork bridge lower pinch bolts (19),
then pull the fork legs down and out.
(20) sliding surface
(22) length
(21) fork dust seal
(cont’d)
Summary of Contents for crf250r 2012
Page 1: ......
Page 2: ...2012 Honda CRF250R OWNER S MANUAL COMPETITION HANDBOOK ...
Page 7: ......
Page 17: ...10 Instruments Controls ...
Page 21: ...14 Before Riding ...
Page 27: ...20 Basic Operating Instructions ...
Page 147: ...140 Adjustments for Competition ...
Page 165: ...158 Technical Information Wiring Diagram ...
Page 174: ...MEMO ...
Page 175: ...MEMO ...
Page 176: ...MEMO ...


