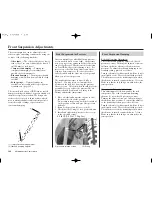
Front Suspension Adjustments
110
Adjustments for Competition
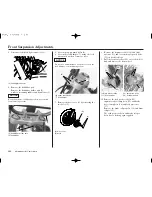
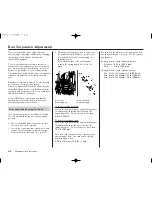
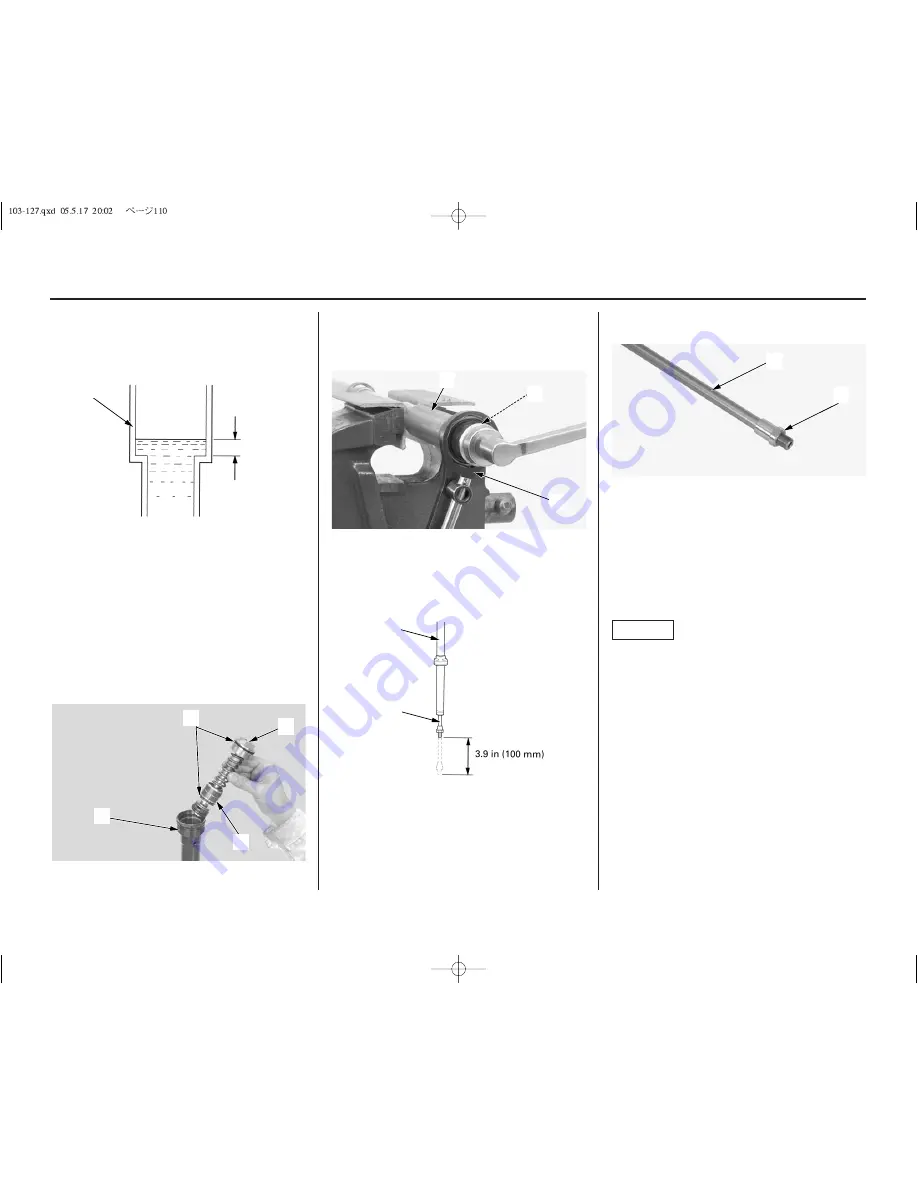
(2) fork damper
(6) piston rod
(2)
(6)
(6) piston rod
(9) lock nut
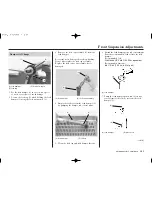
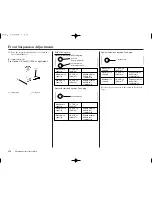
Turn the rebound adjuster and compression
adjuster counterclockwise to the softest position.
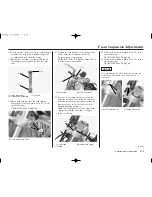
Check the fork damper piston rod sliding surface
for damage.
Apply fork oil to the fork damper piston rod
sliding surface
Cover the fork piston rod end with soft jaws to
prevent fork damage.
Be careful not to bend or damage the fork
damper piston rod when the piston rod is stroked.
NOTICE
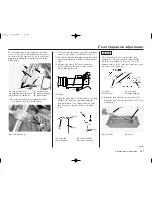
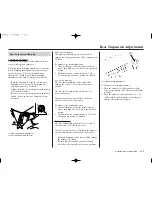
(6)
(9)
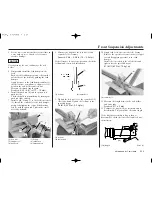
12.Screw in the lock nut (9) to the fork damper
piston rod (6) fully.
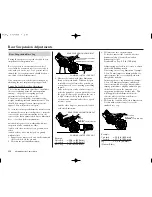
(1) fork cap
(3) lock nut wrench
(2) fork damper
11.Hold the fork damper (2) in an upright
position and pump the fork piston rod (6) to
3.9 in (100 mm) slowly several times.
(2)
(3)
(1)
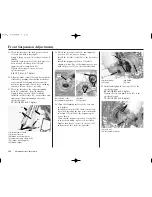
10.Tighten the fork cap (1) while holding the cut
out of the fork damper (2) using the lock nut
wrench (3) to the specified torque:
22 Ibf·ft (30 N·m, 3.1 kgf·m)
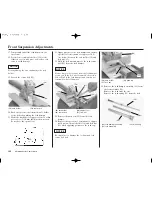
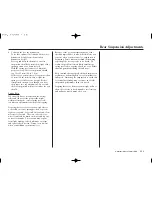
(2) fork damper
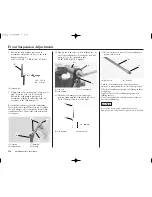
9. Apply fork oil to the bushing (7) and new O-
ring (8) on the fork cap (1) assembly.
Extend the fork damper piston rod to
maximum, holding it, install the fork cap
assembly to the fork damper (2).
Be careful not to damage the fork cap bushing.
If it is difficult to install the fork cap assembly,
the fork damper oil level might be higher than
standard oil level. Inspect the fork damper oil
level again.
(1) fork cap
(7) bushing
(2) fork damper
(8) O-ring
1.65 – 1.85 in
(42 – 47 mm)
(2)
(2)
(8)
(1)
(7)
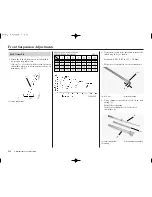
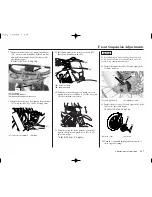
8. Extend the fork damper piston rod to
maximum. Adjust the oil level of the fork
damper as shown.
Oil Level:
1.65 – 1.85 in (42 – 47 mm)
Summary of Contents for CRF250X 2006
Page 1: ...2006 Honda CRF250X OWNER S MANUAL COMPETITION HANDBOOK ...
Page 10: ...6 Motorcycle Safety ...
Page 16: ...12 Before Riding ...
Page 26: ...22 Basic Operating Instructions ...
Page 150: ...146 Taking Care of Unexpected ...
Page 165: ...Technical Information 161 Wiring Diagram ...
Page 166: ...162 Technical Information ...
Page 177: ...Memo 173 ...
Page 178: ...174 Memo ...
Page 179: ...Memo 175 ...

