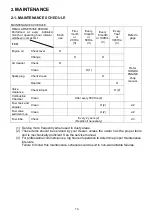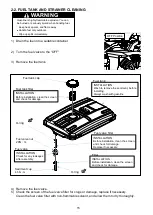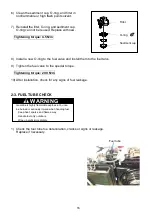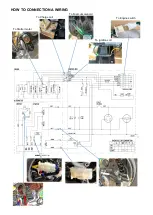
SERVICE RULES
Use Honda Genuine or Honda-recommended parts and lubricants or their equivalents. Parts that do
not meet Honda’s design specifications may damage the unit.
Use the special tools designed for the product.
Install new gaskets, O-rings, etc. when reassembling.
When torqueing bolts or nuts, begin with larger-diameter or inner bolts first and tighten to the
specified torque diagonally, unless a particular sequence is specified.
Clean parts in cleaning solvent upon disassembly. Lubricate any sliding surfaces before reassembly.
After reassembly, check all parts for proper installation and operation.
Many screws used in this machine are self-tapping. Be aware that cross-threading or overtightening
these screws will strip the threads and ruin the hole.
Use only metric tools when servicing this unit. Metric bolts, nuts and screws are not interchangeable
with non-metric fasteners.
The use of incorrect tools and fasteners will damage the unit.
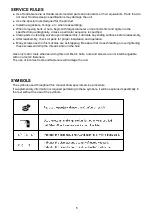
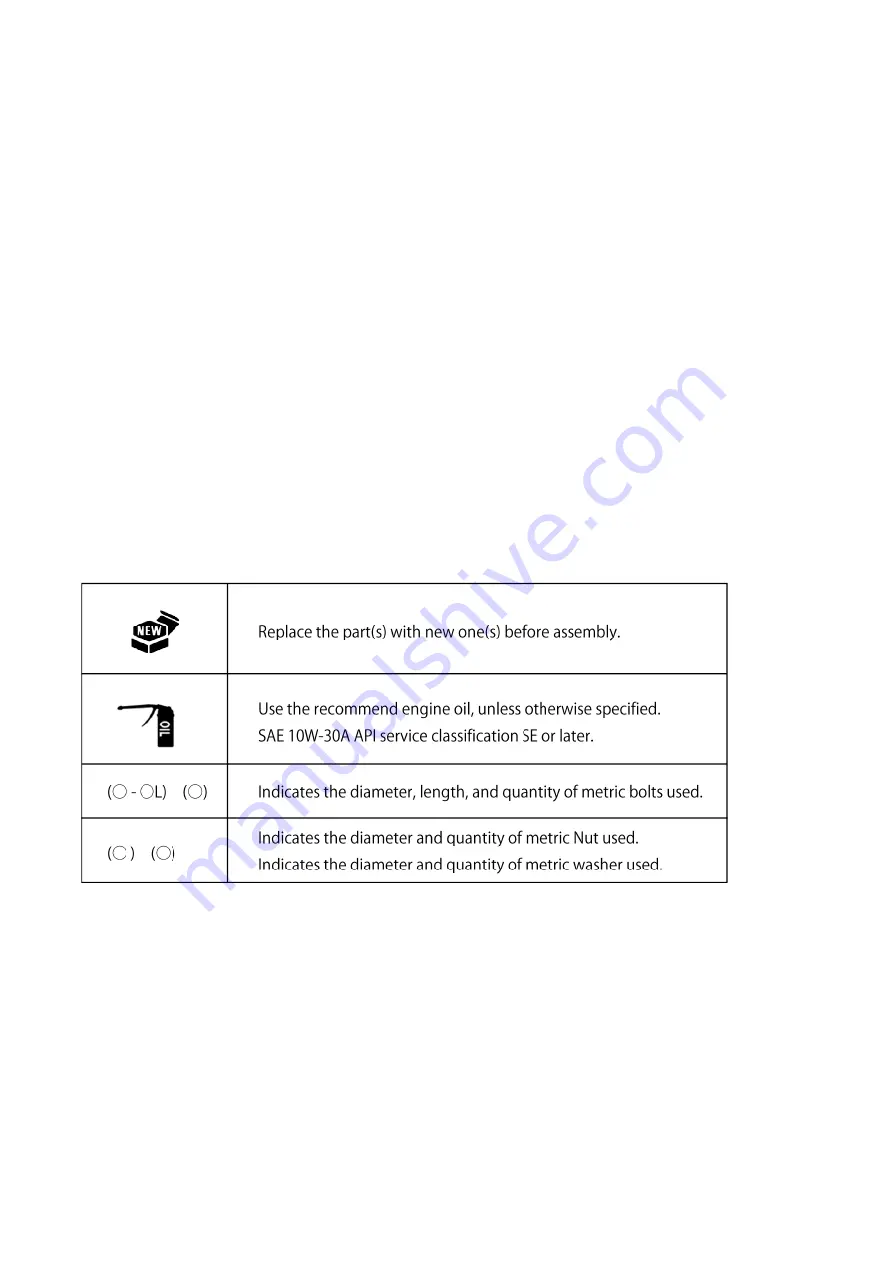
SYMBOLS
The symbols used throughout this manual show special service procedure.
If supplementary information is required pertaining to these symbols, it will be explained specifically in
the text without the use of the symbols.
5
Summary of Contents for EZ6500CXS
Page 1: ......
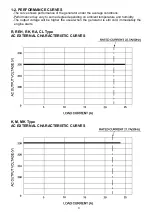
Page 10: ...L LB Type AC EXTERNAL CHARACTERISTIC CURVES S SB Type AC EXTERNAL CHARACTERISTIC CURVES 10 ...
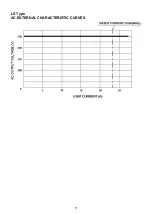
Page 11: ...LS Type AC EXTERNAL CHARACTERISTIC CURVES 11 ...
Page 44: ...4 4 ALTERNATING CURRENT VOLTAGE IS OV 44 ...
Page 51: ...4 11 WIRING DIAGRAM R S K Type 51 ...
Page 52: ...RK LS MK Type 52 ...
Page 53: ...REH CL Type 53 ...
Page 54: ...M Type 54 ...
Page 55: ...SB LB Type 55 ...
Page 56: ...L Type 56 ...
Page 57: ...62EAB00 2019 Sep ...


