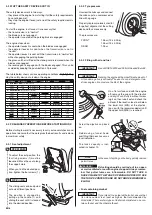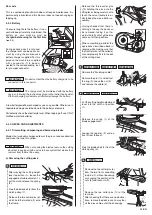
This mower is equipped with a mechanism to enable to easily
switchover between the bagging operation and mulching opera-
tion modes. Use the machine changing over the operation mode
according to the condition of operation. Understand well the ap-
propriate operation condition for the bagging and mulching oper-
ation modes.
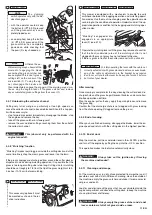
"Mulching" is engaged or dis-
engaged via an appropriate
lever (2) (see 4.10).
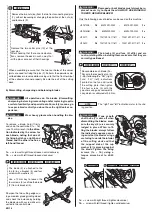
Operate the mulching lever with the grass bag removed to confirm
that the front (underside) area of the mulching shutter is not
clogged with grass or grass has not adhered to the area.
If there is grass in front of the shutter, remove it with a stick etc.
Forcibly operating the lever with the cable not
correctly adjusted or with grass stacked inside can cause break-
age of the cable or deformation in the bracket by excessive
load to occur.If you feel the lever too heavy, don't move it by force
but contact your dealer.
After mowing
Once mowing is complete for the day, cleaning the cutter deck, dis-
charge chute and the grass bag will prevent troubles and ensure trou-
ble-free operation next time.
Stop the engine, pull on the key, apply the parking brake and remove
the grass bag.
Confirm that the discharge chute is not clogged with grass looking
from the chute opening (if clogged, remove the grass).
5.4.9 End of mowing
When you have finished mowing, disengage the blades, lower the en-
gine speed and return with the cutting deck in the highest position.
5.4.10 End of work
Stop the machine, put the accelerator lever in the «SLOW» position
and turn off the engine by putting the key into the «OFF» position.
This operation makes the fuel valve automatically close.
Always take out the ignition key if leaving
the machine unattended!
5.4.11 Cleaning and storage
Put the machine away in a dry place protected from weather and, if
possible, cover with a cloth. After each mowing, clean the outside of
the machine, empty the grass-catcher and shake it to remove resid-
ual grass and earth.
Look for and eliminate all the grass that has accumulated inside the
engine compartment and above the cutting deck, to keep the machine
at an optimal level of efficiency.
Always empty the grass-catcher and do not
leave containers full of cut grass inside a room.
WARNING!
IMPORTANT
HF2417HM• HF2417HT• HF2622H
♦
•
WARNING!
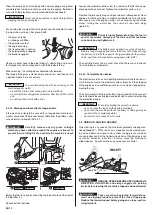
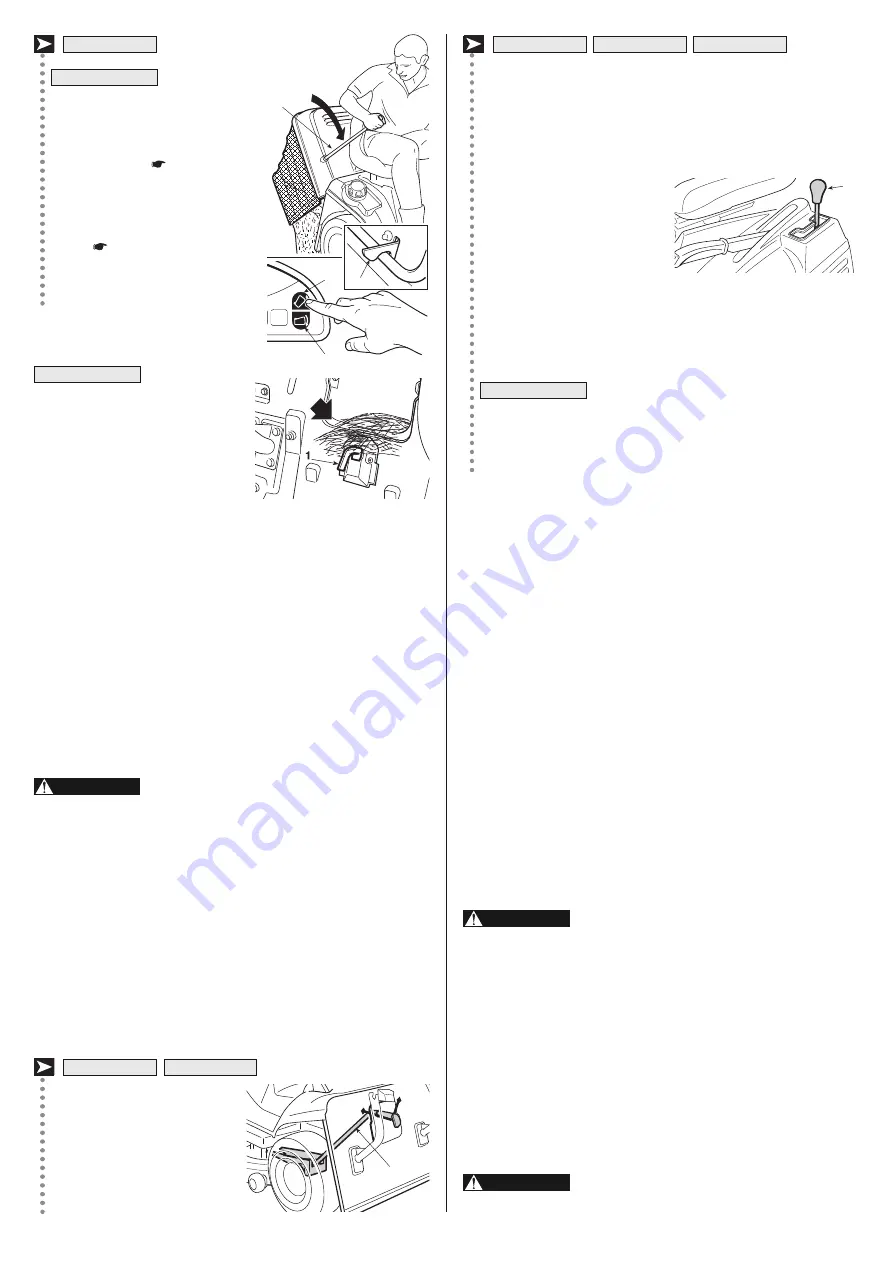
The dumping
switch operates only with the bla-
des disengaged.
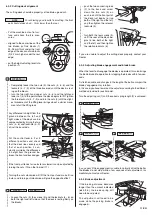
– with the operator seated, keep
the button (3) (
4.9.2) pressed
until the grass-catcher is com-
pletely tipped over;
– once emptied, keep the button
(4) (
4.9.3) pressed until the
grass-catcher has completely
gone down while checking that
the pawl (2) stays hooked on.
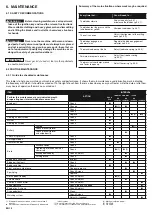
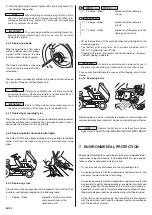
At times the au-
dible warning may be heard at the
moment of engaging the blade
even when the grass-catcher has
been emptied.This is due to grass-
cuttings left on the sensor of the
micro-switch (1). To stop the sig-
nal, disengage the blades and
then immediately engage them again. If the warning sound con-
tinues, stop the engine, take off the grass-catcher and remove
any accumulated grass-cuttings from the sensor (1).
5.4.7 Unblocking the collector channel
Cutting very tall or wet grass, particularly at too high speed, can
cause the collector channel to become blocked.Should this happen,
it will be necessary to:
– stop forward movement immediately, disengage the blades, stop
the engine and remove the key;
– take off the grass-catcher or stone-guard;
– remove the accumulated cuttings, reaching them from the outlet of
the collector channel.
This job must only be performed with the
engine turned off.
5.4.8 “Mulching” function
"Mulching" implies recycling grass inside the cutting deck and at the
same time finely chop the mown grass and leave it on the lawn.
If the grass clippings are discharged from around the cutter deck or
dispersed in wads during mulching operation, it is possible that the
grass is too long or cutting size is too long. Cutting size for mulching
should be set roughly to 1/3 from the tip of the grass height cut to 4-
5 inches (10-13 cm) before mulching.
This accessory (optional) must
be mounted as shown in the rel-
ative instructions.
HF2•••HT•
NOTE
HF2315
◊
♦
• HF2417HB•
WARNING!
NOTE
11 EN
1
3
4
2
1
2

