HRR216PKA
CAM PULLEY/CRANKSHAFT/PISTON/ CYLINDER BLOCK
9-19
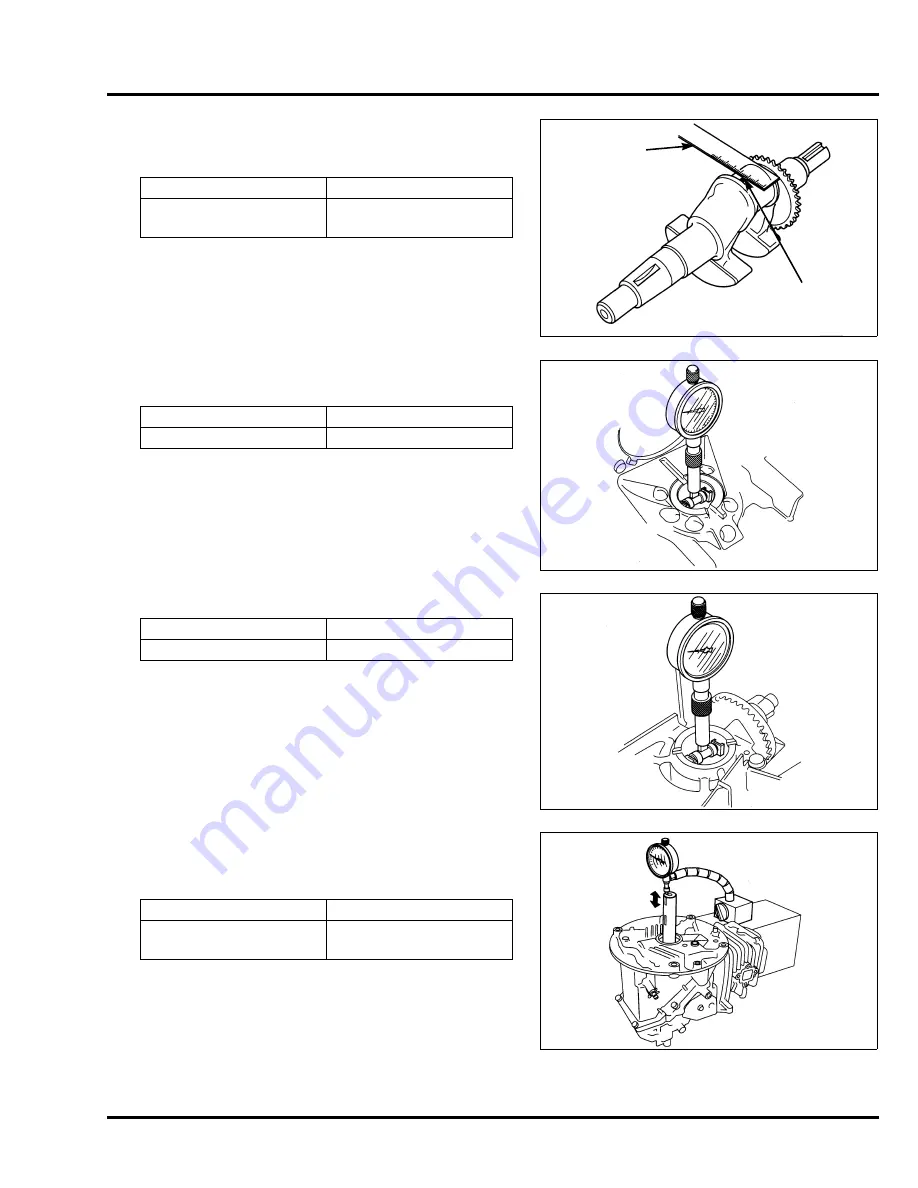
3. Remove the connecting rod cap and measure the
Plastigage
®
with the scale on the Plastigage package to
determine the oil clearance.
4. If the clearance exceeds the service limit, measure the
connecting rod I.D. and crankpin O.D. and replace the
worn parts as necessary. Recheck the big end oil
clearance.
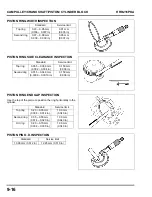
CYLINDER BLOCK MAIN JOURNAL I.D.
INSPECTION
Inspect the bearing surface for scoring or damage. If the bearing
surface is worn or damaged, the cylinder block and
crankshaft will require replacement.
OIL PAN MAIN JOURNAL I.D. INSPECTION
Inspect the bearing surface for scoring or damage. If the bearing
surface is worn or damaged, the oil pan and crankshaft will
require replacement.
CRANKSHAFT AXIAL CLEARANCE INSPECTION
Measure the crankshaft axial play before removing the oil pan,
crankshaft, and piston.
If the axial clearance is too great, inspect the oil pan and timing
gear thrust washer for wear and replace as necessary.
Standard oil clearance
Service limit
0.040 ~ 0.063 mm
(0.0016 ~ 0.0025 in)
0.12 mm
(0.005 in)
Standard
Service limit
25.420 mm (1.0008 in)
25.466 mm (1.0026 in)
Standard
Service limit
28.020 mm (1.1031 in)
28.066 mm (1.1050 in)
Standard
Service limit
0.15 ~ 0.75 mm
(0.006 ~ 0.030 in)
1.0 mm
(0.04 in)
PLASTIGAGE
PLASTIGAGE
SCALE
Summary of Contents for HRR216PKA
Page 5: ...iv HRR216PKA NOTES...
Page 9: ...SPECIFICATIONS HRR216PKA 1 4 NOTES...
Page 45: ...MUFFLER HRR216PKA 5 2 NOTES...
Page 49: ...RECOIL STARTER HRR216PKA 6 4 NOTES...


