INSTALLING
MOWER
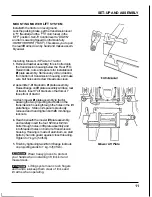
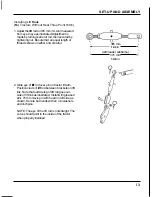
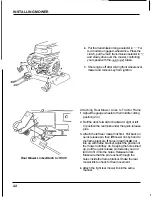
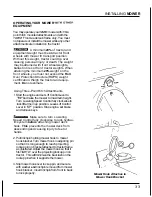
Attaching Front Mower Links to Front
Bracket
1.
Pull back on quick release pin in right or left
front link bracket and twist until the spring pin
catches in slot. Raise front mower link to
bracket
and
line up holes. Looking from inside
the bracket, check alignment of holes.
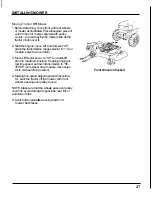
2. If the holes in the bracket and the front link do
not line up, twist front deck link by screwing
it
in or out to adjust length.
If
link is too long, turn
clockwise to shorten. If link is too short, turn
counterclockwise. to lengthen. Adjust both links
an equal number of turns.
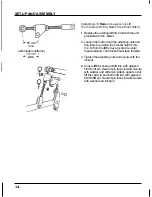
3. When the holes line up, pull quick release pin
towards you and turn to release spring pin
from slot. Make sure that quick release pin is
fully inserted through the holes inside the frame
bracket.
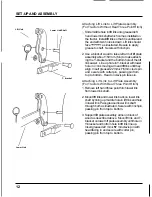
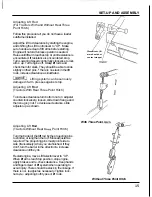
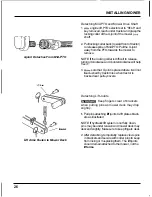
Attaching Driveline
Engine should be
OFF
with key removed
before attaching U-joint
to
Mid-PTO.
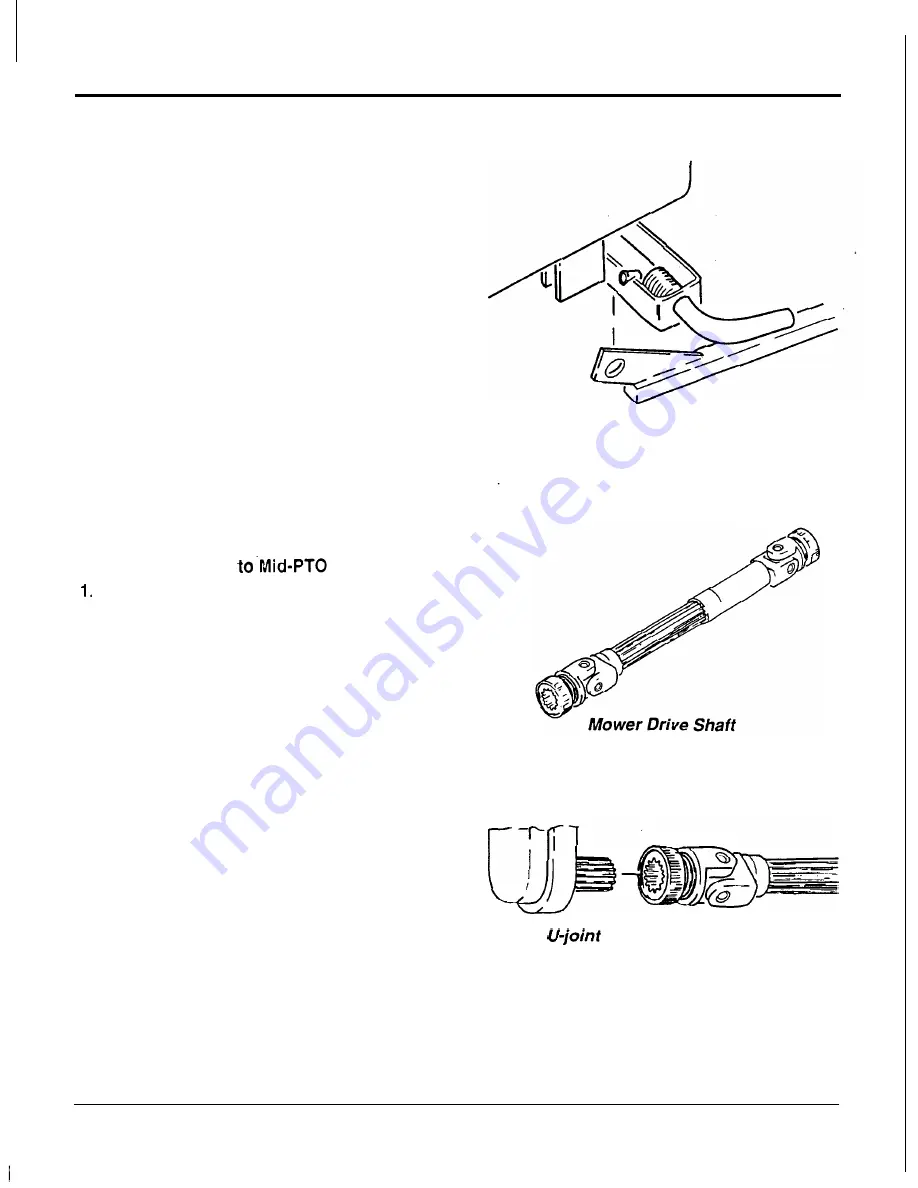
NOTE: The mower drive shaft is a 2-piece assem-
bly. The inner shaft can be removed from the
outer shaft. They fit together in only one way. A
red paint dot on each section marks the blind
spines which must be aligned.
2.
Set the PTO Selector to the REAR position
before attaching (this allows the Mid-PTO to
turn
freely).
3.
Line up U-joint with shaft of the Mid-PTO.
Splines will engage when correctly lined up.
Pull back spring loaded locking collar on U-
joint (towards the mower deck) as illustrated
to insert U-joint into Mid-PTO. Slip U-joint into
shaft until a click is heard.
Once the connection is made, shake the driie
shaft to be certain that the locking collar is for-
ward and completely locked.
Front Mower Links Attach to Front Bracket
Attaches to Mid-PTO
23

