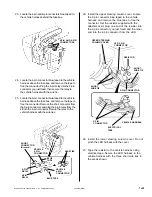
8 of 8
AII 20456 (9908)
© 1999 American Honda Motor Co., Inc - All Rights Reserved.
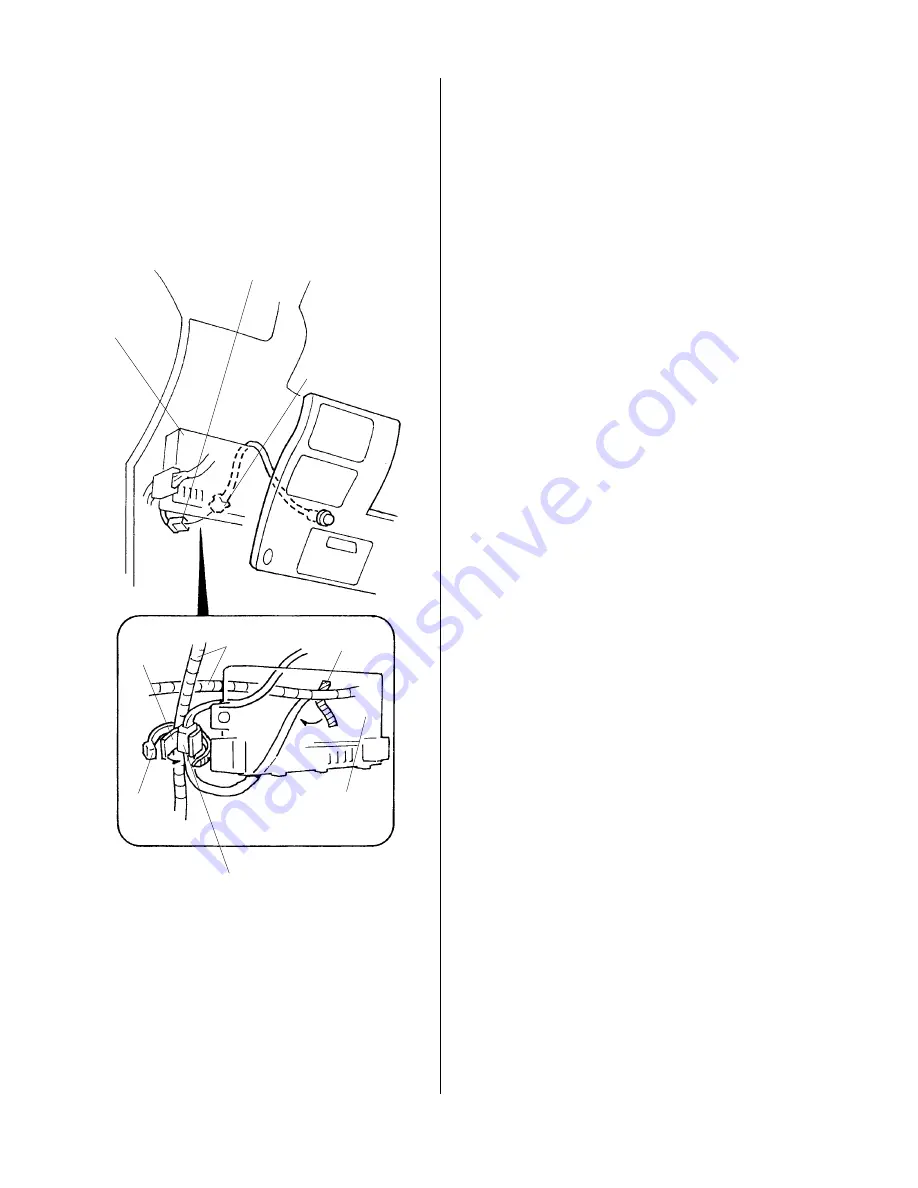
DISARM SWITCH
3-PIN
CONNECTOR
VEHICLE HARNESS
3-PIN CONNECTOR
FUSE BOX
WIRE
TIE
CUSHION
TAPE
(half)
VEHICLE
HARNESS
INSPECTION
31. Check that all wire harnesses are routed properly
and all connectors are plugged in.
32. Reinstall all removed parts.
33. Connect the negative cable to the battery.
34. Check operation of the Security System according
to its Owner’s Manual supplied with the Security
Attachment.
35. For Continuously Variable Transmission (CVT) only:
perform the start clutch calibration procedure
according to the Service Manual whenever the
battery is disconnected or the battery backup fuse is
removed.
36. Put the Security System Attachment Owner’s
Manual in the glove box for your customer.
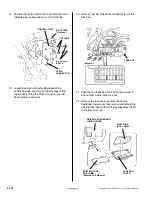
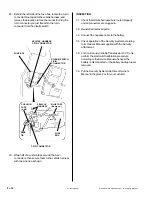
29. Behind the left side of the fuse box, locate the 3-pin
connector blue-taped to the vehicle harness, and
remove the blue tape to free the connector. Plug the
3-pin connector you just freed into the 3-pin
connector from the disarm switch.
BLUE TAPE
(Remove.)
FUSE
BOX
3-PIN CONNECTOR
30. Wrap half of a cushion tape around the 3-pin
connectors, then secure them to the vehicle harness
with one wire tie as shown.


