


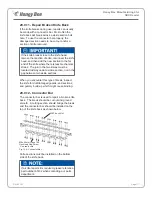
Honey Bee Manufacturing Ltd.
SDX Header
Page 97
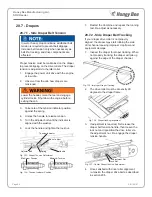
20.7.7 - Draper Splicing
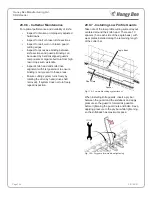
Regular maintenance will extend the life of your
draper. Tears in the draper can be caused by
poor tracking, foreign materials, or from careless
use. If only a portion of draper is damaged, a
splice may be installed.
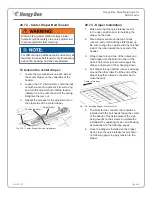
Before beginning this repair, you will need an
additional connector bar set and a section of
draper that is at least 2 ½” longer than the piece
to be removed.
If the damaged section is not near an existing
connector bar, you will need 2 connector bar
sets and a piece of draper 5” longer than the
damaged piece.
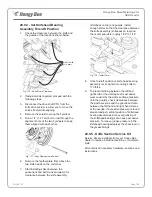
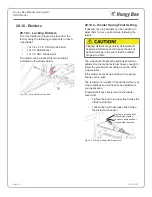
1. Raise the header and install lift cylinder
locks. (If this is too high for comfortable
access, the table can be set on blocks or
lowered to the ground.)
2.
Raise the reel and place the locks on the lift
cylinders to prevent the reel from falling.
Engage the park brake on the combine, shut the
engine down, and wait for all moving parts to
stop before leaving the cab.
3. Release the draper tension.
4. Remove draper connecting bar.
5. Correct the cause of the draper failure.
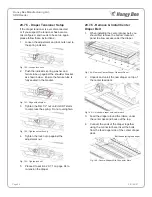
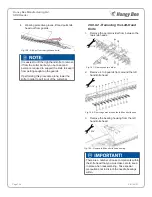
6. The draper should be cut midway between
two slats to provide ample material for the
new join. With a measuring tape, measure,
and mark a line six inches from a slat on a
good portion of the draper. Place a board
directly under the line you have marked,
to support the section you will be cutting.
With a utility knife and a straight edge cut
the draper along the marks. This cut must
be accurate, and square, to assure that the
draper will track properly. Repeat this step
on the other side of the damaged area.
7.
Lay the piece you have removed flat, and
measure the width, then add 3 1/2 inches.
The total will be the length of material you
require for the splice. (If you need two new
connector bar sets, add 5”.)
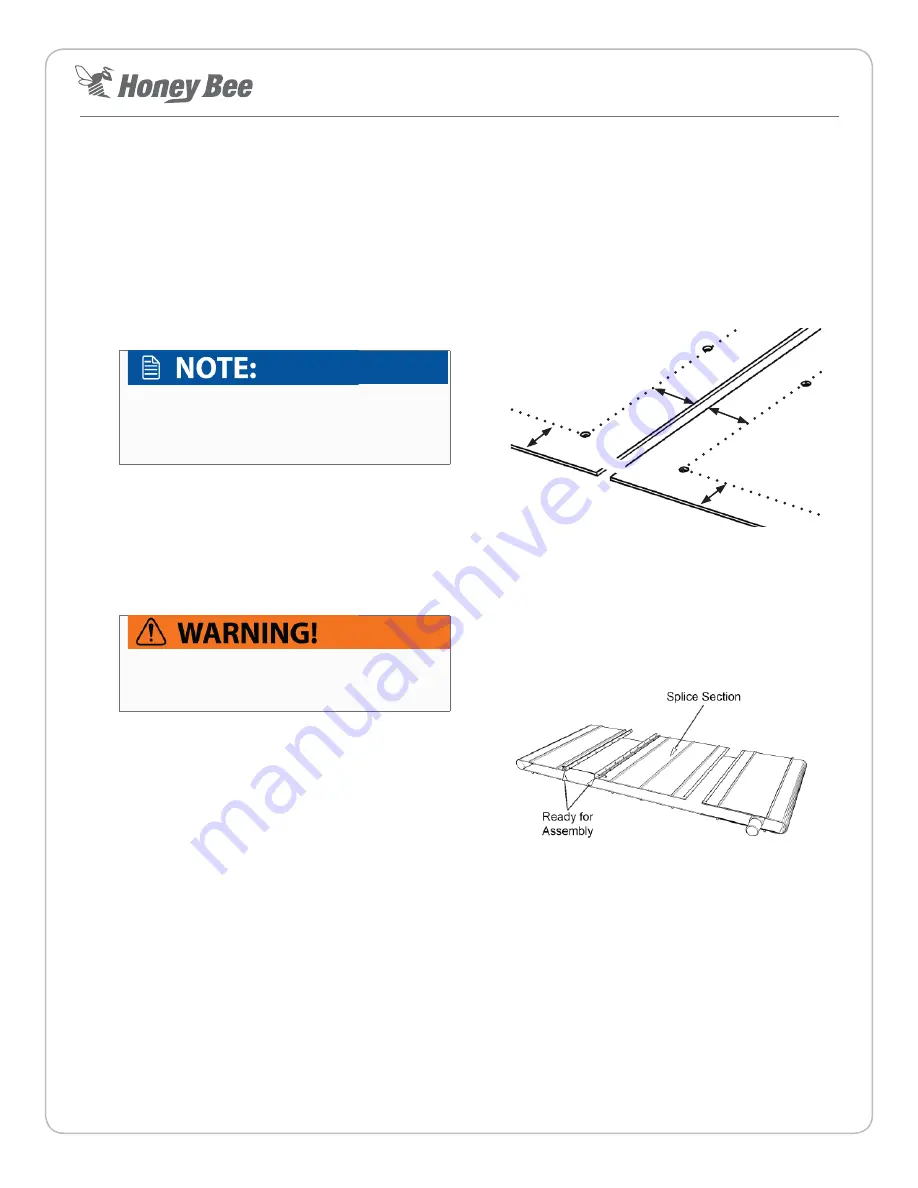
8.
To mark the location for holes, measure 1” in
from each edge to be joined, and mark a line
parallel to the cut edges.
9.
On each of these lines, measure 1-1/8” from
the front edge of the draper, and make a
mark for the first hole.
1” (2.5cm)
1 1/8” (2.5cm)
1” (2.5cm)
1 1/8” (2.5cm)
Fig. 147 - Draper Splice Hole Measurements
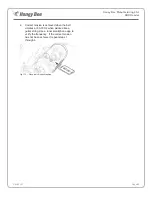
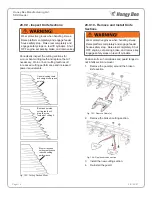
10.
Drill 3/16” holes through each mark.
11. Place the backs of the draper together, lining
up these drilled holes.
12.
Place a connector bar on each side, line up
the holes, and secure with a machine screw
and nut.
Fig. 148 - Draper Splice
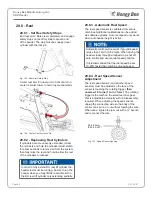
13. Match up the edges of the draper and drill
a hole at the opposite end on the 1” line,
using the connector bar as a template.
Insert a screw and secure in place. Drill the
remaining holes through the holes in the
connector bar, insert screws and secure.
14.
Adjust draper tension. Trim all joins to 1/2”
above connector bar.
15. Adjust tracking.
Summary of Contents for AirFLEX SDX 225
Page 1: ...Revision 1 3 P N 95107 FLEX Header Operator Manual 2020 SDX Series...
Page 2: ......
Page 6: ...Page 6 Honey Bee Manufacturing Ltd SDX Header P N 95107...
Page 14: ...Page 14 Honey Bee Manufacturing Ltd SDX Header P N 95107...
Page 16: ...Page 16 Honey Bee Manufacturing Ltd SDX Header P N 95107...
Page 18: ...Page 18 Honey Bee Manufacturing Ltd SDX Header P N 95107...
Page 20: ...Page 20 Honey Bee Manufacturing Ltd SDX Header P N 95107...
Page 24: ...Page 24 Honey Bee Manufacturing Ltd SDX Header P N 95107...
Page 26: ...Page 26 Honey Bee Manufacturing Ltd SDX Header P N 95107...
Page 37: ...Honey Bee Manufacturing Ltd SDX Header Page 37 P N 95107...
Page 57: ...Honey Bee Manufacturing Ltd SDX Header Page 57 P N 95107...
Page 73: ...Honey Bee Manufacturing Ltd SDX Header Page 73 P N 95107...
Page 80: ...Page 80 Honey Bee Manufacturing Ltd SDX Header P N 95107...
Page 124: ...Page 124 Honey Bee Manufacturing Ltd SDX Header P N 95107...


