12
Post Installation Start-up and Adjustments
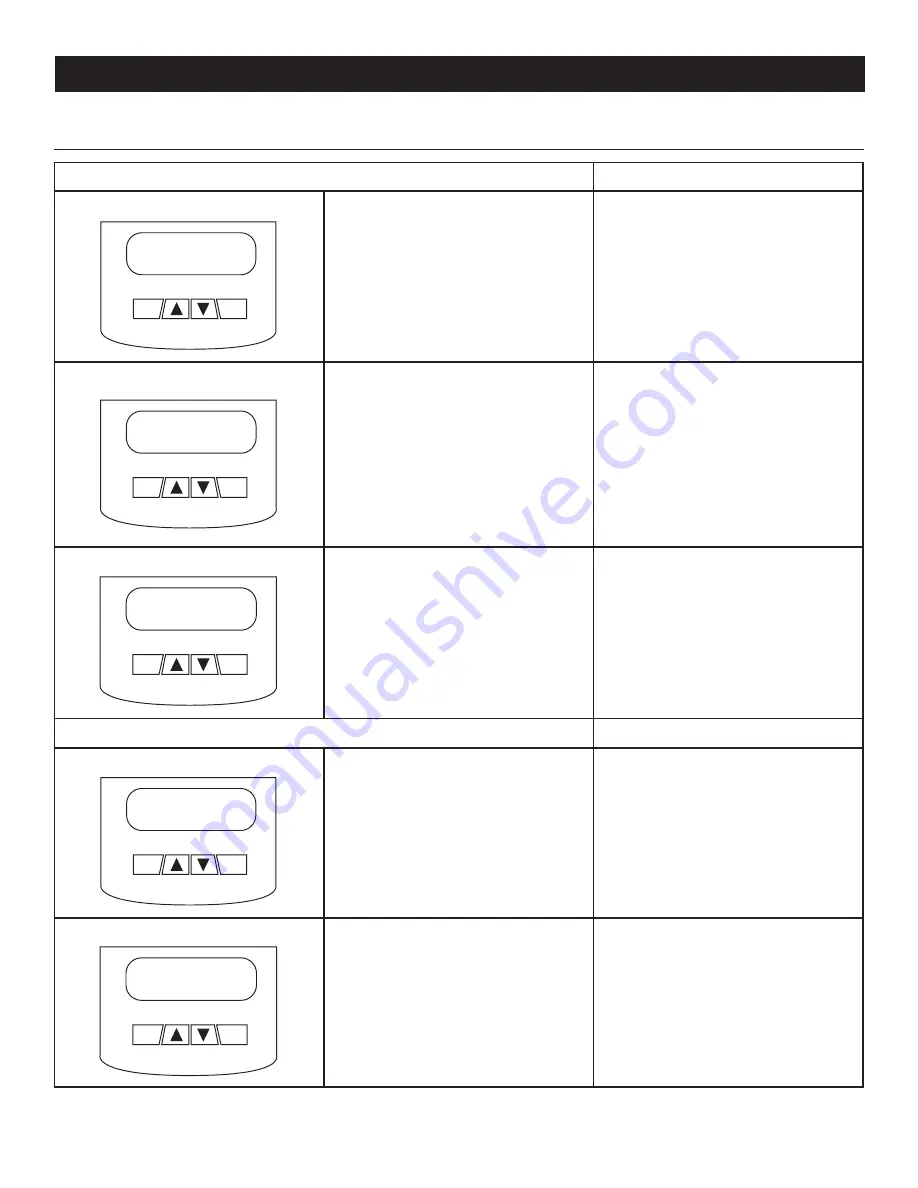
ACTIVATION CHART
CHOOSE LANGUAGE
TROUBLESHOOTING
Display Reads:
Use ARROW keys to scroll to desired lan-
guage. Press ENTER to select.
If the wrong language is chosen, it can be
changed later using the “edit” menu.
Display Reads:
Press ENTER to begin the activation pro-
cess.
If ESCAPE is pressed instead of ENTER,
your generator will only run in manual mode
(for test purposes) and NOT ACTIVATED will
be displayed. You will need to remove the
generator control panel fuse and disconnect
the T1, N1, N2 connector in the external
connection box (if equipped), or disconnect
utility input (main breaker) to the transfer
switch for 3-5 seconds and reconnect. Then
begin with Step 1.
Display Reads:
If you do not have your activation code,
go to www.activategen.com or call
1-888-9ACTIVATE (922-8482).
If you already have your activation code,
wait 3-5 seconds for the next display.
ENTER ACTIVATION CODE (Passcode)
TROUBLESHOOTING
Display Reads:
Use ARROW keys to scroll and find the first
number of your Activation Code.
Press ENTER to select.
Repeat this step until all digits have been
entered.
Use ESCAPE to correct previous digits.
Display Reads:
Activation is complete when all digits are
entered above and your screen shows this
display.
Follow the controller prompts to continue
setting the time function. Refer to your
Owner’s Manual with questions.
What happens if “Wrong Passcode Try
Again” appears?
Reenter the activation code. If a second
attempt is unsuccessful, check the number
against the code given on activategen.com.
If it is correct and the generator will not
accept it, contact 1-888-9ACTIVATE (922-
8482).
“SELECT HOUR (0-23)”
“-
+”
6
Escape
Enter
Serial 123456789
Passcode XXXXX +/-
Escape
Enter
To Activate go to
www.activategen.com
Escape
Enter
Activate me (ENT) or
ESC to run in manual
Escape
Enter
Language
- English
+
Escape
Enter
Summary of Contents for 10 kW
Page 31: ...29 Notes ...
Page 32: ...30 Installation Diagrams Drawing 0J3244 B ...
Page 33: ...31 Drawing 0J3244 B Installation Diagrams ...
Page 71: ...69 Notas ...
Page 107: ...105 Remarques ...


