
Available at www.HoneywellStore.com
FIG
5
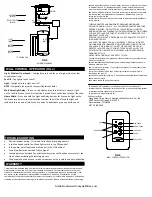
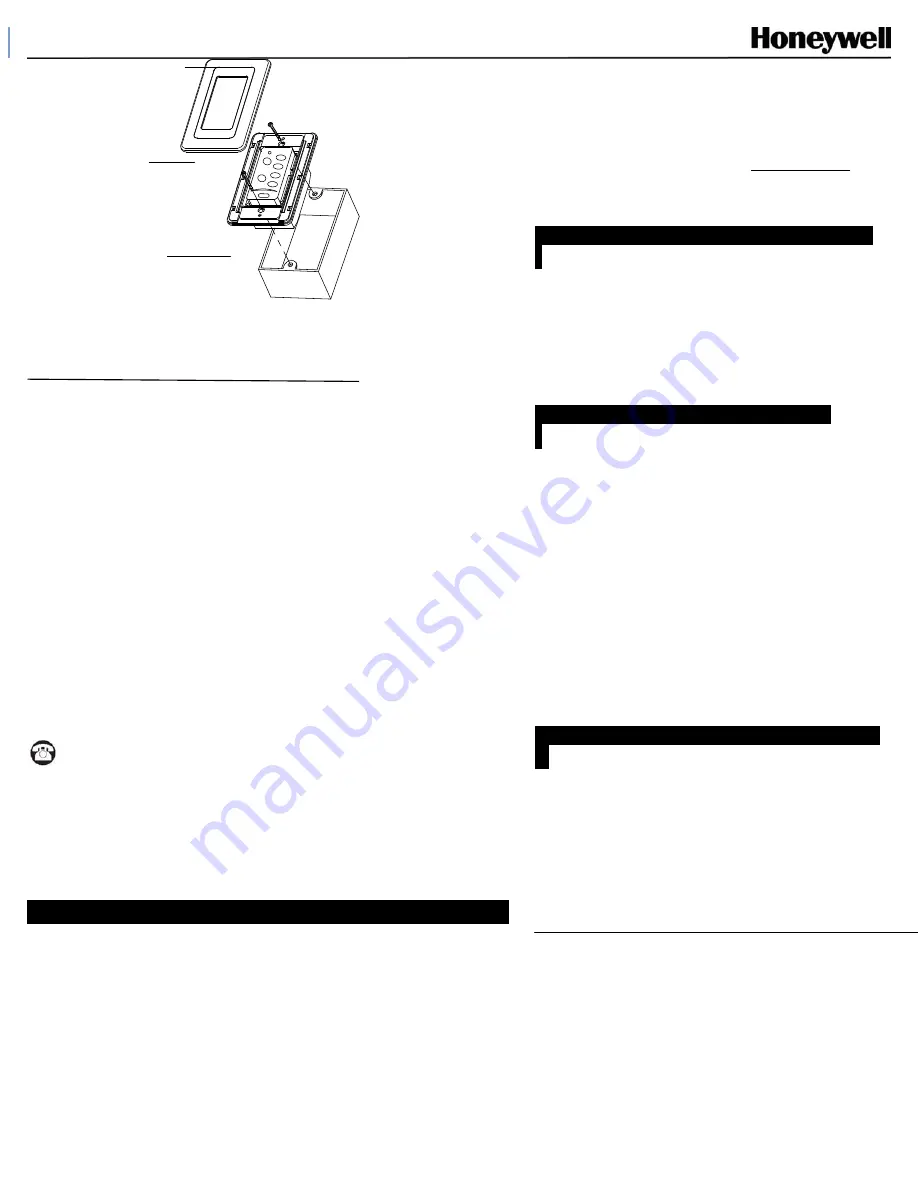
WALL CONTROL INSTALLATION
FEDERAL
COMMUNICATIONS
COMMISSION
INTERFERENCE
STATEMENT
This
equipment
has
been
tested
and
found
to
comply
with
the
limits
for
a
Class
B
digital
device,
pursuant
to
Part
15
of
the
FCC
Rules.
These
limits
are
designed
to
provide
reasonable
protection
against
harmful
interference
in
a
residential
installation.
This
equipment
generates,
uses
and
can
radiate
radio
frequency
energy
and,
if
not
installed
and
used
in
accordance
with
the
instructions,
may
cause
harmful
interference
to
radio
communications.
However,
there
is
no
guarantee
that
interference
will
not
occur
in
a
particular
installation.
If
this
equipment
does
cause
harmful
interference
to
radio
or
television
reception,
which
can
be
determined
by
turning
the
equipment
off
and
on,
the
user
is
encouraged
to
try
to
correct
the
interference
by
one
or
more
of
the
following
measures:
Reorient
or
relocate
the
receiving
antenna.
Increase
the
separation
between
the
equipment
and
receiver.
Connect
the
equipment
into
an
outlet
on
a
circuit
different
from
that
to
which
the
receiver
is
connected.
‐‐
Consult
the
dealer
or
an
experienced
radio/TV
technician
for
help.
CAUTION:
To
assure
continued
FCC
compliance:
Any
changes
or
modifications
not
expressly
approved
by
the
grantee
of
this
device
could
void
the
user's
authority
to
operate
the
equipment.
FCC
ID
:
KUJCE10005
&
KUJCE10006
This
device
complies
with
Part
15
of
the
FCC
Rules.
Operation
is
subject
to
the
following
two
conditions:
(1)
This
device
may
not
cause
harmful
interference,
and
(2)
this
device
must
accept
any
interference
received,
including
interference
that
may
cause
undesired
operation.
One Year Limited Warranty
If you have questions regarding this product, before returning
to your retailer, call our customer service department toll free
at
1-877-580-4359
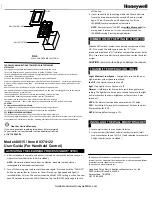
Model 40015 / Item # 0374122
User Guide (For Handheld Control)
ACTIVATING THE LEARNING PROCESS (SMART SYNC)
S
1.
After
installation
is
complete
and
power
is
turned
on,
remove
the
battery
cover
on
transmitter.
Insert
batteries
(2
AAA,
included).
NOTE:
Do
not
mix
old
and
new
batteries,
alkaline,
standard
(carbon
‐
zinc)
or
rechargeable
(nickel
‐
cadmium)
batteries.
2.
Turn
off
the
main
power
and
re
‐
start
the
power
again.
Press
and
hold
the
“FAN
OFF”
button
on
transmitter
for
3
seconds.
Fan
will
turn
on
at
high
speed
and
light
(if
installed)
blinks
3
times.
This
confirms
that
the
SMART
SYNC
setting
is
active.
You
now
have
30
seconds
to
press
the
FAN
OFF
button.
Tap
the
FAN
OFF
button
again
to
turn
off
the
fan.
3.
If
user
cannot
finish
the
setting
within
the
30
seconds
time
frame
the
main
power
must
be
turned
off
and
re
‐
started
again.
This
will
reset
the
unit.
Repeat
step
2
until
the
LEARNING
feature
is
activated
as
indicated.
NOTE:
User
must
press
“LEARN”
key
within
30
seconds
after
main
power
is
turned
on.
It
is
not
necessary
to
redo
the
LEARNING
setting
if
just
replacing
batteries
.
DIMMER ON/OFF SETTING (D/ O SWITCH)
)
Slide
the
D/O
switch,
located
in
the
battery
compartment
(See
FIG.
1),
to
match
the
bulb
type
in
your
fan.
“D”
is
for
incandescent
bulbs
and
“O”
indicates
compact
fluorescent
bulbs
(CFL).
Use
a
small
screwdriver
or
ballpoint
pen
to
slide
firmly
left
or
right.
CAUTION: Incorrect bulb setting can damage the receiver.
TRANSMITTER OPERATION (FIG.2)
)
High
/
Medium
/
Low
Speed
–
Tap
lightly
to
turn
the
fan
on
at
high,
medium
or
low
speed
respectively.
Fan
Off
–
Tap
lightly
to
turn
the
fan
off.
Light
–
Tap
lightly
to
turn
light
on
or
off.
Dimmer
–
Hold
down
for
2
seconds
to
cycle
through
dimmer
setting.
The
light
button
has
an
auto
resume
feature
so
the
light
will
re
‐
activate
at
the
same
brightness
as
the
last
time
it
was
turned
off.
NOTE:
The
dimmer
function
does
not
work
with
CFL
bulbs
.
D/O
–
Set
the
light
for
use
with
incandescent
bulbs
or
compact
fluorescent
bulbs
(CFL).
NOTE:
Factory
default
setting
is
CFL
.
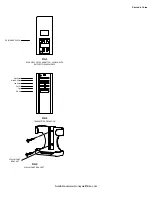
INSTALLING THE WALL MOUNT BRACKET
S
1.
Locate
wall
mount
in
a
convenient
location
2.
Use
two
screws
(included)
and
wall
anchors
to
install
wall
mount
bracket
as
shown
in
FIG.
3
(Tools
required
for
assembly:
Philips
screwdriver,
not
included)
The
Honeywell
Trademark
is
used
under
license
from
Honeywell
International
Inc.
Honeywell
International
Inc.
makes
no
representations
or
warranties
with
respect
to
this
product.
This
product
is
manufactured
for:
Hong
Kong
China
Electric
Appliance
Manufacture
Co.,
Ltd.
3059
Forest
Hill
Irene
Rd,
Ste
103
Germantown,
TN
38138
1
‐
877
‐
580
‐
4359
WALL PLATE
WALL CONTROL UNIT
WALL OUTLET BOX


