background image

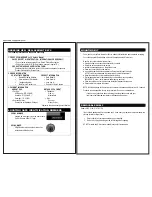
ORDERING NEW / REPLACEMENT KEYS 

The following information is required to order keys:


1. PROOF OF OWNERSHIP (1 of 2 Options Below)


SALES RECEIPT & IDENTIFICATION – INTERNATIONAL ORDERS ONLY! 

Copy of sales receipt showing Store, Date & Product Description.

Copy of your picture I.D. (Drivers license, passport, regular I.D.).


PRODUCT OWNERSHIP VERIFICATION FORM 

If sales receipt is not available, contact us by email or telephone to request a 
“Product Ownership Verification Form”.  

2. ORDER INFORMATION

CONTACT INFORMATION

Name & Shipping Address

E-mail address (If Available)

Telephone Number

Best Time to Contact You

PRODUCT INFORMATION 

Safe Model #

Safe Serial #

Lock Key #

Quantity of Keys Ordered

3. PAYMENT INFORMATION

AMOUNT DUE

Per Key:

US/Canada - $12.00 (USD)
Australia - $15.00 (AUD) 
Germany -  11.00 (EU) 

Express Delivery:

Contact us for Additional Charges

METHOD OF PAYMENT 

Telephone:

Visa or
MasterCard 

Mail:

Check or
Money Order  

Subject to change without prior notification. 

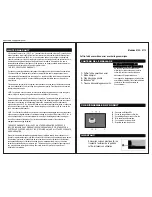
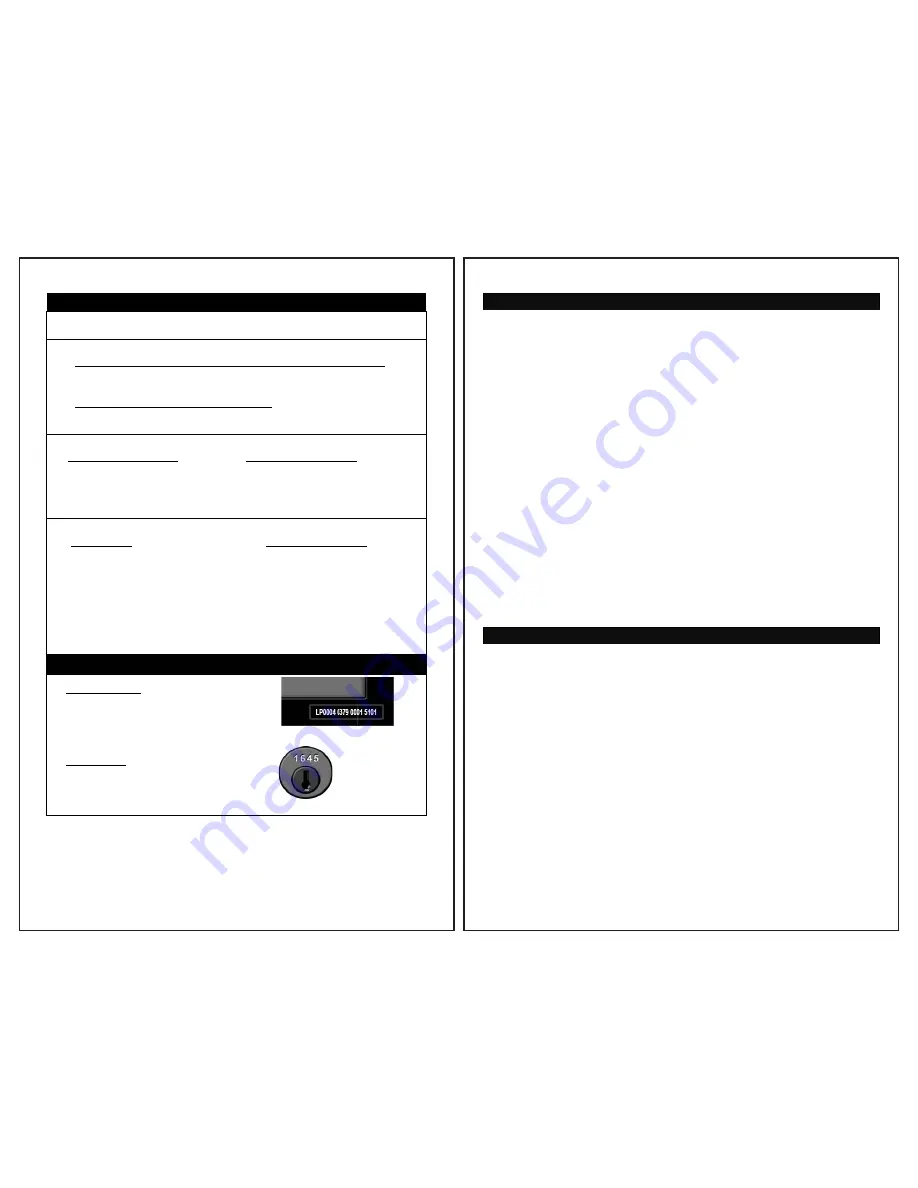
LOCATING SAFE IDENTIFICATION NUMBERS 

SERIAL NUMBER 

Located on lower right corner on front of safe.


Do Not Remove Safe I.D. Tags!


KEY NUMBER 

4 Digit Number etched on the metal collar 
located around the key hole. 

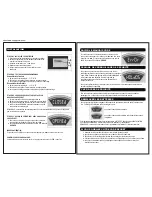
MOUNTING KIT  

You may bolt your safe to the wall or floor to added theft protection and resistance to tipping.  
Your safe has pre-drilled bolt-down holes in the back panel and in the floor. 

To secure your safe to the wall and/or floor:  

1.

Select a suitable and convenient location for your safe.

2.

Empty the safe and remove the carpet

3.

Locate the predrilled holes on the inside of safe

4.

Place your safe in the desired location.

5.

Line up the predrilled holes and mark the floor or wall through the holes.
NOTE: It is not recommended to attempt to bolt to both floor and wall.

6.

Move the safe aside to clear marked spots for drilling.

7.

Drill holes appropriate for hardware being used and the mounting surface
INCLUDED: (2 each – bolts, washers and masonry anchors).

8.

Place the safe back over the holes and install the fasteners as required.

9.

Once completed, replace the carpet.

NOTE: Bolting/unbolting of the unit is at the consumer’s expense and discretion. LH Licensed 
Products is not responsible for any costs incurred if the unit is to be replaced 


If you have any questions about mounting the safe, please check with your  
local home center/hardware retailer or independent contractor. 

REMOVABLE SHELF  

Models 5103, 5104, 5107 & 5108 

If your safe is equipped with a removable shelf, it can easily be removed to accommodate the 
storage of taller or larger items. 

1.

Empty shelf of all contents and remove any carpeting

2.

Remove by lifting and tilting to side to fit through door opening.

DO NOT discard shelf. It is recommended that you for future needs. 

https://www.supplychimp.com

Summary of Contents for 5113

Page 1: ...y Safe 1 Operation Manual 2 Override Access Keys 4 AA Batteries 1 Mounting Kit w Bolts DO NOT RETURN SAFE TO STORE For missing parts or difficulty operating your safe please contact our Consumer Assistance Department by telephone Store will not accept returned products without prior authorization You must first contact our consumer assistance department PRODUCT OVERVIEW A LED Display panel B Safe ...

Page 2: ... you press a wrong key while entering your code you may press clear to reset prior to pressing lock If you have entered the wrong code followed by lock the LED panel will display ERROR SECURE LOCKOUT PERIOD If a wrong code is entered 3 times in a row the digital keypad will begin a five minute lockout period During this period the LED will display HOLD05 and the keypad will become disabled Once th...

Page 3: ...ing Your safe has pre drilled bolt down holes in the back panel and in the floor To secure your safe to the wall and or floor 1 Select a suitable and convenient location for your safe 2 Empty the safe and remove the carpet 3 Locate the predrilled holes on the inside of safe 4 Place your safe in the desired location 5 Line up the predrilled holes and mark the floor or wall through the holes NOTE It...

Page 4: ... Inc shall not be liable for any incidental or consequential damages caused by the breach of any express or implied warranty or otherwise relating to the sale of this product LHLP Inc is also not responsible for costs associated with removing or installing the product damage or loss of the contents of the product nor for the unauthorized removal of the contents or damages incurred during shipment ...

Page 5: ...n saisissant votre code vous pouvez appuyer sur clear pour remettre à zéro avant d appuyer sur lock Si vous avez saisi le mauvais code suivi de lock le panneau DEL affichera ERROR PÉRIODE DE VERROUILLAGE DE SÉCURITÉ Si un code secret incorrect est saisi trois fois de suite le bloc numérique rentrera dans une période de verrouillage de sécurité de cinq minutes Pendant cette période le DEL affichera...

Page 6: ...ÉRO DE CLÉ Un numéro à 4 chiffres est gravé sur la bague métallique située autour du trou de la clé TROUSSE D ASSEMBLAGE Vous pouvez fixer votre coffre fort au mur ou au sol pour une protection supplémentaire contre le vol et une meilleure résistance au basculement Votre coffre fort est doté de trous de fixation pré percés sur le panneau arrière et sur le plancher Pour fixer votre coffre fort au m...

Page 7: ...ment ou l installation du produit des dommages ou des pertes du contenu du produit de l enlèvement non autorisé du contenu ou des dommages produits lors de l expédition LA GARANTIE CI DESSUS REMPLACE TOUTES LES AUTRES GARANTIES EXPRESSES OU TACITES Y COMPRIS TOUTES GARANTIES DE QUALITÉ MARCHANDE OU D APTITUDE À UN USAGE PARTICULIER ET LHLP INC DÉCLINE TOUT AUTRE CONVENTION ET GARANTIE Sauf par ce ...

Page 8: ...QUIVOCADO En caso que usted oprimiera la llave equivocada mientras ingresa su código puede oprimir clear para borrar el código antes de oprimir lock En caso que haya ingresado el código equivocado seguido de lock el panel del LED indicará ERROR PERIODO DE CIERRE DE SEGURIDAD En caso que haya ingresado 3 veces de seguido el código equivocado el teclado digital iniciará un periodo de cierre de cinco...

Page 9: ...a vez 7 Mueva la caja fuerte hacia el lado para que queden expuestos los puntos marcados para taladrar los hoyos 8 Taladre los hoyos al tamaño del herraje que va a utilizar y que correspondan a la superficie de montaje 9 SE INCLUYEN 2 de cada uno pernos arandelas y anclaje de mampostería 10 Coloque la caja fuerte sobre los hoyos e instale los sujetadores que necesite 11 Una vez que termine cubra e...

Page 10: ...rantía expresa o implicada o de alguna otra manera relacionada con la venta de este producto LHLP Inc tampoco es responsable por los costos asociados al sacar e instalar el producto equivocadamente daños o pérdida del contenido del producto como tampoco por haber retirado sin autorización el contenido o los daños incurridos durante el embarque LA ANTERIOR GARANTÍA ES A CAMBIO DE CUALESQUIERA OTRAS...

Reviews: