LXL-1010 Installation and Setup Guide
7–4
“
C
”
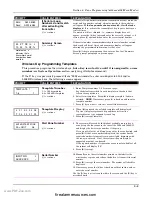
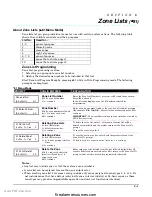
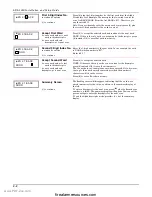
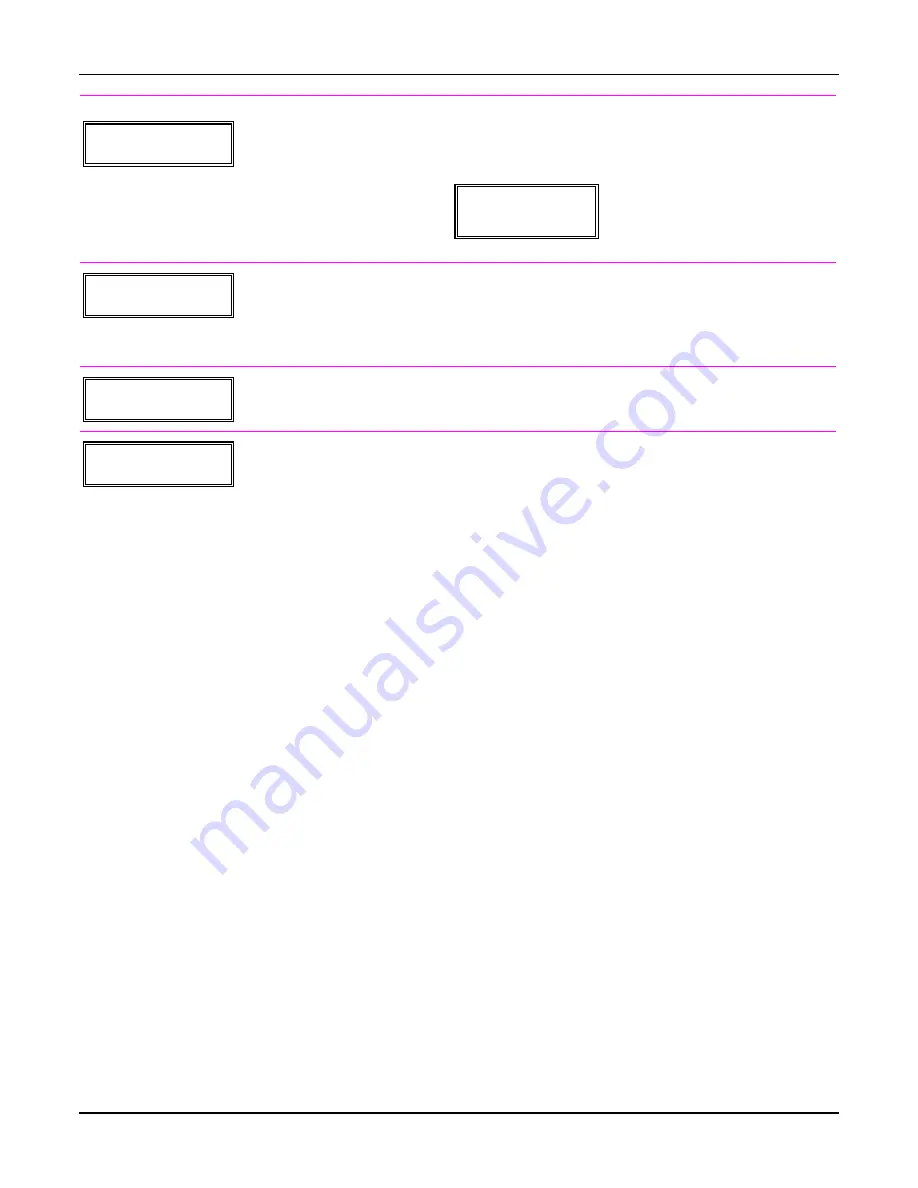
01 Enter Zn No.
12
Zone Number
If zone number was selected, this screen appears.
Enter the desired zone number associated with this output number.
Press [
✱
] to continue.
Enter the zone event that will activate this output.
01 Enter Event
0 = restore; 1 = alarm/fault/trouble
Restore 0
Press [
✱
] to continue to the “Output Action” prompt
01 Output Action
Close for 2 sec
1
Output Action
0-6 = see list at right
Enter the desired device action as listed below. Press the [Q] key to
continue.
0 = off
4 = Change Device State
1 = Close for 2 seconds
5 = Duration 1 (see data field *177)
2 = Close and Stay Closed
6 = Duration 2 (see data field *177)
3 = Continuous Pulse on & off (1 sec ON, 1 sec OFF)
Enter Output No.
R02 02
Output Number
01-08 = output no.
Enter the device output number (programmed in *79 Menu Mode)
you want associated with this output.
Press [
✱
] to continue.
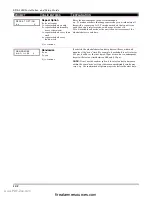
02 A E TRIG
R02 1 1 ZL=1
Summary Screen
A summary screen appears showing the programmed settings.
Press [
✱
] to continue.
www.PDF-Zoo.com
firealarmresources.com
Summary of Contents for ADEMCO LYNX XL Series
Page 8: ...LXL 1010 Installation and Setup Guide 1 4 www PDF Zoo com firealarmresources com ...
Page 18: ...LXL 1010 Installation and Setup Guide 2 10 www PDF Zoo com firealarmresources com ...
Page 44: ...LXL 1010 Installation and Setup Guide 6 2 www PDF Zoo com firealarmresources com ...
Page 50: ...LXL 1010 Installation and Setup Guide 8 2 www PDF Zoo com firealarmresources com ...
Page 60: ...LXL 1010 Installation and Setup Guide 11 4 www PDF Zoo com firealarmresources com ...
Page 66: ...LXL 1010 Installation and Setup Guide 12 6 www PDF Zoo com firealarmresources com ...
Page 70: ...LXL 1010 Installation and Setup Guide 13 4 www PDF Zoo com firealarmresources com ...
Page 74: ...LXL 1010 Installation and Setup Guide 14 4 www PDF Zoo com firealarmresources com ...

