FIELD
TITLE and DATA ENTRIES
EXPLANATION
*180
Zone Bypass Limit
0 = unlimited zone bypasses in each partition
1-7 = number of zone bypasses allowed in
each partition
8 = zone bypass disabled (no zones can be
bypassed)
Select the maximum number of zones that can be bypassed.
Each partition individually uses this entry.
*181
AC and Clock Display Options
0-15 = desired options based on chart at
right.
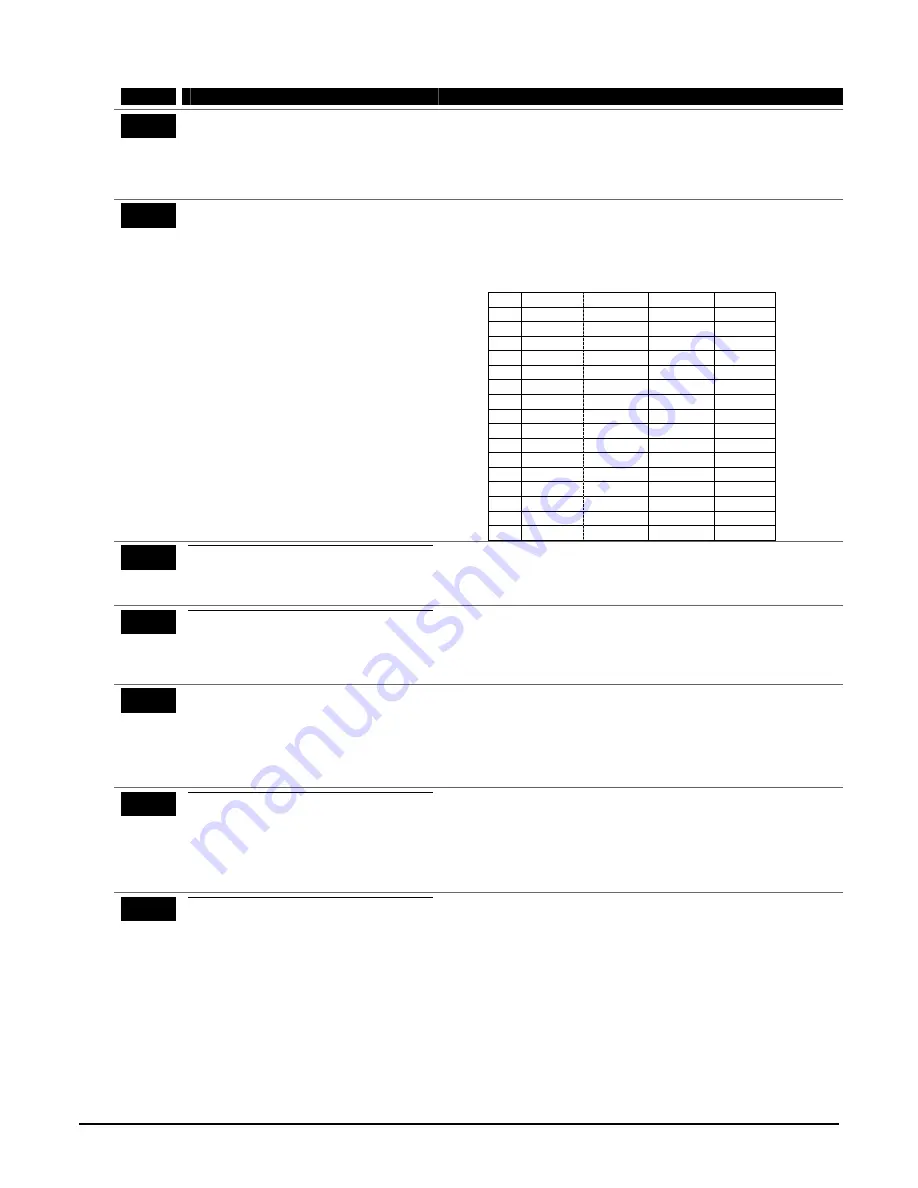
Use the following table to select the desired options for real-time
clock synchronization (50Hz, 60Hz, Crystal), AC loss display
(independent of AC loss report enabled in *62), and clock display
(time displayed on bottom line of alpha keypads).
X10 NOTE: “X10” (powerline carrier devices) use the selected AC
frequency to communicate with the control.
Entry
AC Freq.
Crystal for AC Loss disp Clock disp
0 60Hz
clock
backup no
no
1 50Hz
clock
backup no
no
2 60Hz clock
no
no
3 50Hz clock
no
no
4 60Hz
clock
backup
yes
no
5 50Hz
clock
backup
yes
no
6 60Hz clock
yes
no
7 50Hz clock
yes
no
8 60Hz
clock
backup no
yes
9 50Hz
clock
backup no
yes
#+10
60Hz clock no
yes
#+11
50Hz clock no
yes
#+12
60Hz clock
backup yes
yes
#+13
50Hz clock
backup yes
yes
#+14
60Hz clock yes yes
#+15
50Hz clock yes yes
*182
Summer Time Switchover Day
0 = switch on Sunday morning
1= switch on Saturday morning
2 = switch on Friday morning
Select the appropriate summer time switchover day.
*183
Date/Time Format
0 = 12-hour time/MMDDYY date
1 = 12-hour time/DDMMYY date
2 = 24-hour time/MMDDYY date
3 = 24-hour time/DDMMYY date
Select the desired time and date format.
*185
Downloader Suppression Options
0 = no suppression
1 = suppress user code viewing
2 = suppress commands and program
download when armed
3 = suppress user code viewing, commands,
and program download when armed*
Select the desired options.
*186
Display Options
Entry 1: Latch first alarm in the display
0 = disable; 1 = enable
Entry 2: Blank the display (except for AC
loss) when not in exit delay, or 30
seconds after disarm
0 = disable; 1 = enable
Select the desired keypad display options.
Entry 1: If enabled, only the first zone that went into alarm is
displayed. Pressing the READY key will scroll once through the
other zones that went into alarm, then the first zone in alarm will
again be displayed.
*187
Sounder Mimic on Trigger 1
0 = no sound output on trigger 1
1 = mimic keypad 1, address 16
2 = mimic keypad 2, address 17
3 = mimic keypad 3, address 18
4 = mimic keypad 4, address 19
5 = mimic keypad 5, address 20
6 = mimic keypad 6, address 21
7 = mimic keypad 7, address 22
8 = mimic keypad 8, address 23
Enable this option if you want an external device connected to
trigger 1 to mimic keypad sounding.
NOTE:
If using this option, trigger 1 must be dedicated to only this
function; do not assign any other functions to trigger 1.
4-11
Summary of Contents for ADEMCO VISTA-48A
Page 4: ......
Page 28: ...Installation Instructions 3 8 ...
Page 60: ...Installation Instructions 5 20 ...
Page 75: ... NOTES 8 5 ...


