Installation Instructions
4-12
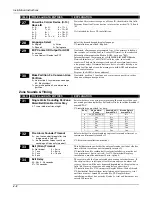
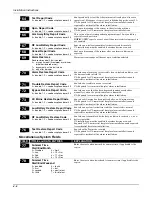
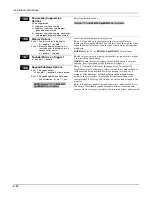
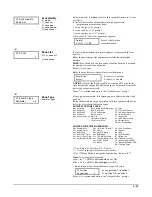
*185
Downloader Suppression
Options
0 = no suppression
1 = suppress user code viewing
2 = suppress commands and program
download when armed
3 = suppress user code viewing, commands,
and program download when armed*
Select the desired options.
*Must be “3” for
EN50131-1/prEN50131-3
compliance
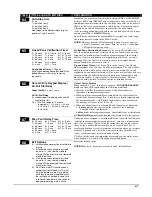
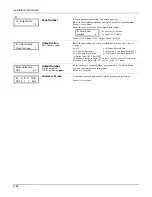
*186
Display Options
Entry 1: Latch first alarm in the display
0 = disable; 1 = enable
Entry 2: Blank the display (except for AC
loss) when not in exit delay, or 30
seconds after disarm
0 = disable; 1 = enable
Select the desired keypad display options.
Entry 1: If enabled, only the first zone that went into alarm is
displayed. Pressing the READY key will scroll once through the other
zones that went into alarm, then the first zone in alarm will again be
displayed.
NOTE:
Must be “11” for
EN50131-1/prEN50131
-3 compliance
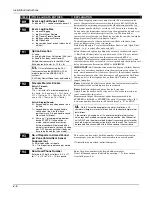
*187
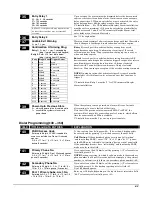
Sounder Mimic on Trigger 1
0 = disable; 1 = enable
Enable this option if you want an external device connected to trigger
1 to mimic keypad sounding.
NOTE:
If using this option, trigger 1 must be dedicated to only this
function; do not assign any other functions to trigger 1.
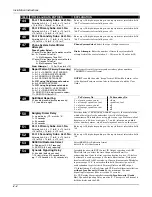
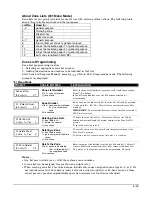
*188
Keypad Sabotage Options
Entry 1: Keypad Lockout:
0 = disable; 1 = enable 15 minute lockout
Entry 2: Keypad Supervision and Tamper
Fault Detection: 0 = no, 1 = yes
NOTE:
Must be “11” for
EN50131-
1/prEN50131-3
compliance
Entry 1. If selected, will lockout the keypad for 15 minutes if 30
keystroke entries (6 attempts of code + command) are made without a
valid user code being detected. While the keypad is locked out, a
message "Code Sabotage" will be displayed on the keypads in the
partition that is locked out. A message will be transmitted to the
central station (461 Wrong Code Entry), as well as being logged in the
event log.
Entry 2. Enables or disables keypad supervision (addresses 16-23) in
the control. If selected, keypads are supervised for connection and
tamper, which will cause a trouble when disarmed, alarm when armed.
Summary of Contents for ADEMCO VISTA-48D
Page 2: ...ii ...
Page 28: ...Installation Instructions 3 8 ...
Page 42: ...Installation Instructions 4 14 ...


