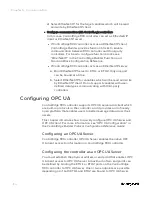
ATTENTION: The user name must be started with "
.\
". The
user should have a "Security level" of at least "Engineer" in
the Experion server. See "Configuring system security" in the
Experion Server and Client Configuration Guide
for more
information.
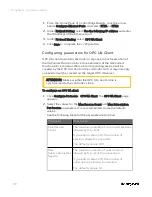
10.
The
InstallShield Wizard Completed
dialog appears, click
Finish
.
To check the status of the ControlEdge integration service
1.
Click
Start button
of PC, and enter
services.msc
in the search bar.
The
Services
dialog appears.
2.
Find
Honeywell ControlEdge Integration Service
, check the
Status
is
Running
. If it is not, right-click the service and click
Start
.
3.
Check the
Startup Type
is
Automatic
. If it is not, right-click the
service and select
Properties
, and then select
Automatic
from the
Startup type
drop-down list.
Configuring a CDA Responder
A new project is created and a controller is added to the project in
ControlEdge Builder. See "Creating a project" and "Connecting a
controller" in
ControlEdge Builder User's Guide
for more details.
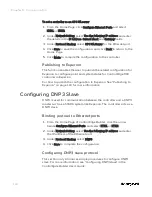
To set a controller as a CDA responder
1.
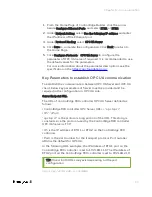
From the Home Page, click
Configure Ethernet Ports
and select
ETH1
or
ETH2
.
2.
Under
Network Setting
, select
Use the following IP address
and enter
the details in the
IP Address
,
Subnet Mask
and
Gateway
fields.
TIP: The IP addresses for the controller and Experion
devices to be communicated must be on the same subnet.
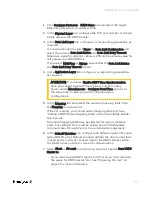
3.
Under
Protocol Binding
, select
CDA Responder
to bind CDA
responder to the Ethernet port.
4.
Click
Save
to save the configuration, and click
Back
to return to the
Home Page.
5.
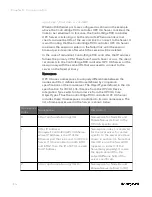
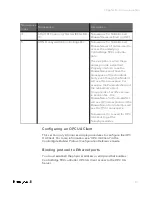
Select CDA from the global variables or local variables you want to
publish to Experion.
108
Chapter 6 - Communication
Summary of Contents for ControlEdge 2020 SC-TEPL01
Page 28: ...Figure 3 8 Single star topology 28 Chapter 3 Hardware ...
Page 40: ...40 Chapter 3 Hardware ...
Page 66: ...66 Chapter 4 Software ...
Page 114: ...114 Chapter 6 Communication ...
Page 126: ...126 Notices ...

