3 - 4
a screen protector replacement program to ensure that screen protectors are replaced periodically when
signs of damage/wear are noticeable. Replacement screen protectors can be purchased directly from
Honeywell. Please contact a Honeywell sales associate for details.
Honeywell also mandates use of a proper stylus, which is one that has a stylus tip radius of no less than
0.8 mm. Use of the Honeywell stylus included with the terminal is recommended at all times.
Honeywell warranty policy covers wear on the touch panel for the first twelve (12) months if a screen
protector is applied and an approved stylus is used for the 12 month duration covered by the warranty.
Installing a Screen Protector
Dolphin terminals ship with a screen protector already installed. You will need to replace the screen
protector at regular intervals.
1.
After the current screen protector has been removed from the touch panel, clean the touch panel
thoroughly with a clean, non-abrasive, lint-free cloth. Make sure there is no debris on the touch
panel.
2.
Align the exposed section of the protector with the left edge of the touch panel. Make sure that the
screen protector is flush with each side of the touch panel. To reposition, lift up gently and reapply.
3.
Press the screen protector firmly and carefully across the surface of the touch panel as you peel
away the backing.
4.
If necessary, smooth out any air pockets or bumps.
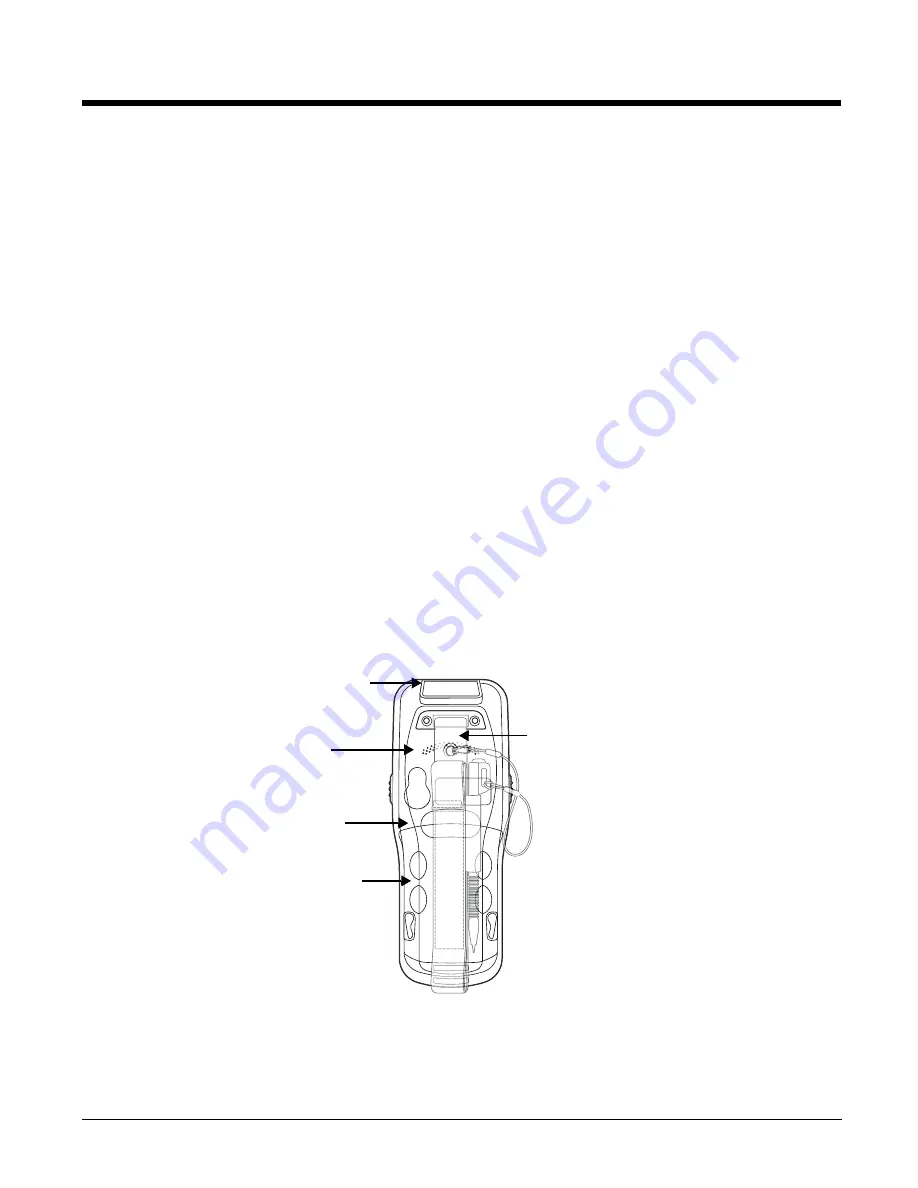
Back Panel Features
Note: Your Dolphin model may differ from the model illustrated; however, the features noted are standard for all
Dolphin 6110 models unless otherwise indicated.
Hand Strap
The Dolphin 6110 comes with an adjustable, elastic hand strap. The strap is attached to the
device with the two small screws. It is threaded through the slot on the bottom of the back of
the unit.
Engine Window
Speaker
Installed Battery
Finger
Saddle
Hand Strap (with Stylus)
Summary of Contents for Dolphin 6110
Page 1: ...Dolphin 6110 Mobile Computer with Windows Embedded Handheld 6 5 User s Guide ...
Page 10: ...1 4 ...
Page 20: ...2 10 ...
Page 34: ...3 14 ...
Page 38: ...4 4 F3 User programmable F4 User programmable Key Combination Function ...
Page 66: ...7 22 ...
Page 68: ...8 2 2 If you do not disconnect the cable the option will be grayed out 3 Re connect the cable ...
Page 94: ...10 8 ...
Page 105: ...12 11 Fire Retardant UL 94 V0 Technical Specifications ...
Page 106: ...12 12 ...
Page 113: ......


