52
Emergency Command Center Manual —
P/N LS10001-000FL-E:G 5/3/2016
Installation
Installation of Option Modules
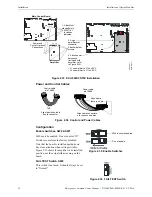
Power and Control Cables
Configuration
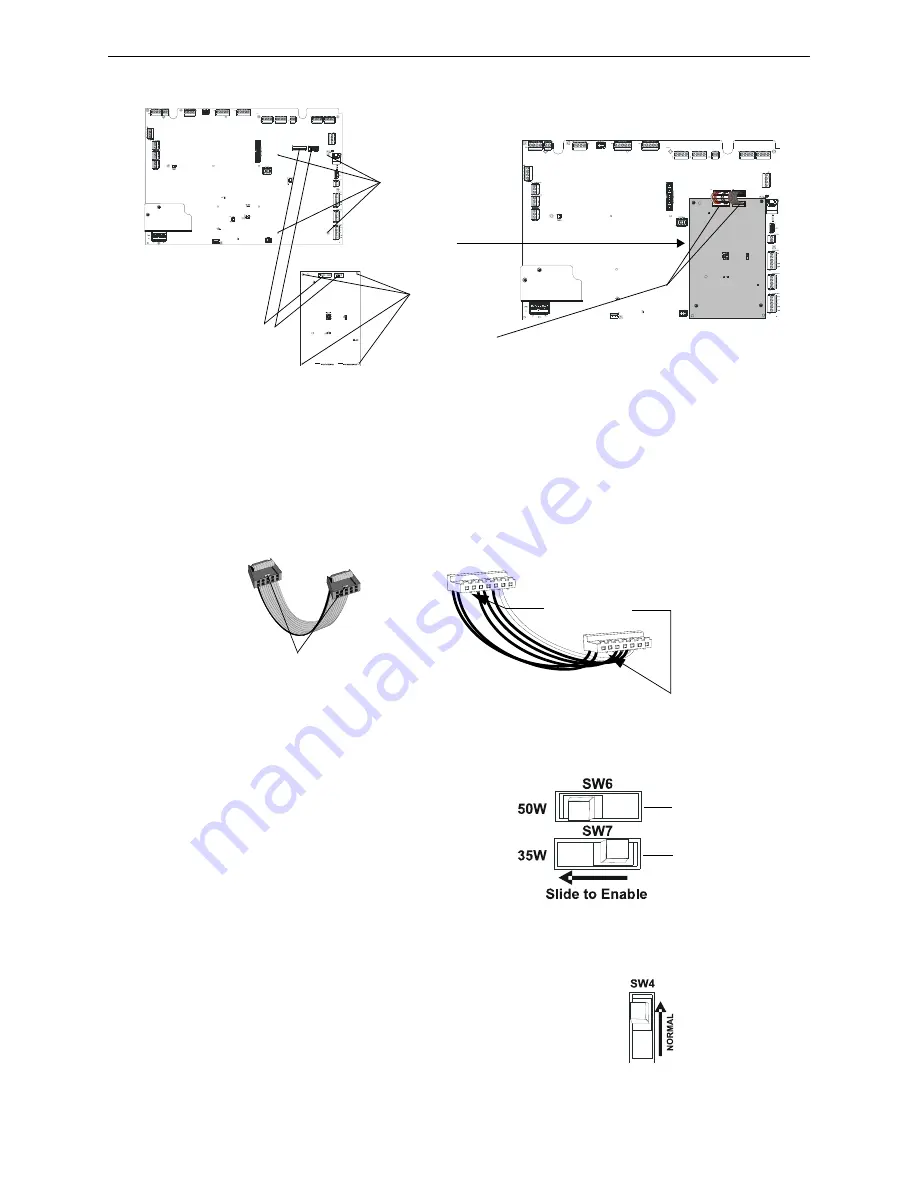
Enable Switches, SW6 & SW7
SW6 must be enabled.
Do not enable SW7
.
Switches come from the factory disabled.
Note that the board is installed upside-down.
Pay close attention when setting switches.
Figure 2.35 shows the amplifier in its installed
position, not the actual silk-screening on the
board.
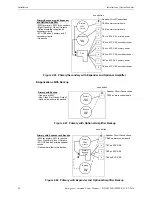
FAIL TEST Switch, SW4
This switch is not used. It should always be set
to “Normal”.
J12
TB15
J9
RTZM
Rev.
ECC-MCB-PCA
P1
J12
TB15
J9
+-
RTZM
Rev.
ECC-MCB-PCA
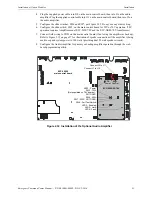
1. Attach four
standoffs (p/n
42227) at
locations
indicated.
2. Align
amplifier over
standoffs.
Attach with four
screws.
3. Attach power
harnesses
(included with
amplifier - refer
to Figure 2.34):
Power and
Control Harness
Connections
Amplifier
Main Control Board
• J1 on amplifier to J10 on ECC
• J2 on amplifier to J11 on ECC
J2
J1
J10 J11
Figure 2.33 ECC-50W-25/70V Installation
e
c
c
5
0
.w
m
f
b
d
a
m
n
t.
w
m
f
Control cable
p/n 75690
Align tab with notch in
board connector.
Tab
Power cable
p/n 75689
Align cable connectors
over spaces and pins.
Align where
there is no pin.
Figure 2.34 Control and Power Cables
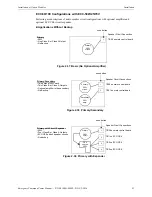
Figure 2.35 Enable Switches
SW6 is shown enabled.
Do not enable.
Figure 2.36 FAIL TEST Switch
Summary of Contents for ECC-50/100
Page 83: ...Emergency Command Center Manual P N LS10001 000FL E G 5 3 2016 83 Notes ...
Page 95: ...Emergency Command Center Manual P N LS10001 000FL E G 5 3 2016 95 Notes ...
Page 102: ...102 Emergency Command Center Manual P N LS10001 000FL E G 5 3 2016 Notes ...
Page 106: ...106 Emergency Command Center Manual P N LS10001 000FL E G 5 3 2016 Slide in Labels ...
Page 108: ...108 Emergency Command Center Manual P N LS10001 000FL E G 5 3 2016 Slide in Labels ...
Page 114: ...Cut along dotted line ...

