1
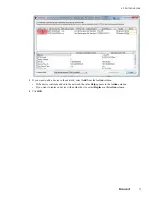
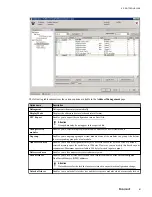
Click the
Device Assignment
menu in the
Navigation Area
.
2
Click
Scan
.
This reads information from the hardware through the network. Therefore, the PGM module must be
available and powered on before assigning a device.
After the scan is complete, the device information such as the chip type, the serial number, and the access
path is displayed.
3
Select the check box against the device that you must assign.
4
Click
Apply
.
6.4.2 Modifying the PROFIBUS network setup values (bus parameters)
1
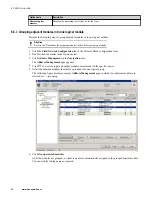
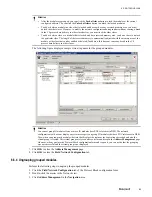
Click the
Bus Parameters
menu in the
Navigation Area
.
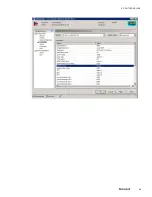
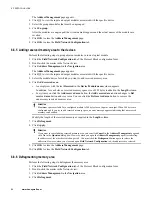
The Bus Parameters details appear in the right pane. The Bus Parameters details contain the main setup
values of the PROFIBUS network. For more information on each parameters, refer to the PROFIBUS
website.
6 PROTOCOL BLOCK
71
Summary of Contents for Experion PKS
Page 1: ...Experion PKS PROFIBUS Gateway Module User s Guide EPDOC XX88 en 431E June 2018 Release 431 ...
Page 8: ...CONTENTS 8 www honeywell com ...
Page 10: ...1 ABOUT THIS GUIDE 10 www honeywell com ...
Page 32: ...4 PROFIBUS GATEWAY MODULE PGM INSTALLATION 32 www honeywell com ...
Page 58: ...5 PROFIBUS GATEWAY MODULE PGM BLOCK 58 www honeywell com ...
Page 69: ...6 PROTOCOL BLOCK 69 ...
Page 103: ...5 Click OK 6 PROTOCOL BLOCK 103 ...
Page 110: ...6 PROTOCOL BLOCK 110 www honeywell com ...
Page 183: ...PDC Details tab Figure 6 Detail Display of PDC Details tab 7 DEVICE SUPPORT BLOCK DSB 183 ...
Page 186: ...7 DEVICE SUPPORT BLOCK DSB 186 www honeywell com ...
Page 231: ...9 PROFIBUS I O MODULE PIOMB FUNCTION BLOCK 231 ...
Page 232: ...9 PROFIBUS I O MODULE PIOMB FUNCTION BLOCK 232 www honeywell com ...
Page 236: ...10 PROFIBUS GATEWAY MODULE PGM CONFIGURATION EXAMPLE 236 www honeywell com ...
Page 264: ...13 PROFIBUS GATEWAY MODULE PGM TROUBLESHOOTING 264 www honeywell com ...


